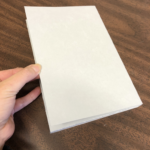
About: Enclosures provide additional protection and support for fragile and/or severely deteriorating or damaged books. Four-flap enclosures are suitable for enclosing books with a thickness of up to half an inch. This tutorial will outline how to create a four-flap enclosure. This specific four-flap enclosure is made out of two strips of board or folder stock.
Things You Will Need:
- Bone Folder
- Exacto Knife
- Ruler
- Cutting Mat
- 20-Point Board or Folder Stock (acid-free and lignin-free)
- Pencil
- Eraser (Staedtler Mars or Magic Rub)
- 3M 415 Double Sided Tape
Optional Tools:
- Scissors (if board is too large for cutting on the cutting mat)
- Triangle Ruler
- Paper Cutter
Overview:
Procedure:
Step 1: Find the grain direction of the board or folder stock
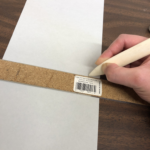
You can figure out the grain direction by slightly bending the board or folder stock towards the middle, first in one direction, and then in the other direction (horizontally and vertically). The direction that bends more easily, with less resistance, is the grain direction. When creating four-flap enclosures, make sure that each strip of board has its grain direction running parallel to the spine of the book when enclosed.
Step 2: Making the Vertical Flap
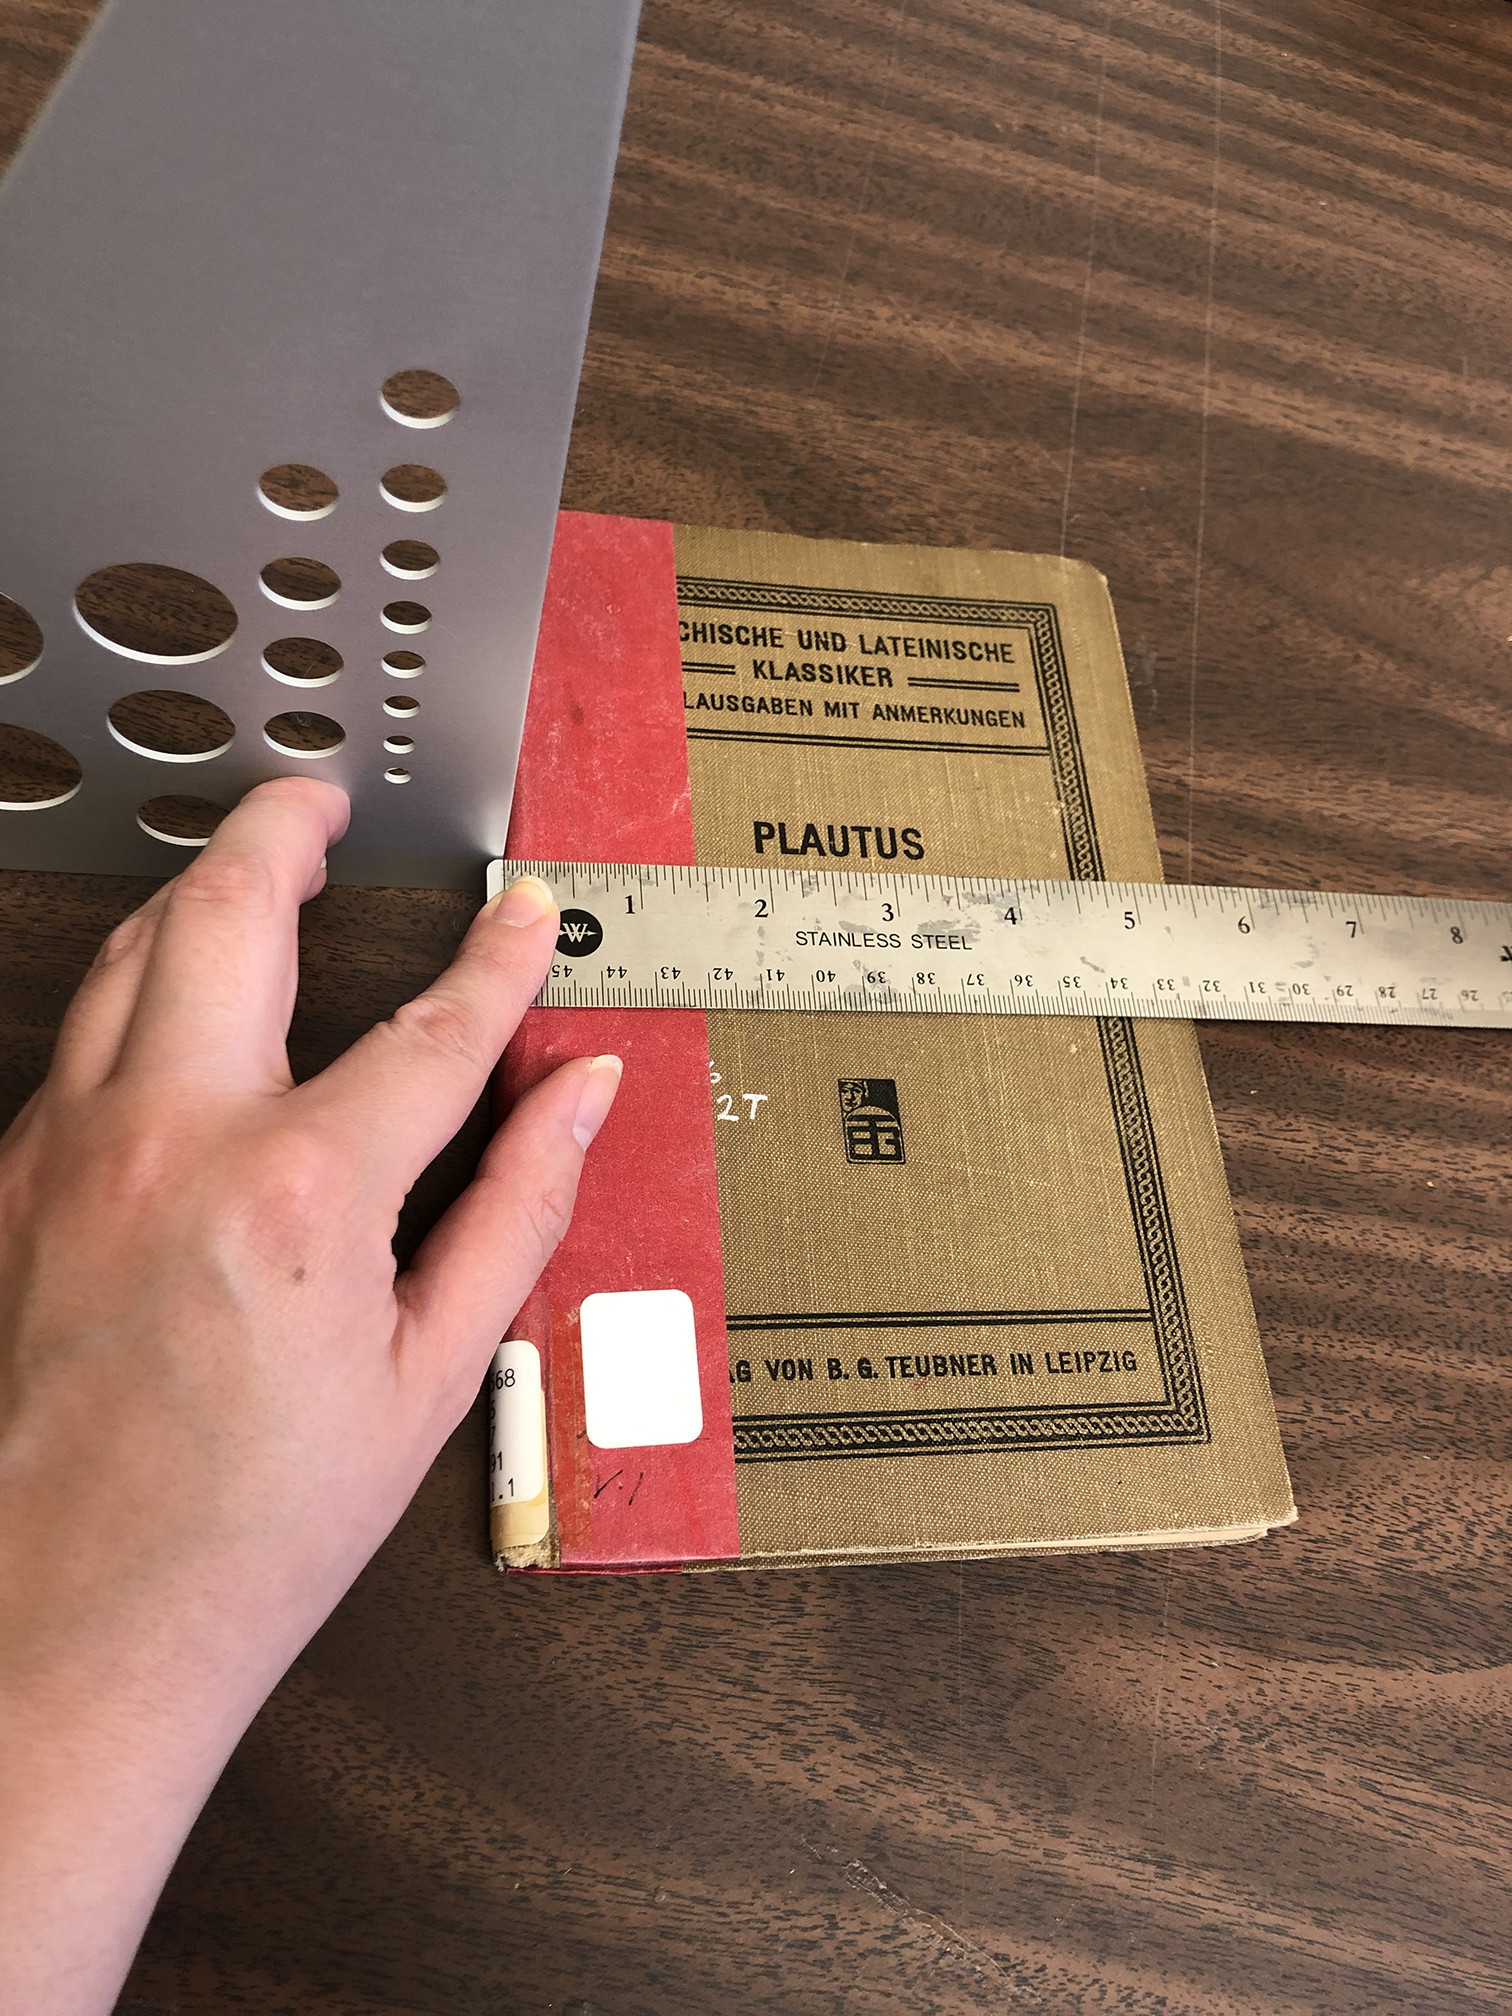
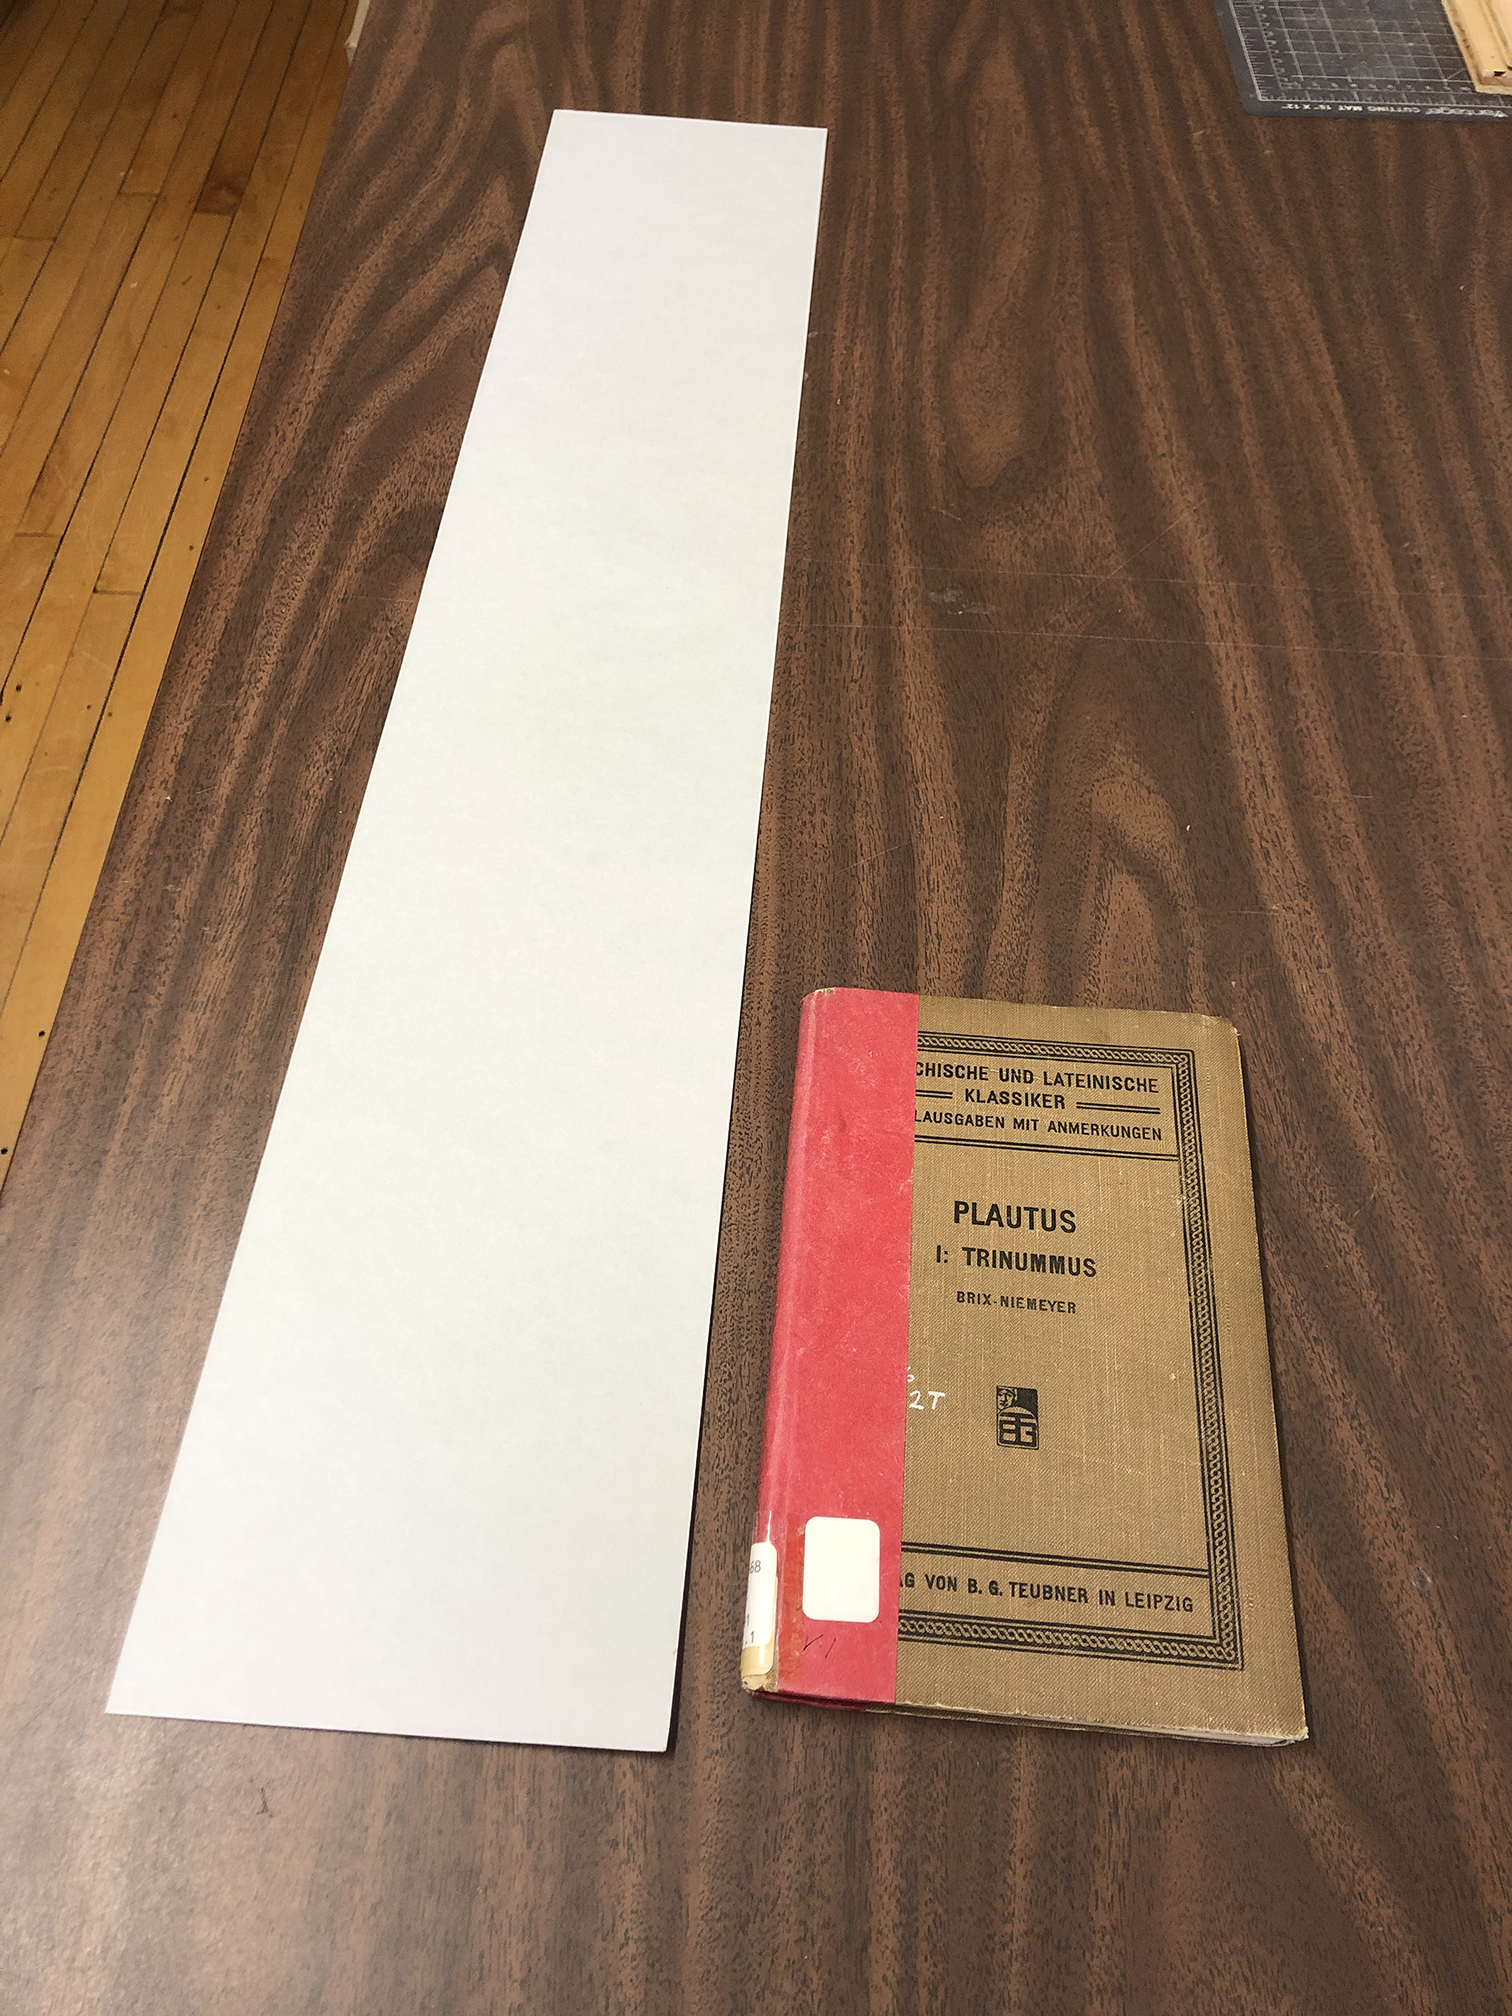
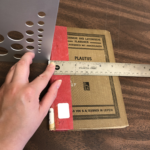
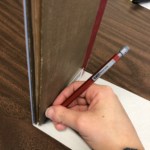
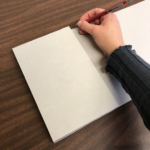
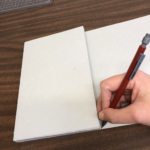
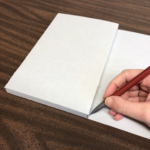
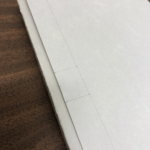
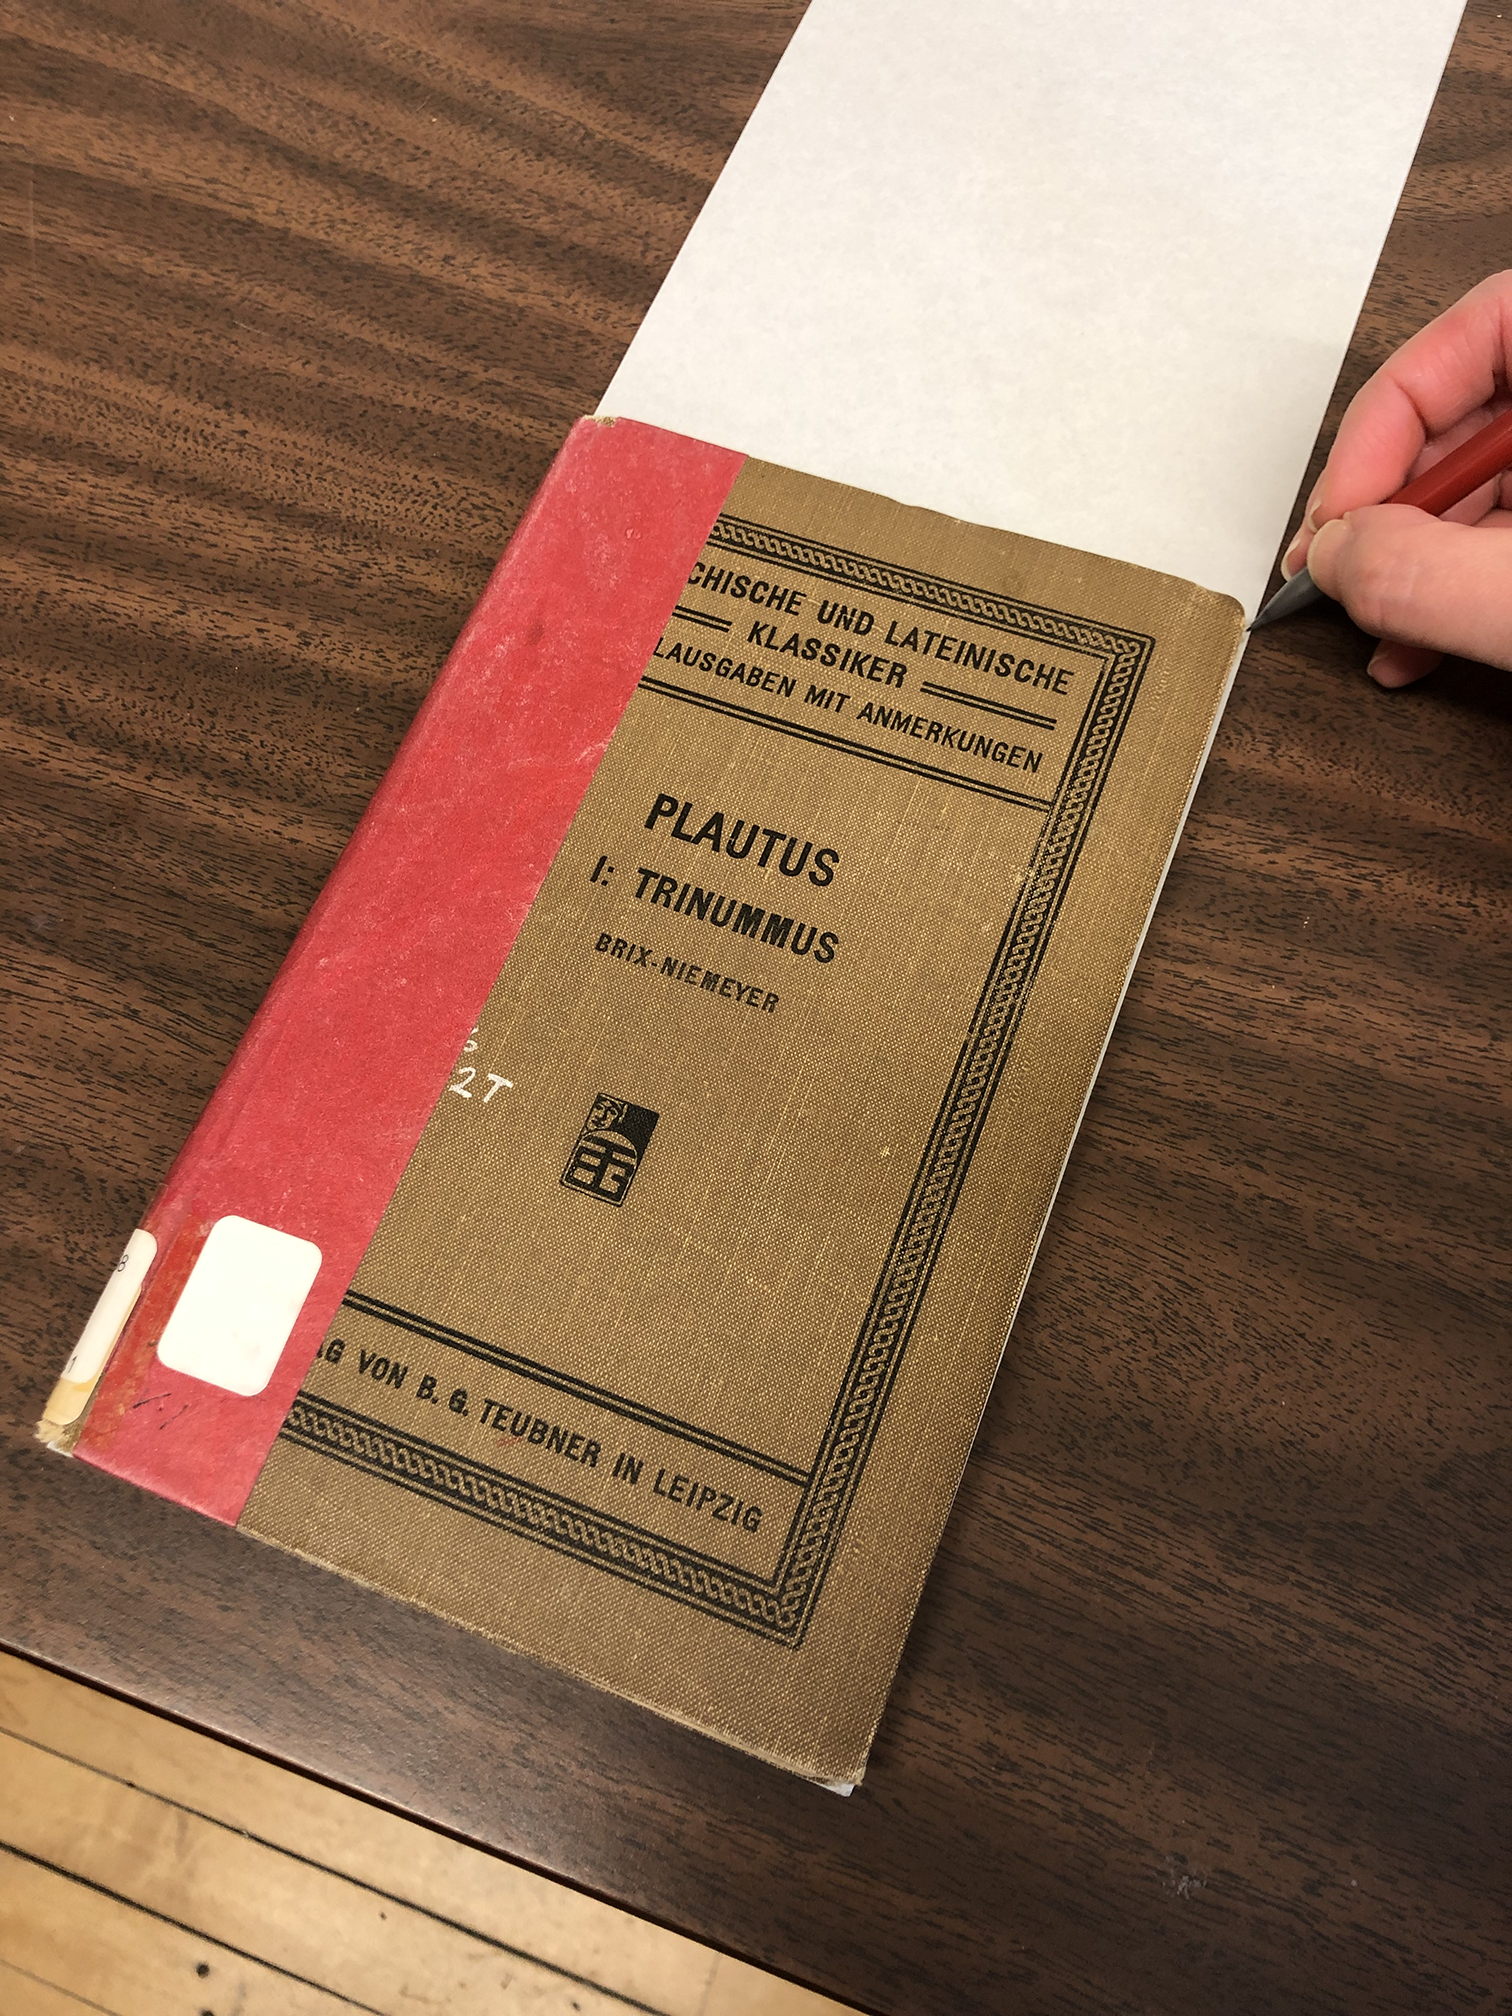
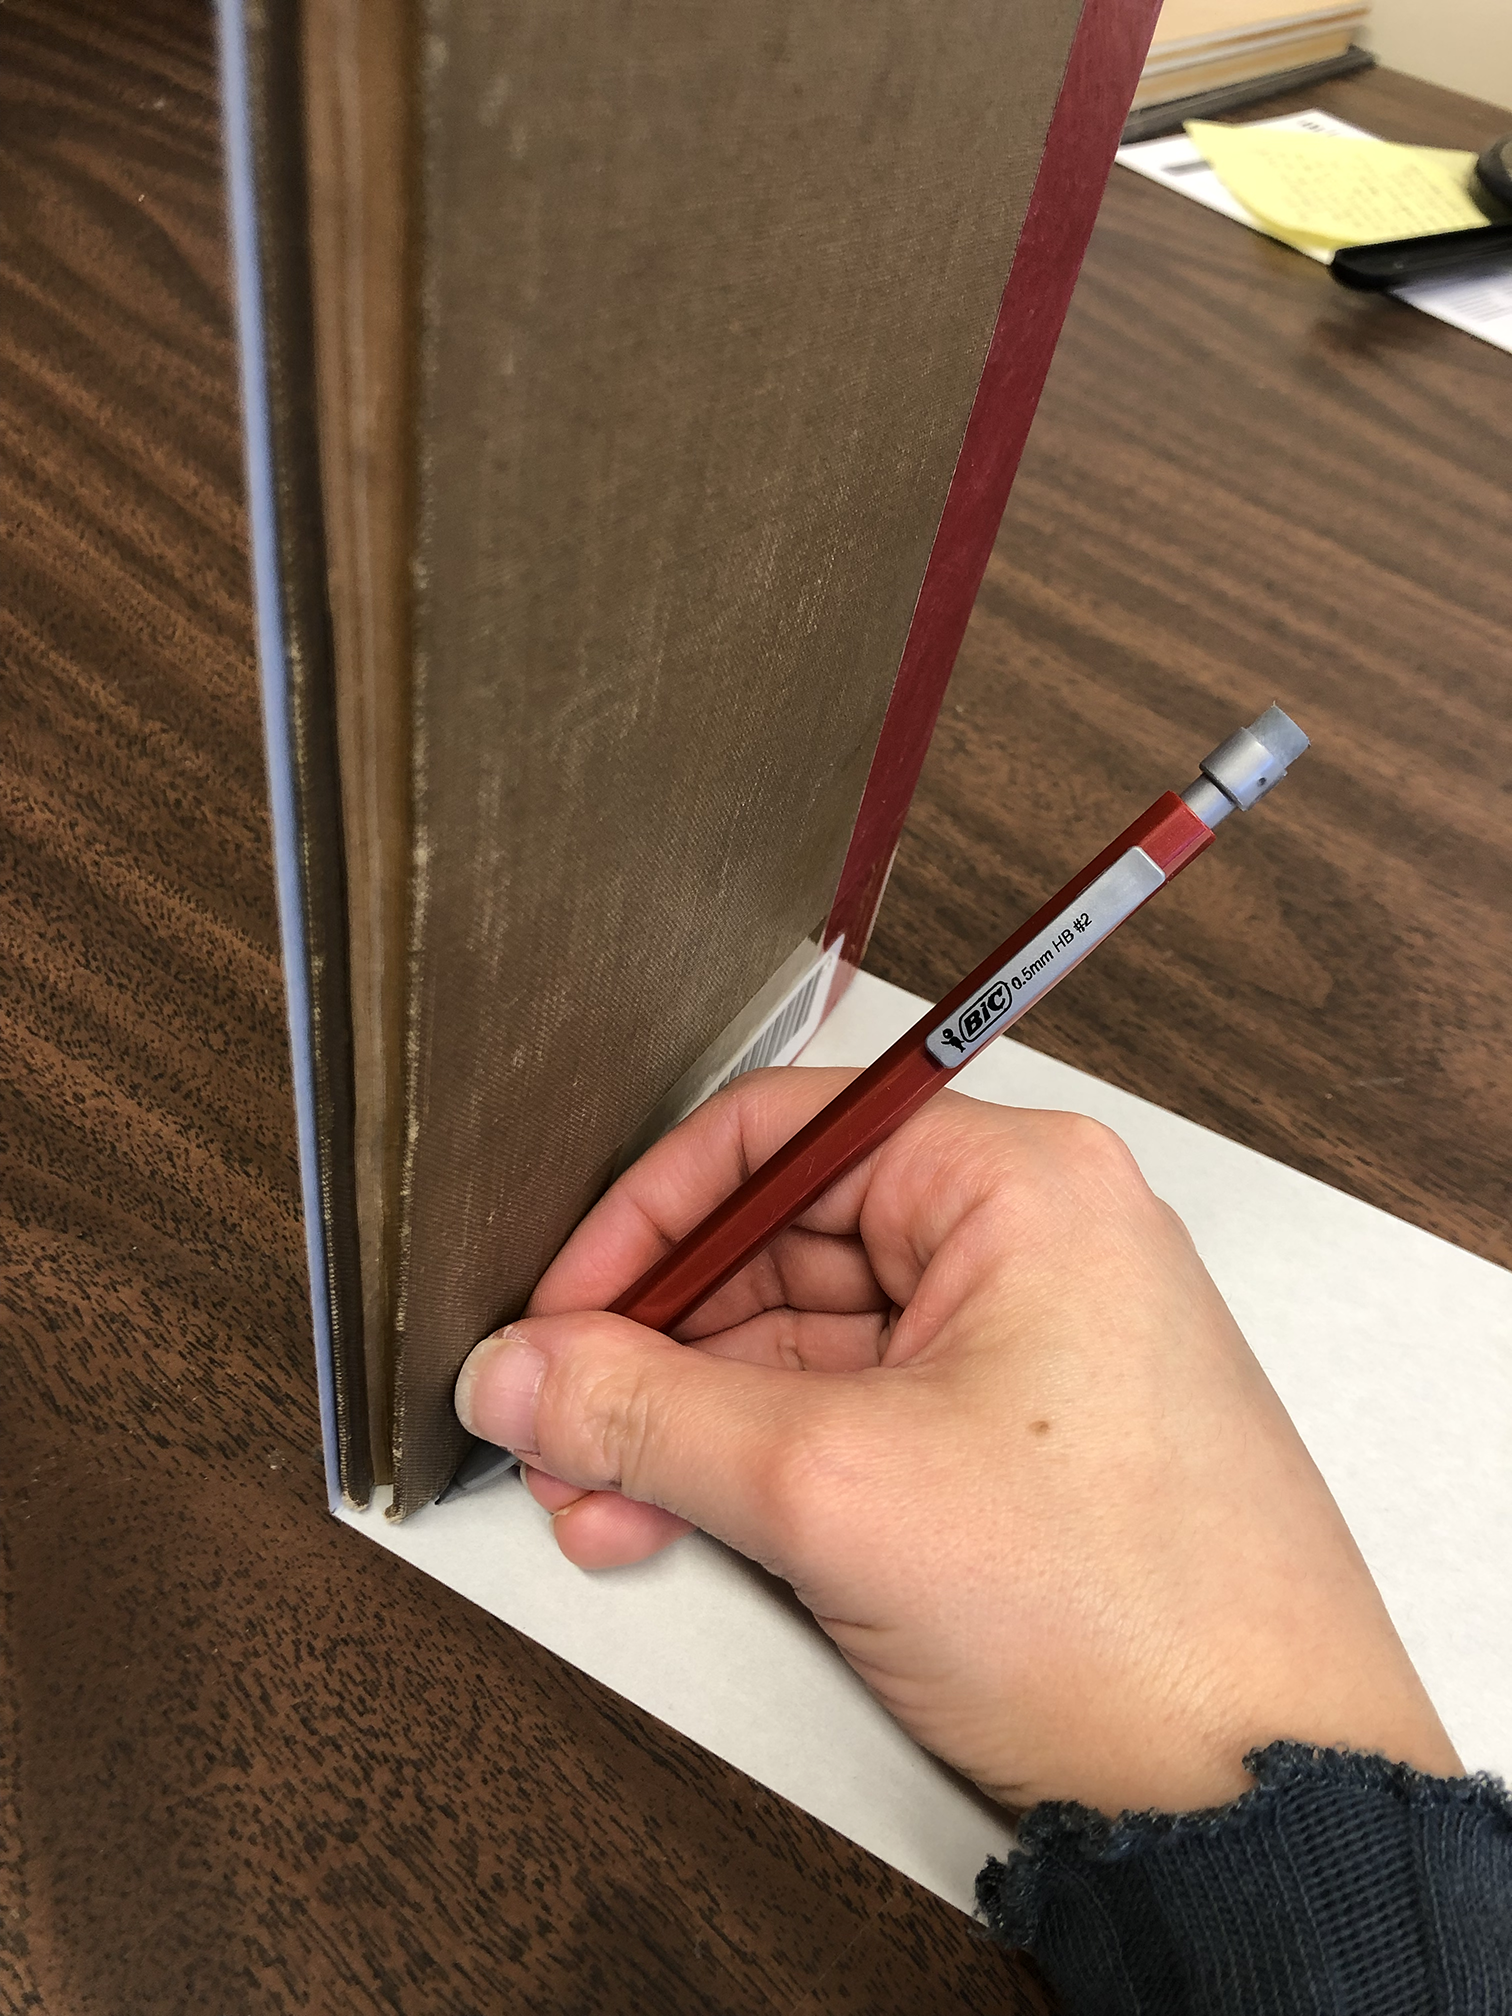
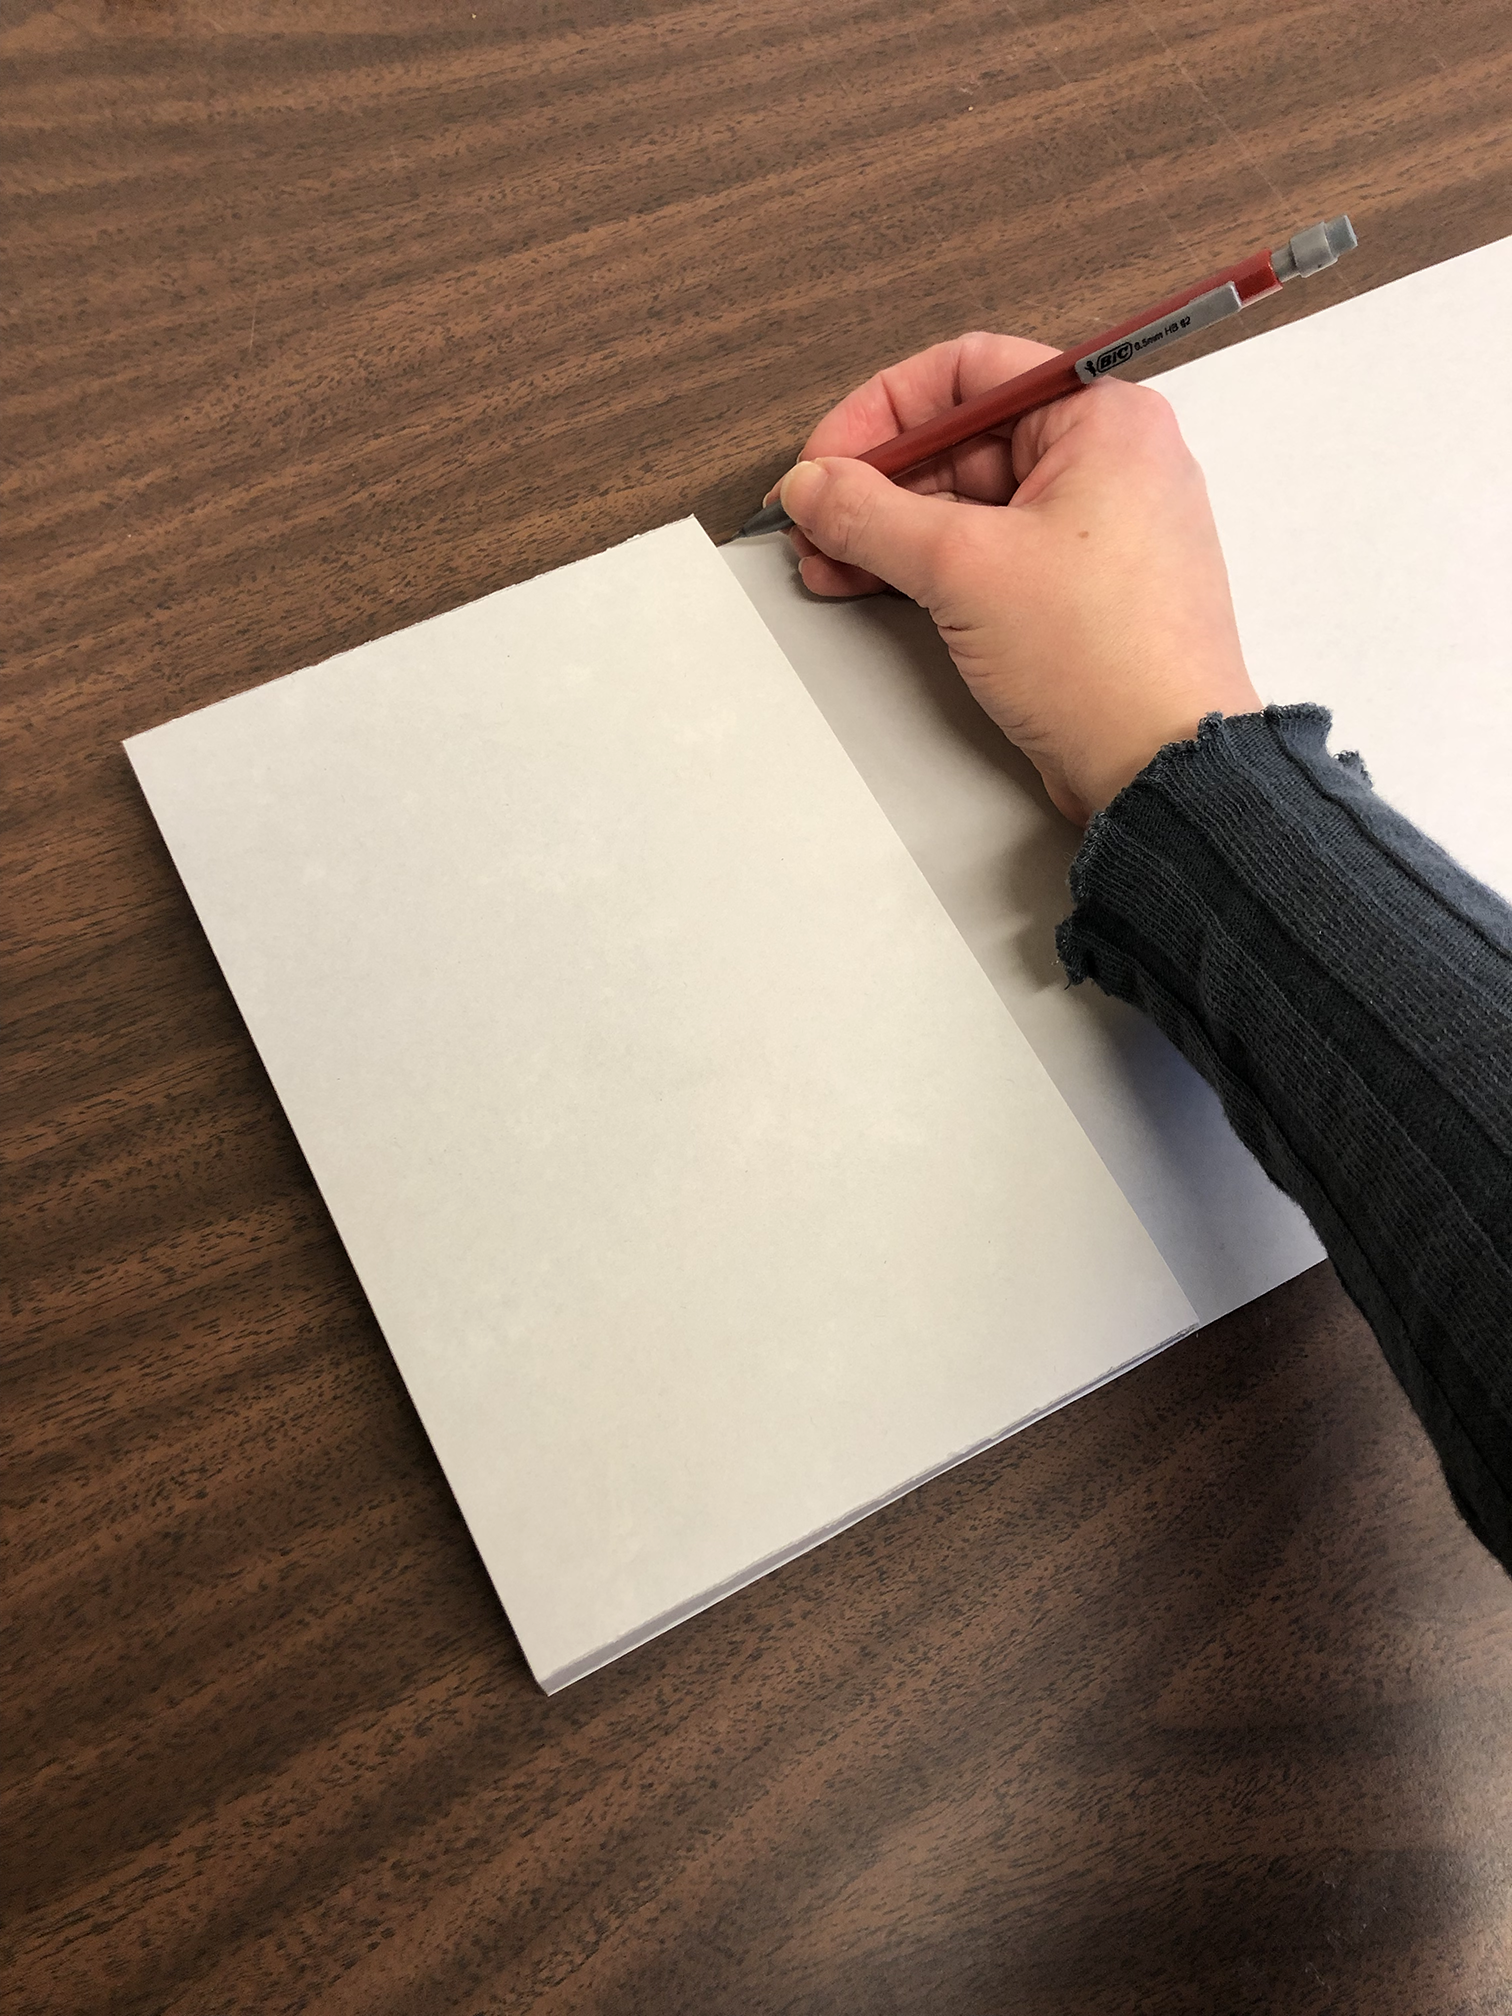
Part A: The strip that makes the vertical flap needs to be approximately [Width of book] by (3x [Length of book] + 2x [Thickness of book]) in dimensions. For example, if the width is 5 inches, length is 8 inches, and thickness is 0.25 inches, the vertical flap should be 5 inches by 24.5 inches. Make sure you use a board large enough for creating the vertical flap. Measure the width of the book you plan to enclose. If the book is not exactly the same width throughout, use the widest width as the width measurement. (Tip: use the triangle ruler to ensure that you get the exact measurements of the width of the book) Using a pencil, mark the width of the book on the board. Keep in mind that the grain direction of the board needs to be running parallel to the spine of the book. After marking on the board, connect the marks by drawing a line and cut out the strip along the line.
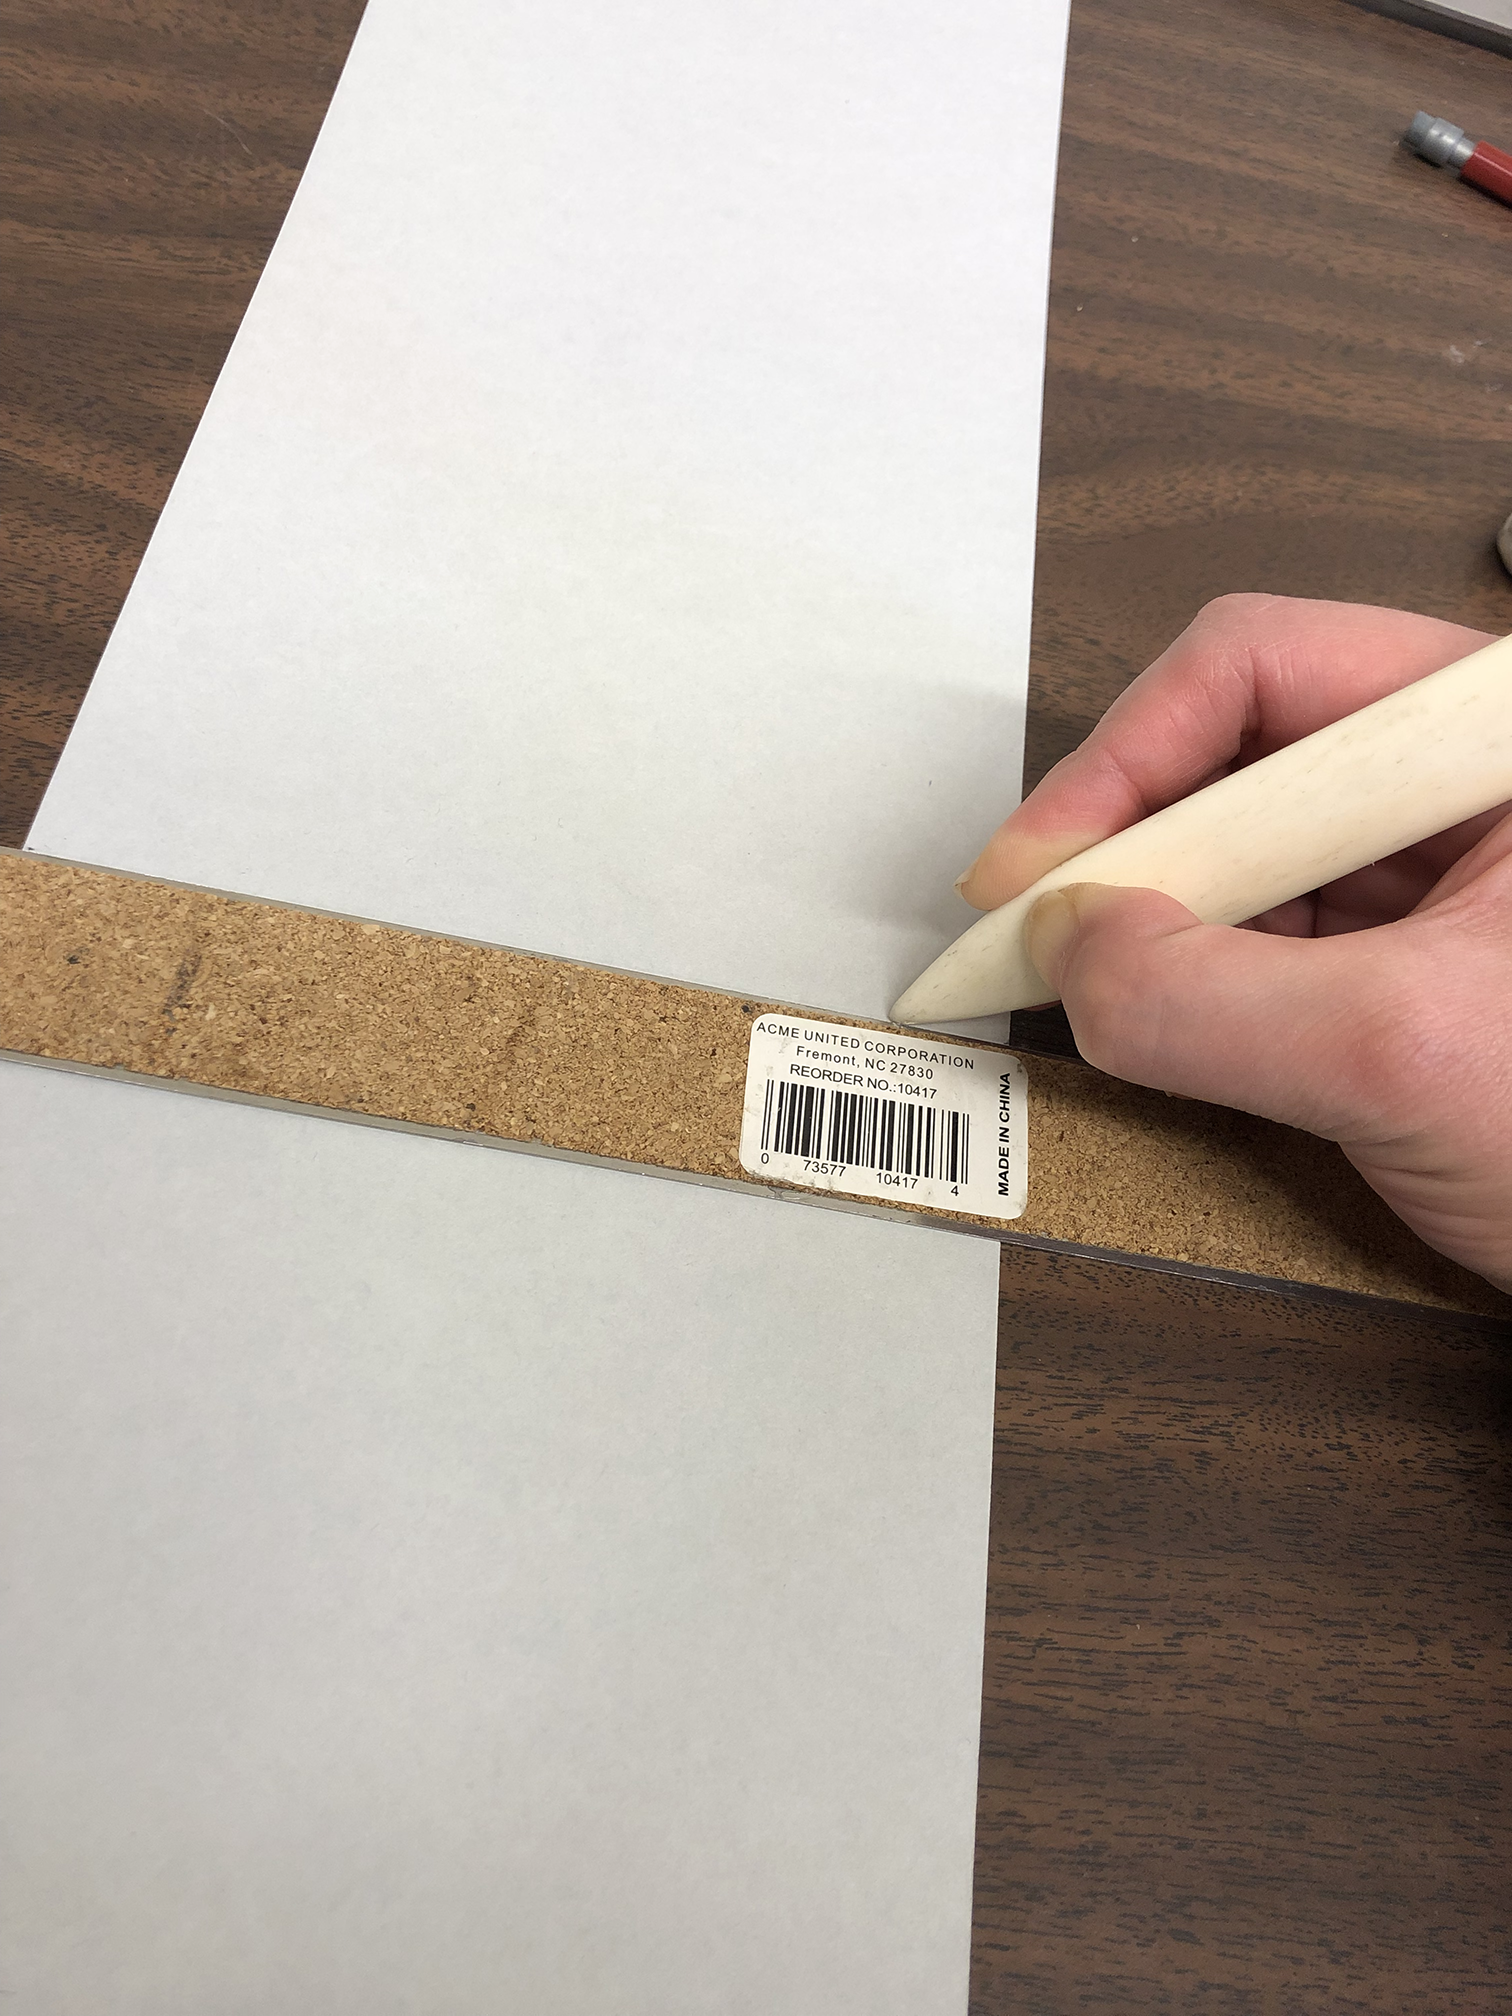
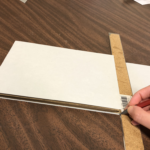
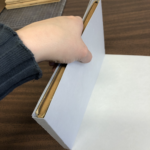
Part B: Line up the bottom of the book with the bottom of the strip and make two pencil marks at the top of the book. You can use a triangle ruler to make sure that the book is lined up properly and that you are making marks on the right spot. Using a bone folder, score a line connecting the two marks (scoring a line = to create a ridge on the board using an indentation device. The ridge is where the fold line will occur). Fold at the score line so that the bottom of the strip is folding towards the top of the strip. Crease the fold using a bone folder. Mark the flap “1” with a pencil.
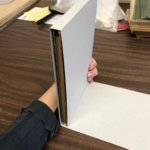
 Part C: Keeping the first flap and the front cover of the book together, line up the book so that the bottom of the book is perpendicular to the rest of the strip. Make two marks where the back cover is on the strip. Using a bone folder, score a line connecting the two marks. Fold at the score line so that the rest of the strip is folding towards the back cover of the book.
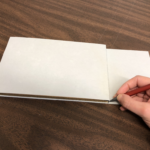
 Part D: Keeping the book and flap together, make two marks at the top of the book on the strip. Using a bone folder, score a line connecting the two marks. Fold at the score line so that the rest of the strip is folding towards the top of the front cover of the book.


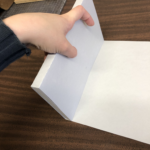
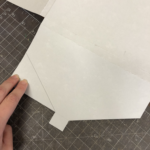
Part E: Keeping the book and flap together, line up the book so that the top of the book is perpendicular to the rest of the strip. Make two marks where the first flap is on the strip. Using a bone folder, score a line connecting the two marks. Fold at the score line so that the rest of the strip goes over the first flap. This is our second flap. Cut off any excess board from the second flap and mark “2” on the flap with a pencil.
Step 3: Making the Horizontal Flap
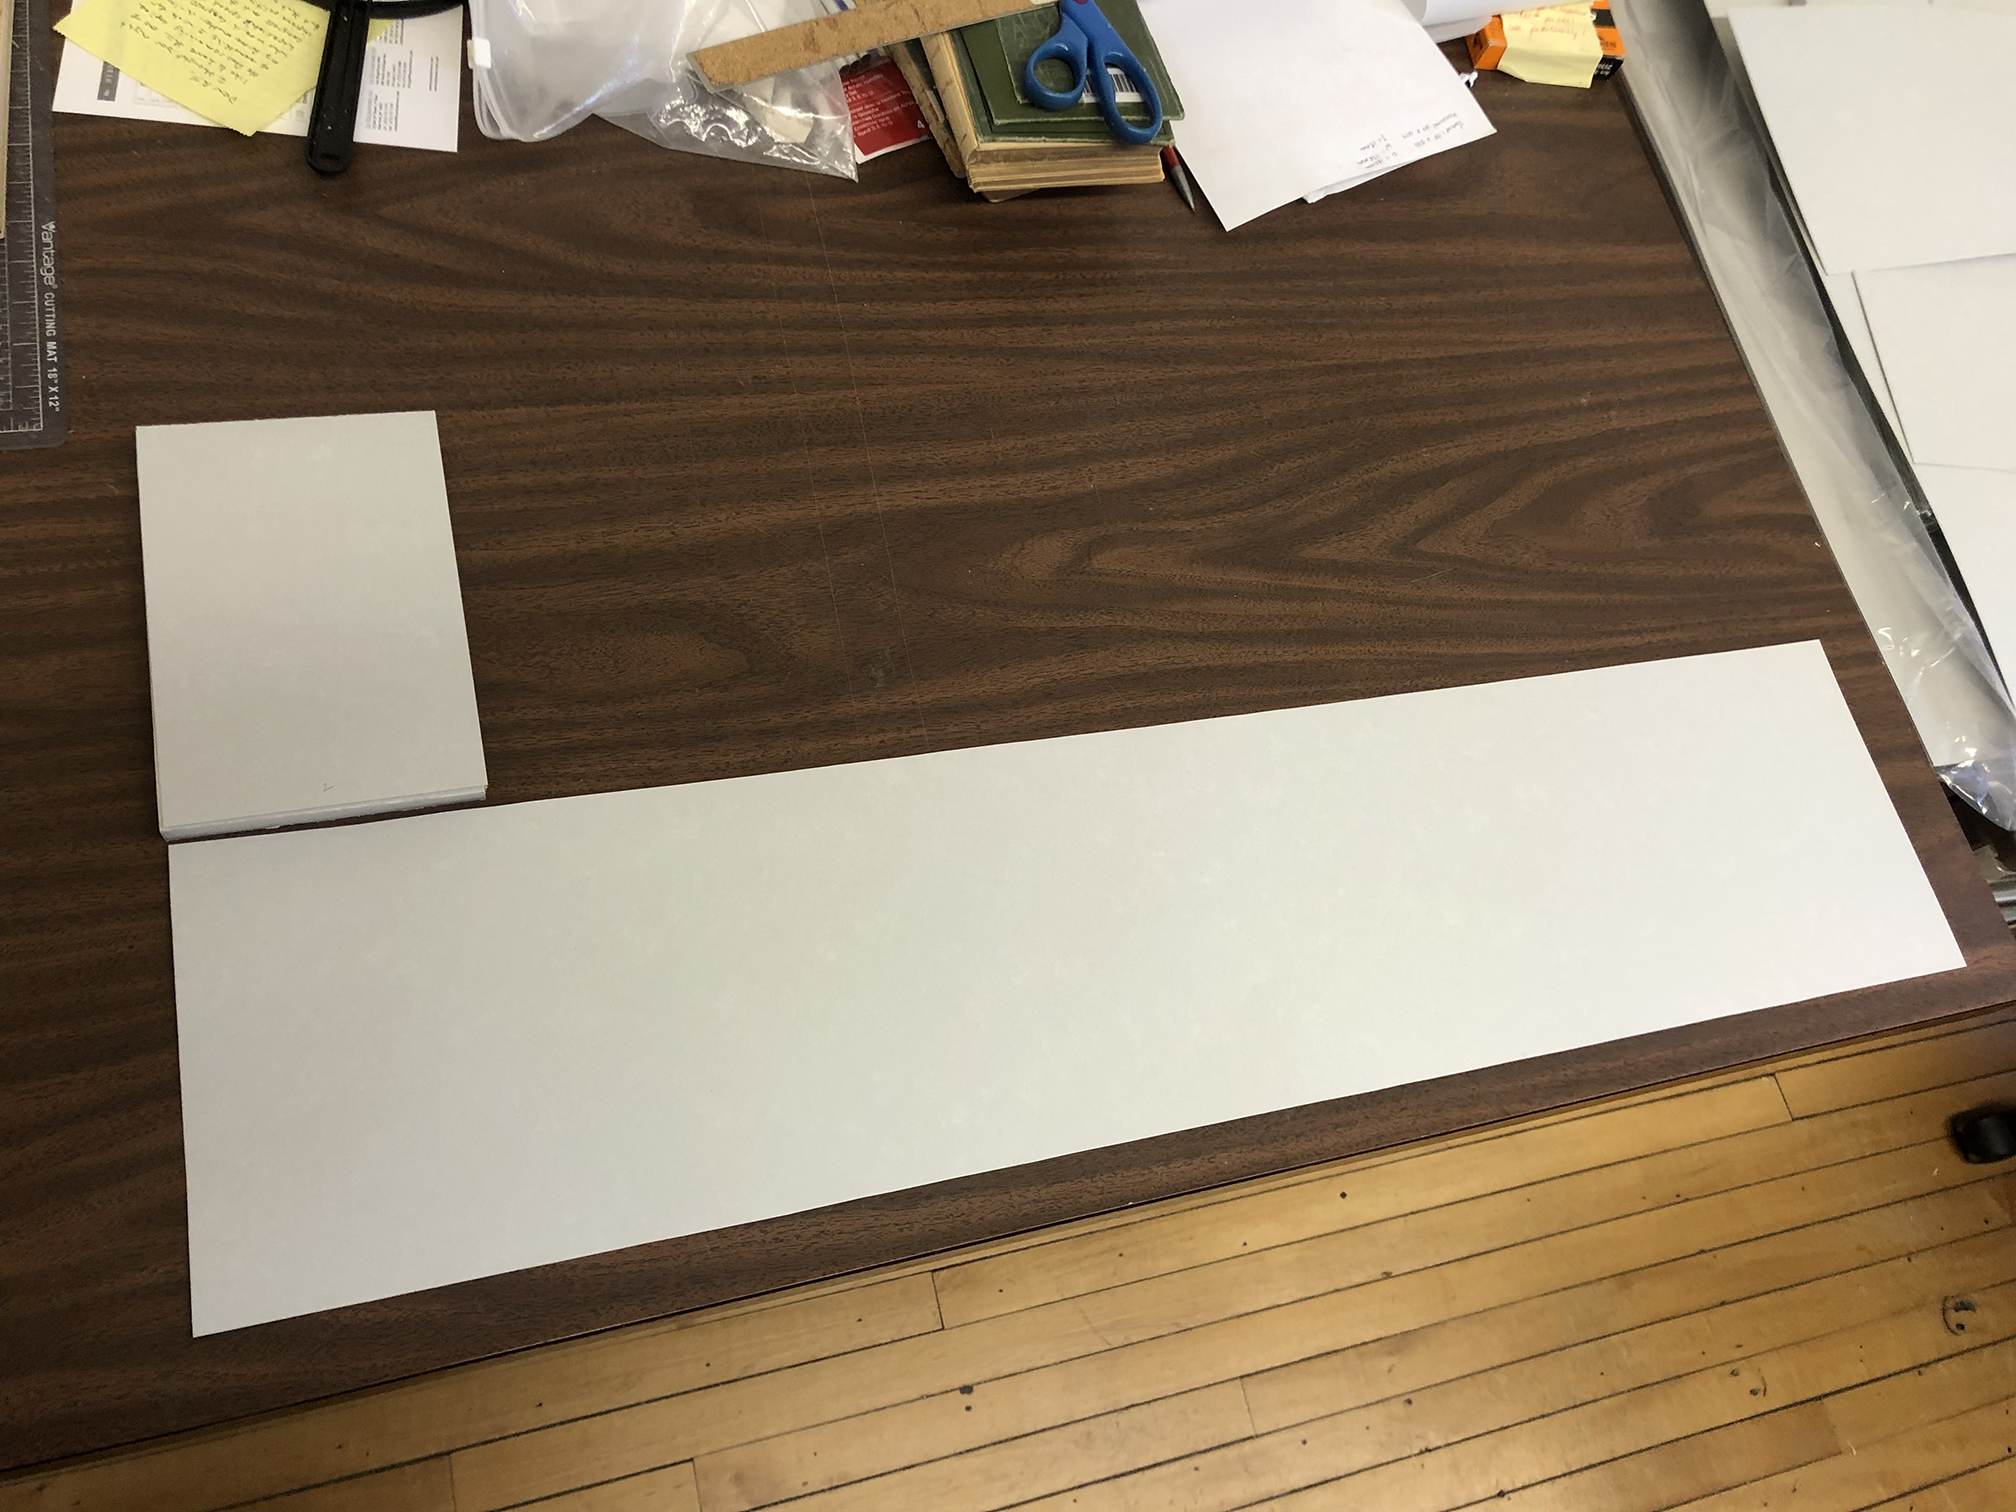
Part A: The strip that makes the horizontal flap needs to be approximately [Length of book] by (3x [Width of book] + 2x [Thickness of book]) in dimensions. Make sure you use a board large enough for creating the horizontal flap. Place the book with the vertical flap wrapped around on the board, making sure that the grain direction of the board is running parallel to the spine of the book. Using a pencil, mark the length of the book with the vertical flap wrapped around on the board. After marking on the board, connect the marks by drawing a line and cut out the strip along the line.
 Part B: Place the strip on top of the second flap, with the right edge of the board matching up with the right edge of the book with the vertical flap wrapped around, and mark the flap as “3” with a pencil.
 Part C: Flip the strip, book, and vertical flap so that the strip is at the bottom. Make two marks on the strip where the right edge of the book and vertical flap are. Using a bone folder, score a line connecting the two marks. Fold at the score line so that the rest of the strip is folding towards the book + vertical flap.
Part D: Holding the flaps and book together, perpendicular to the rest of the strip, make two marks on the board where the right edge of the book and vertical flap are. Using a bone folder, score a line connecting the two marks. Fold at the score line so that the rest of the strip is folding towards the book + vertical flap.
 Part E: You should now have the third flap facing up. Make two marks on the strip where the right edge of the book and vertical flap are. Using a bone folder, score a line connecting the two marks. Fold at the score line so that the rest of the strip is folding towards the third flap.

Part F: Holding the flaps and book together, perpendicular to the rest of the strip, make two marks on the strip where the right edge of the book and vertical flap are. Using a bone folder, score a line connecting the two marks. Fold at the score line so that the rest of the strip is folding over the third flap. This is our fourth flap. Cut off any excess board from the fourth flap.
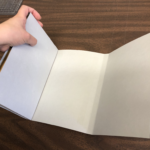
Step 4: Attaching the Strips Together
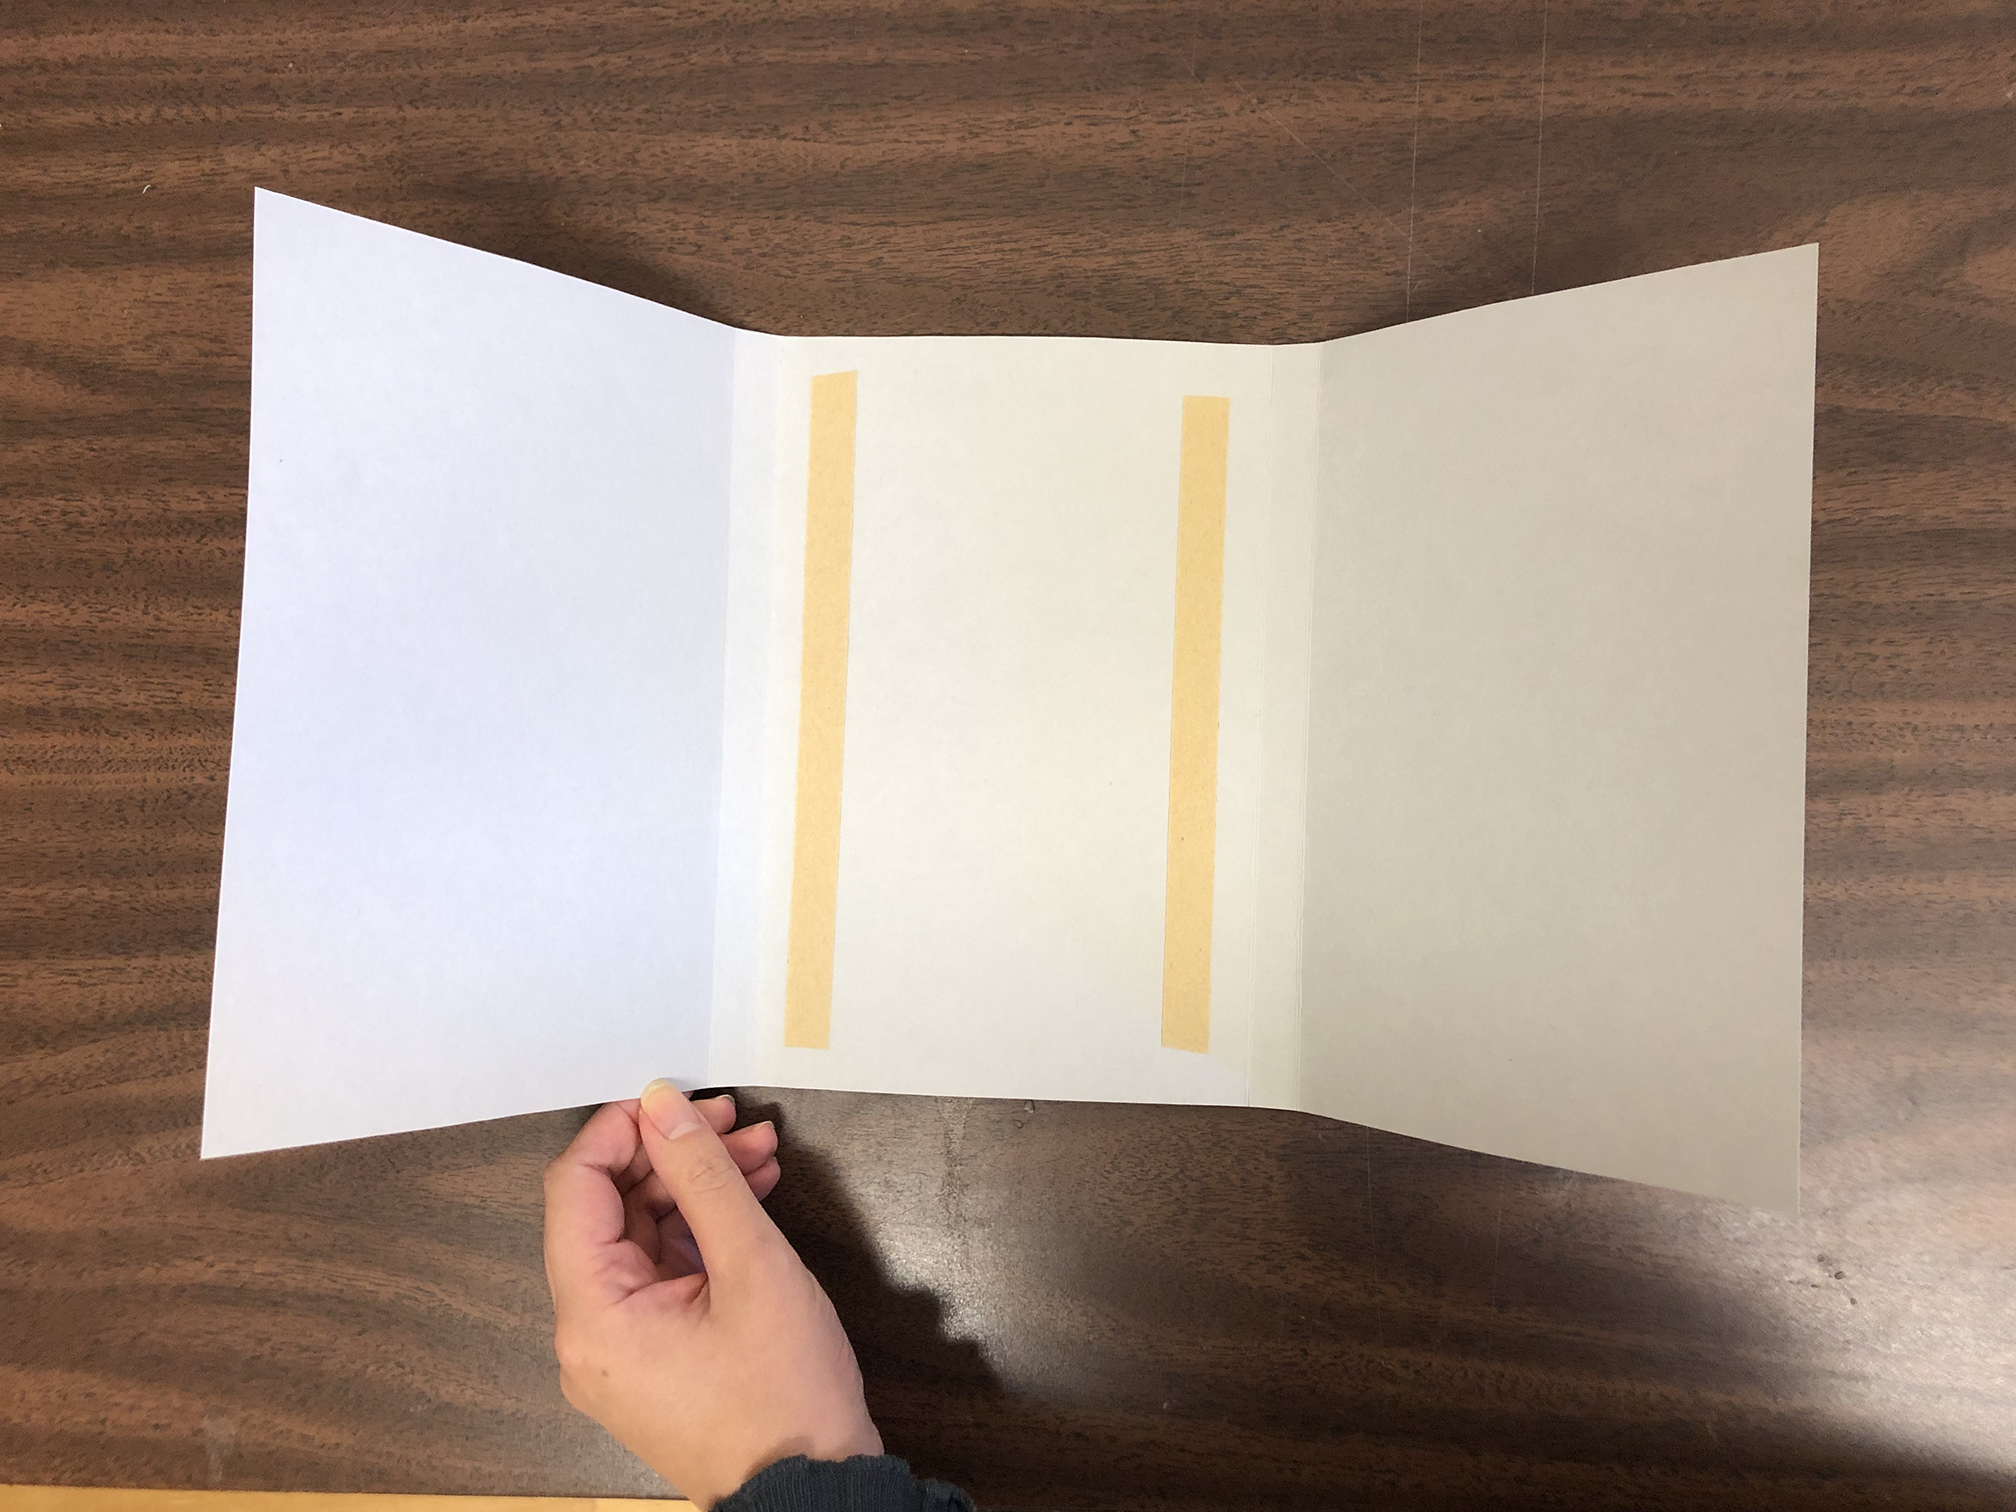
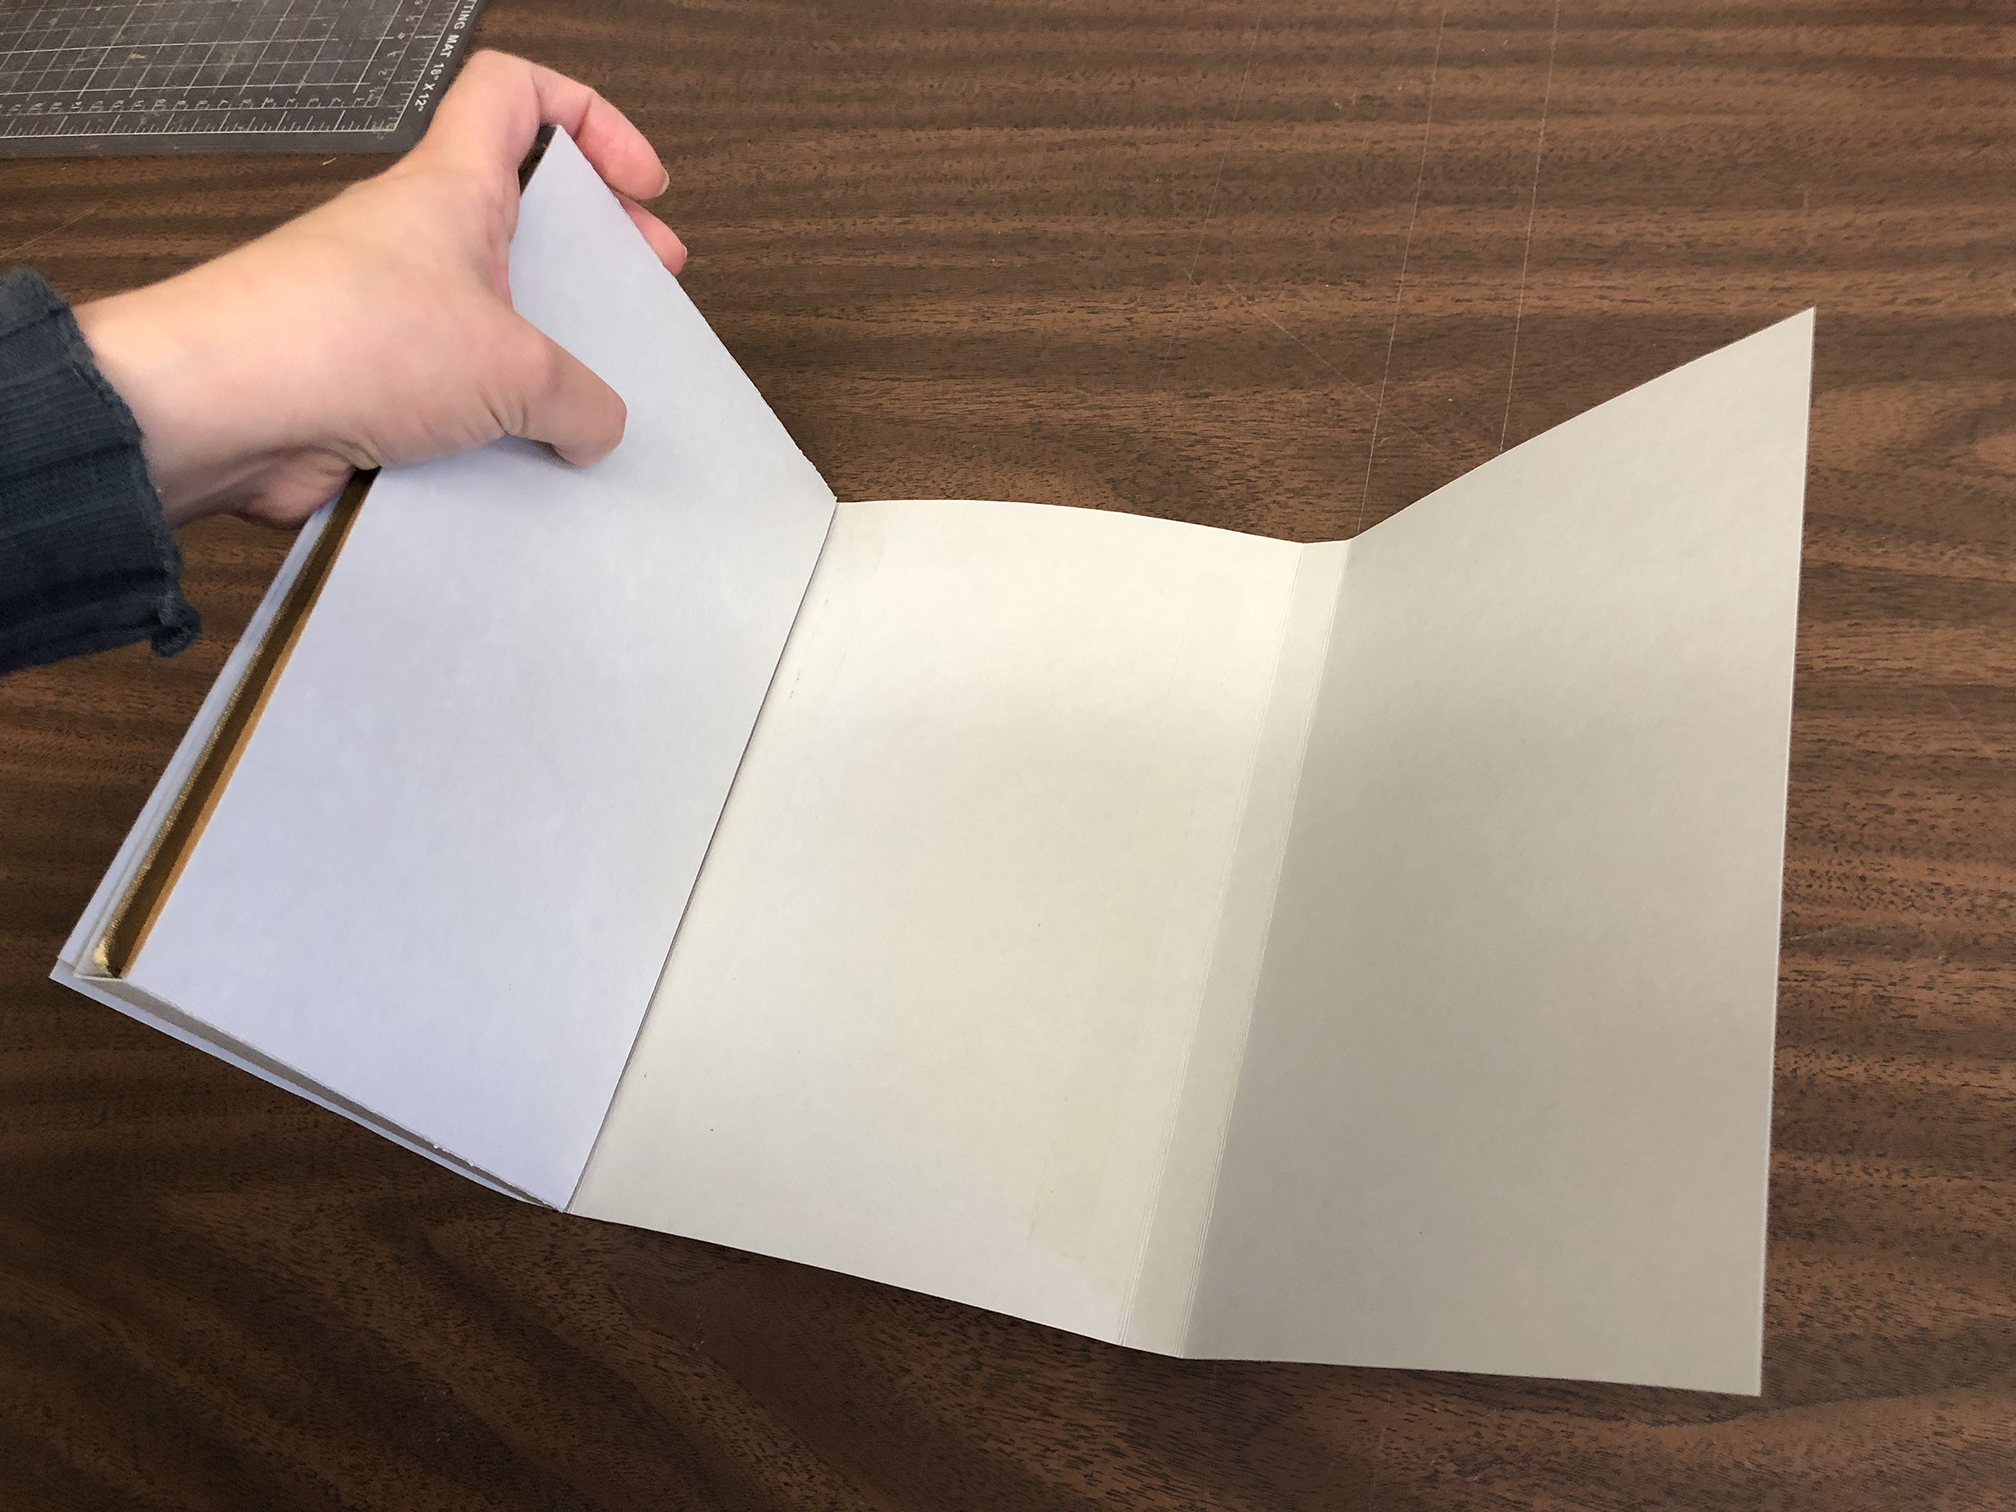

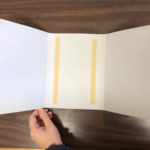
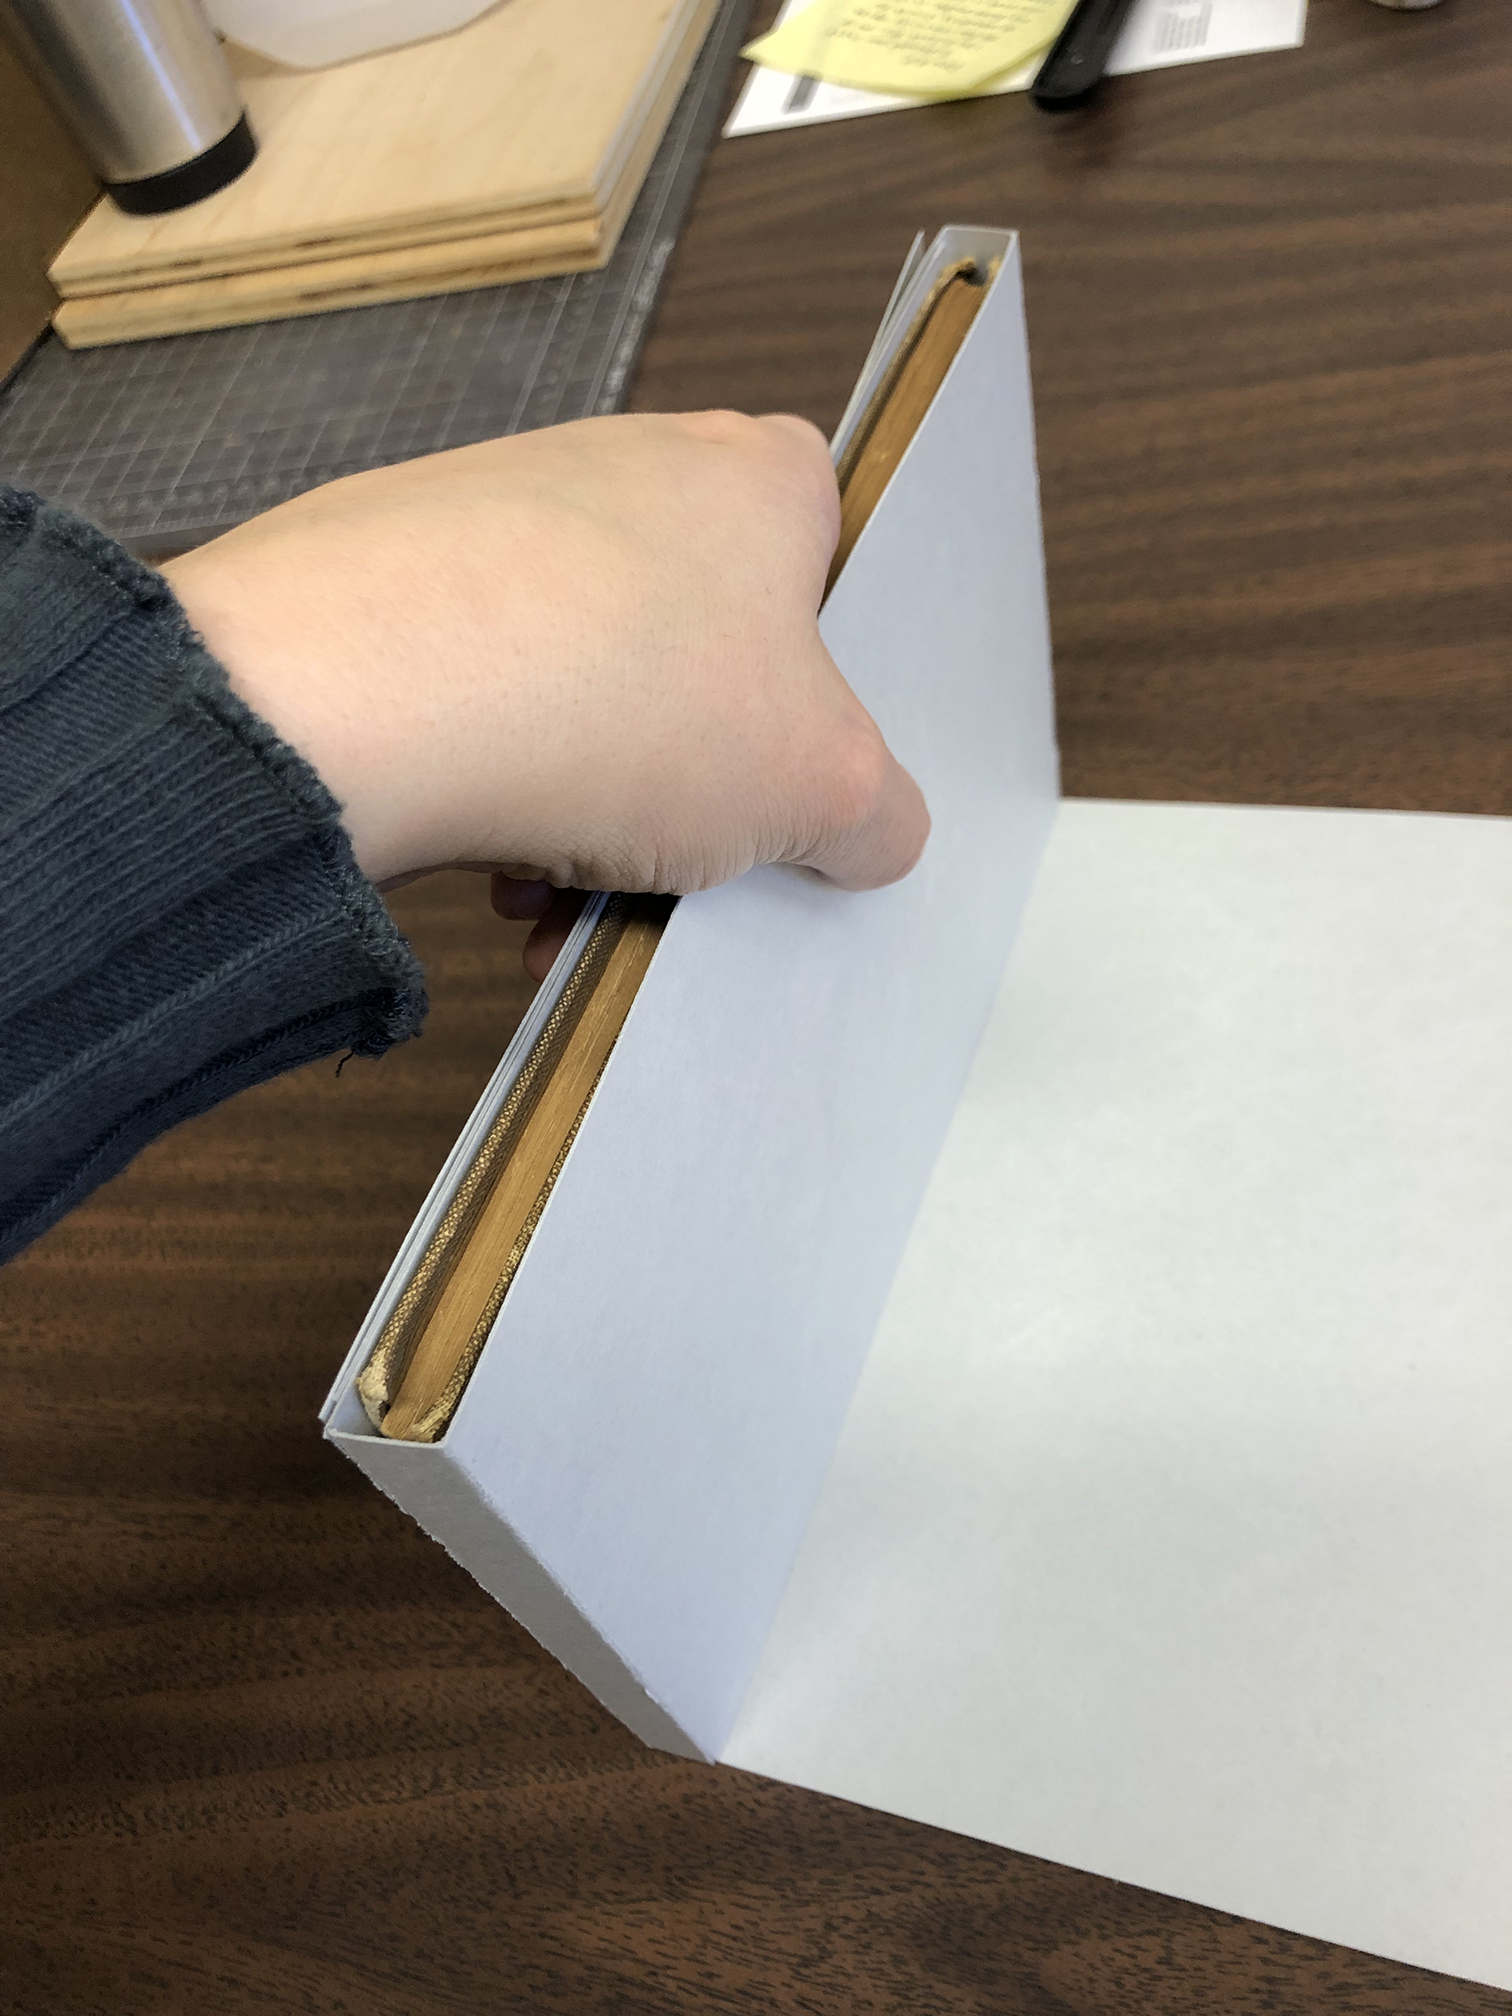
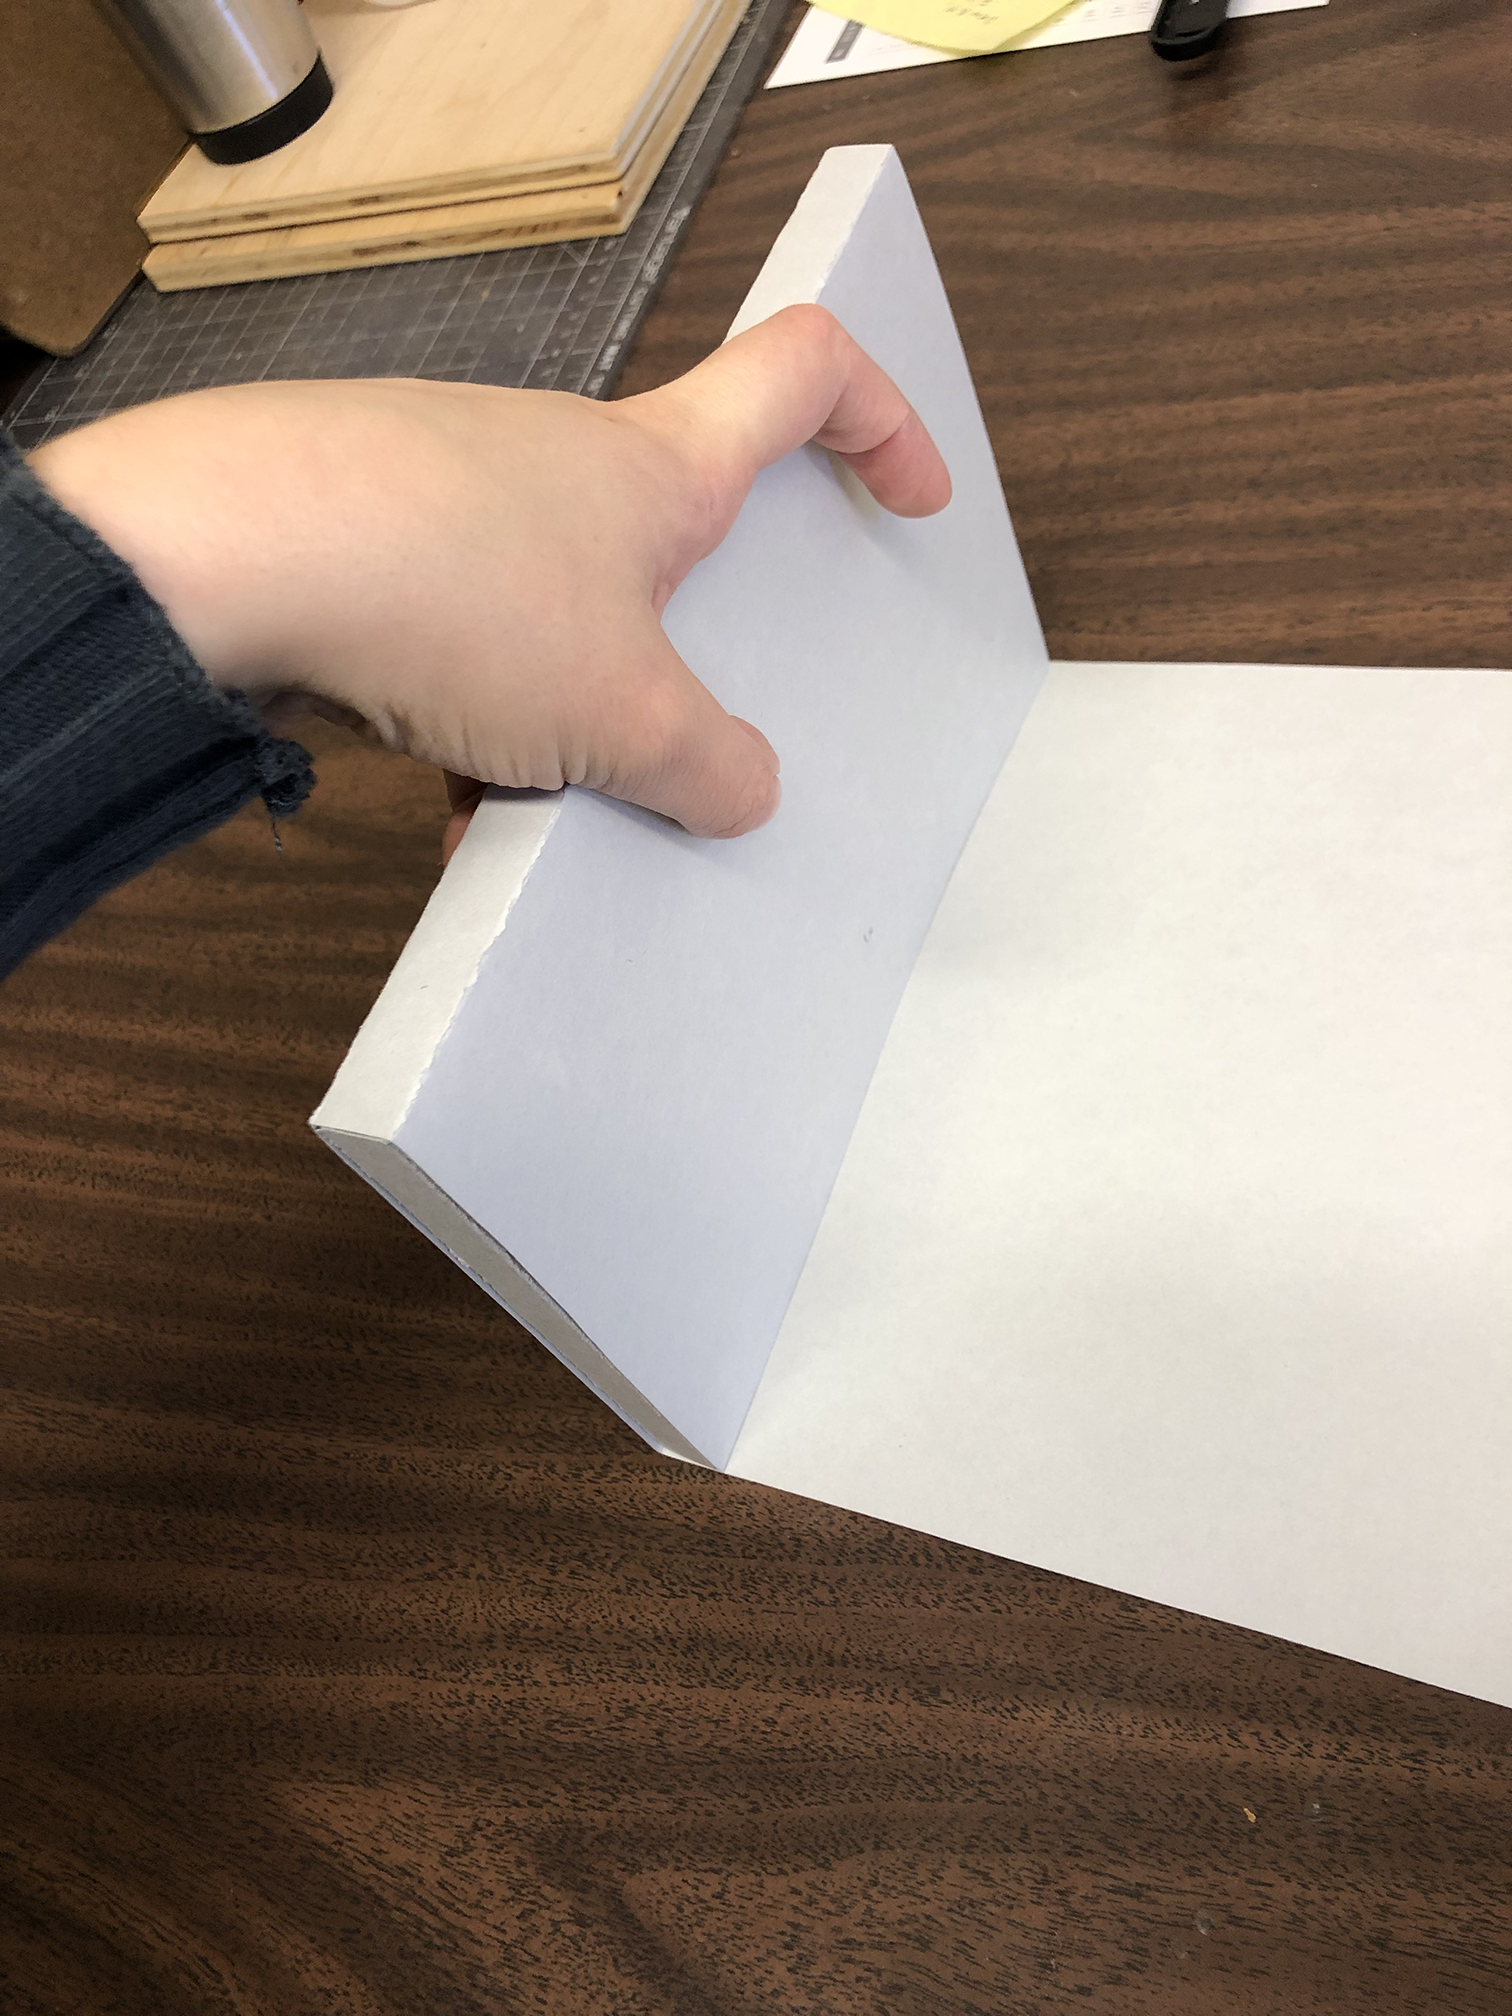
Remove the book with the vertical flap wrapped around. On the horizontal flap, in the middle section where the vertical flap lies on top, place two strips of 3M 415 tape running parallel to the folds. The top and bottom edges of the tape strips should have some space from the top and bottom edges of the strip. Press the tape down thoroughly with a bone folder. Peel off tape backing. Align the book and vertical flap with the third flap and wrap the horizontal strip around the book and vertical flap. Press the strips together firmly. The strips are now attached to each other.
Step 5: Making the Tab Closure

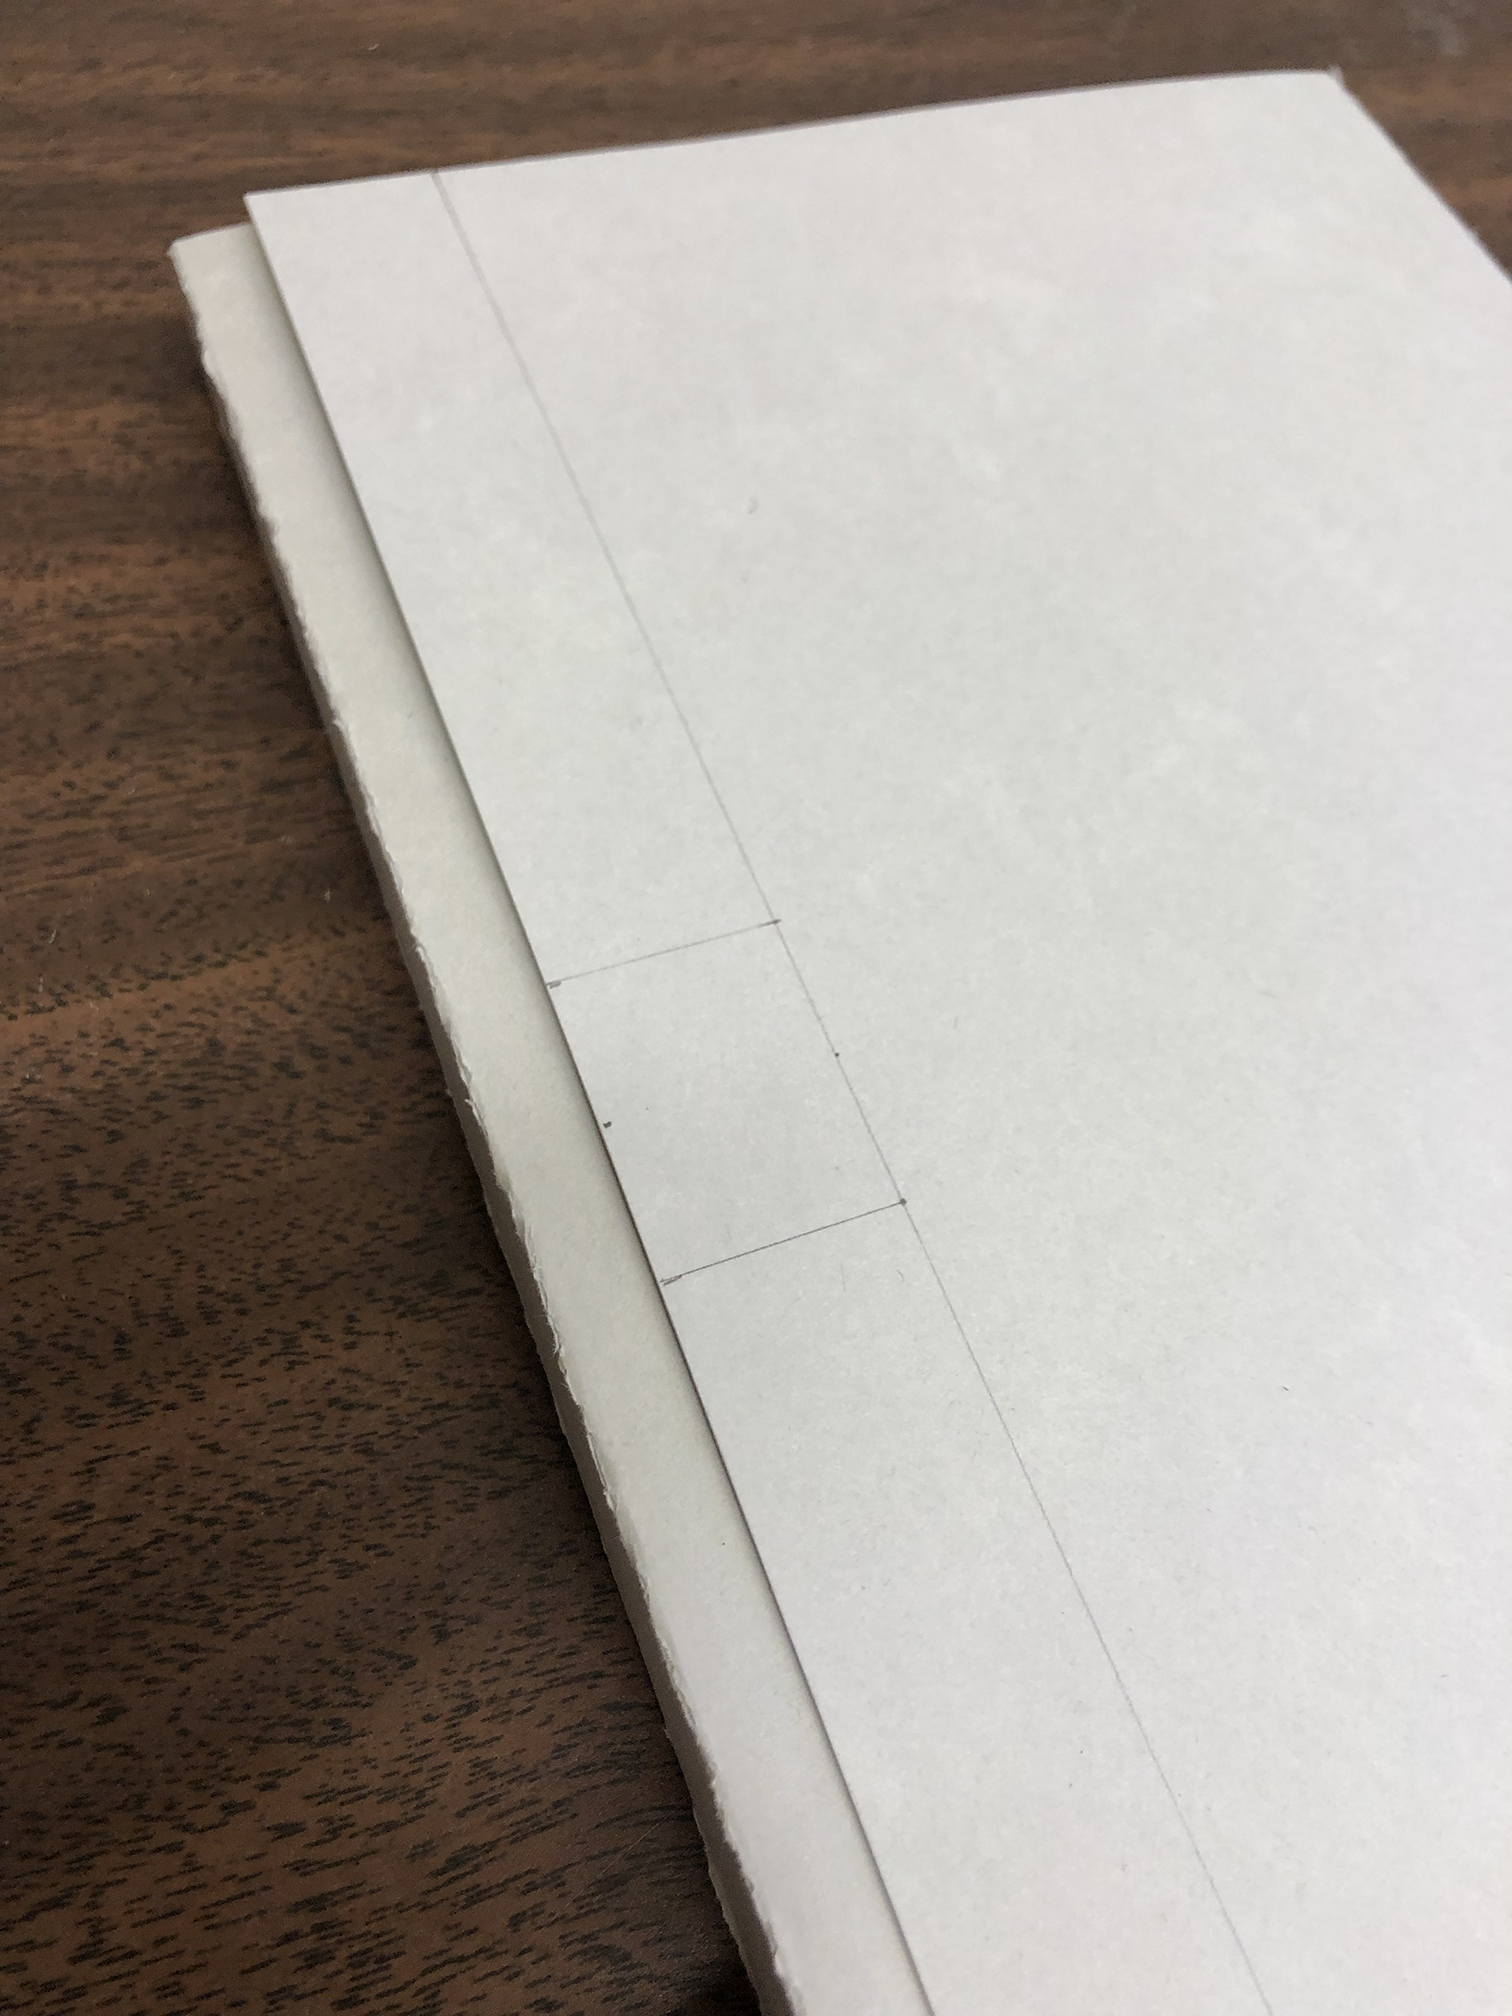
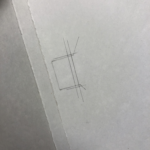
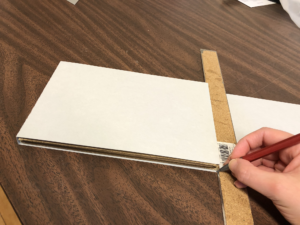
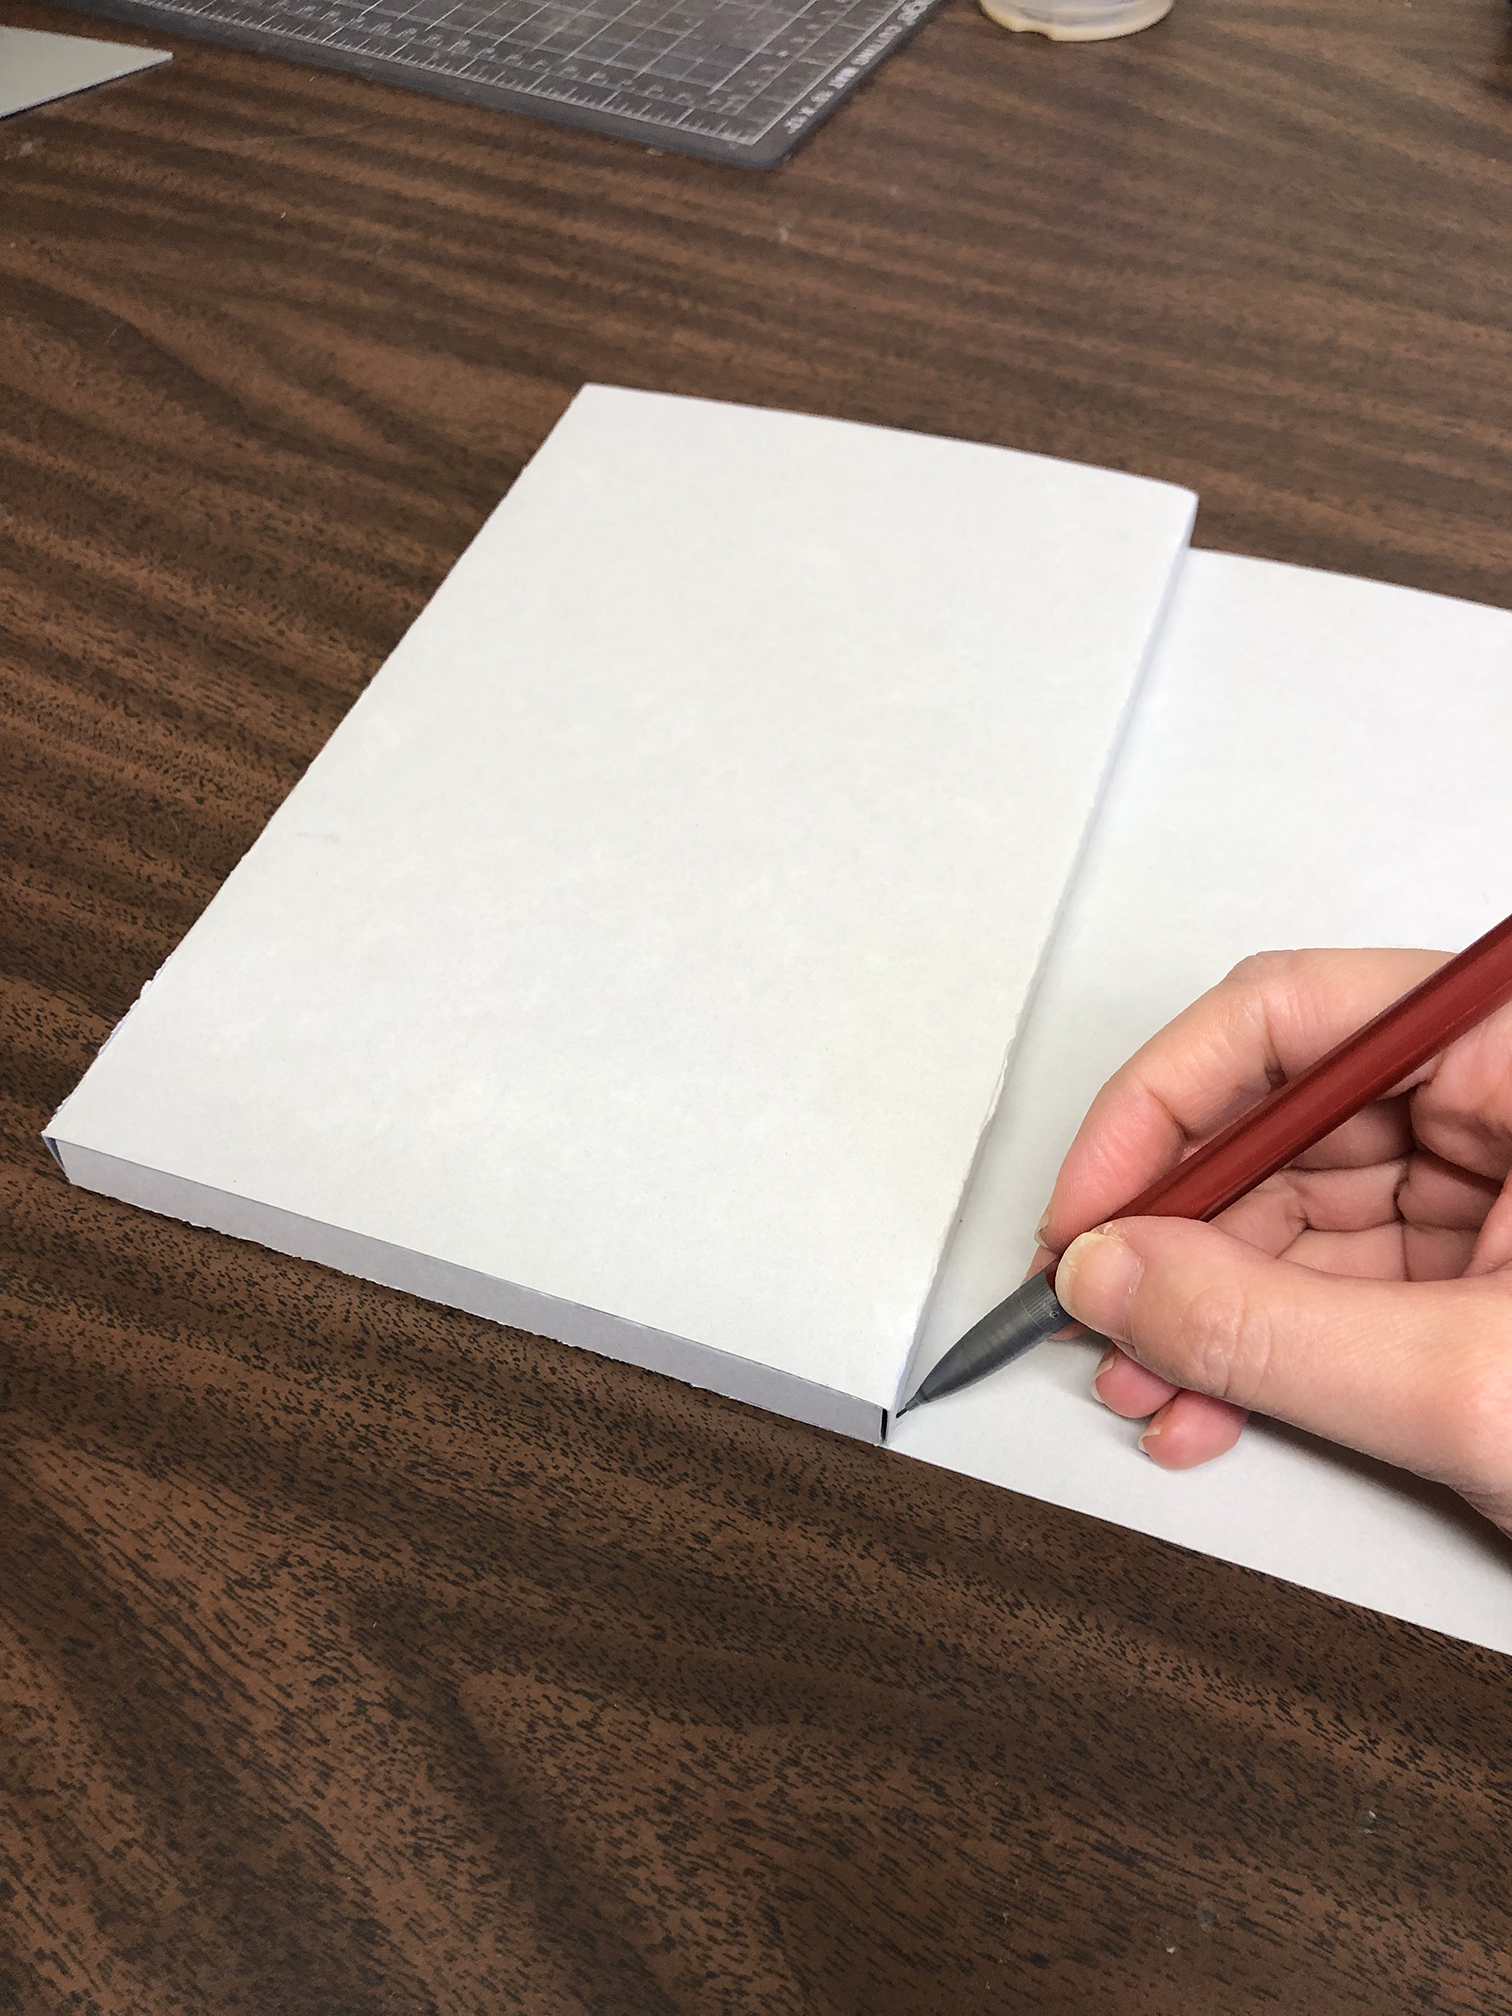
Part A: Cut off a quarter inch from the fourth flap. Measuring from the edge we just cut off, lightly draw a vertical line ¾ inch away from the edge. Mark the center of the left edge of the flap and on the line (using millimeters for this measurement might be helpful for accuracy). Measure half an inch on each side of the midpoint and make marks on the edge of the flap and on the line. Connect the marks by drawing lines. Cut along the lines to create the tab.
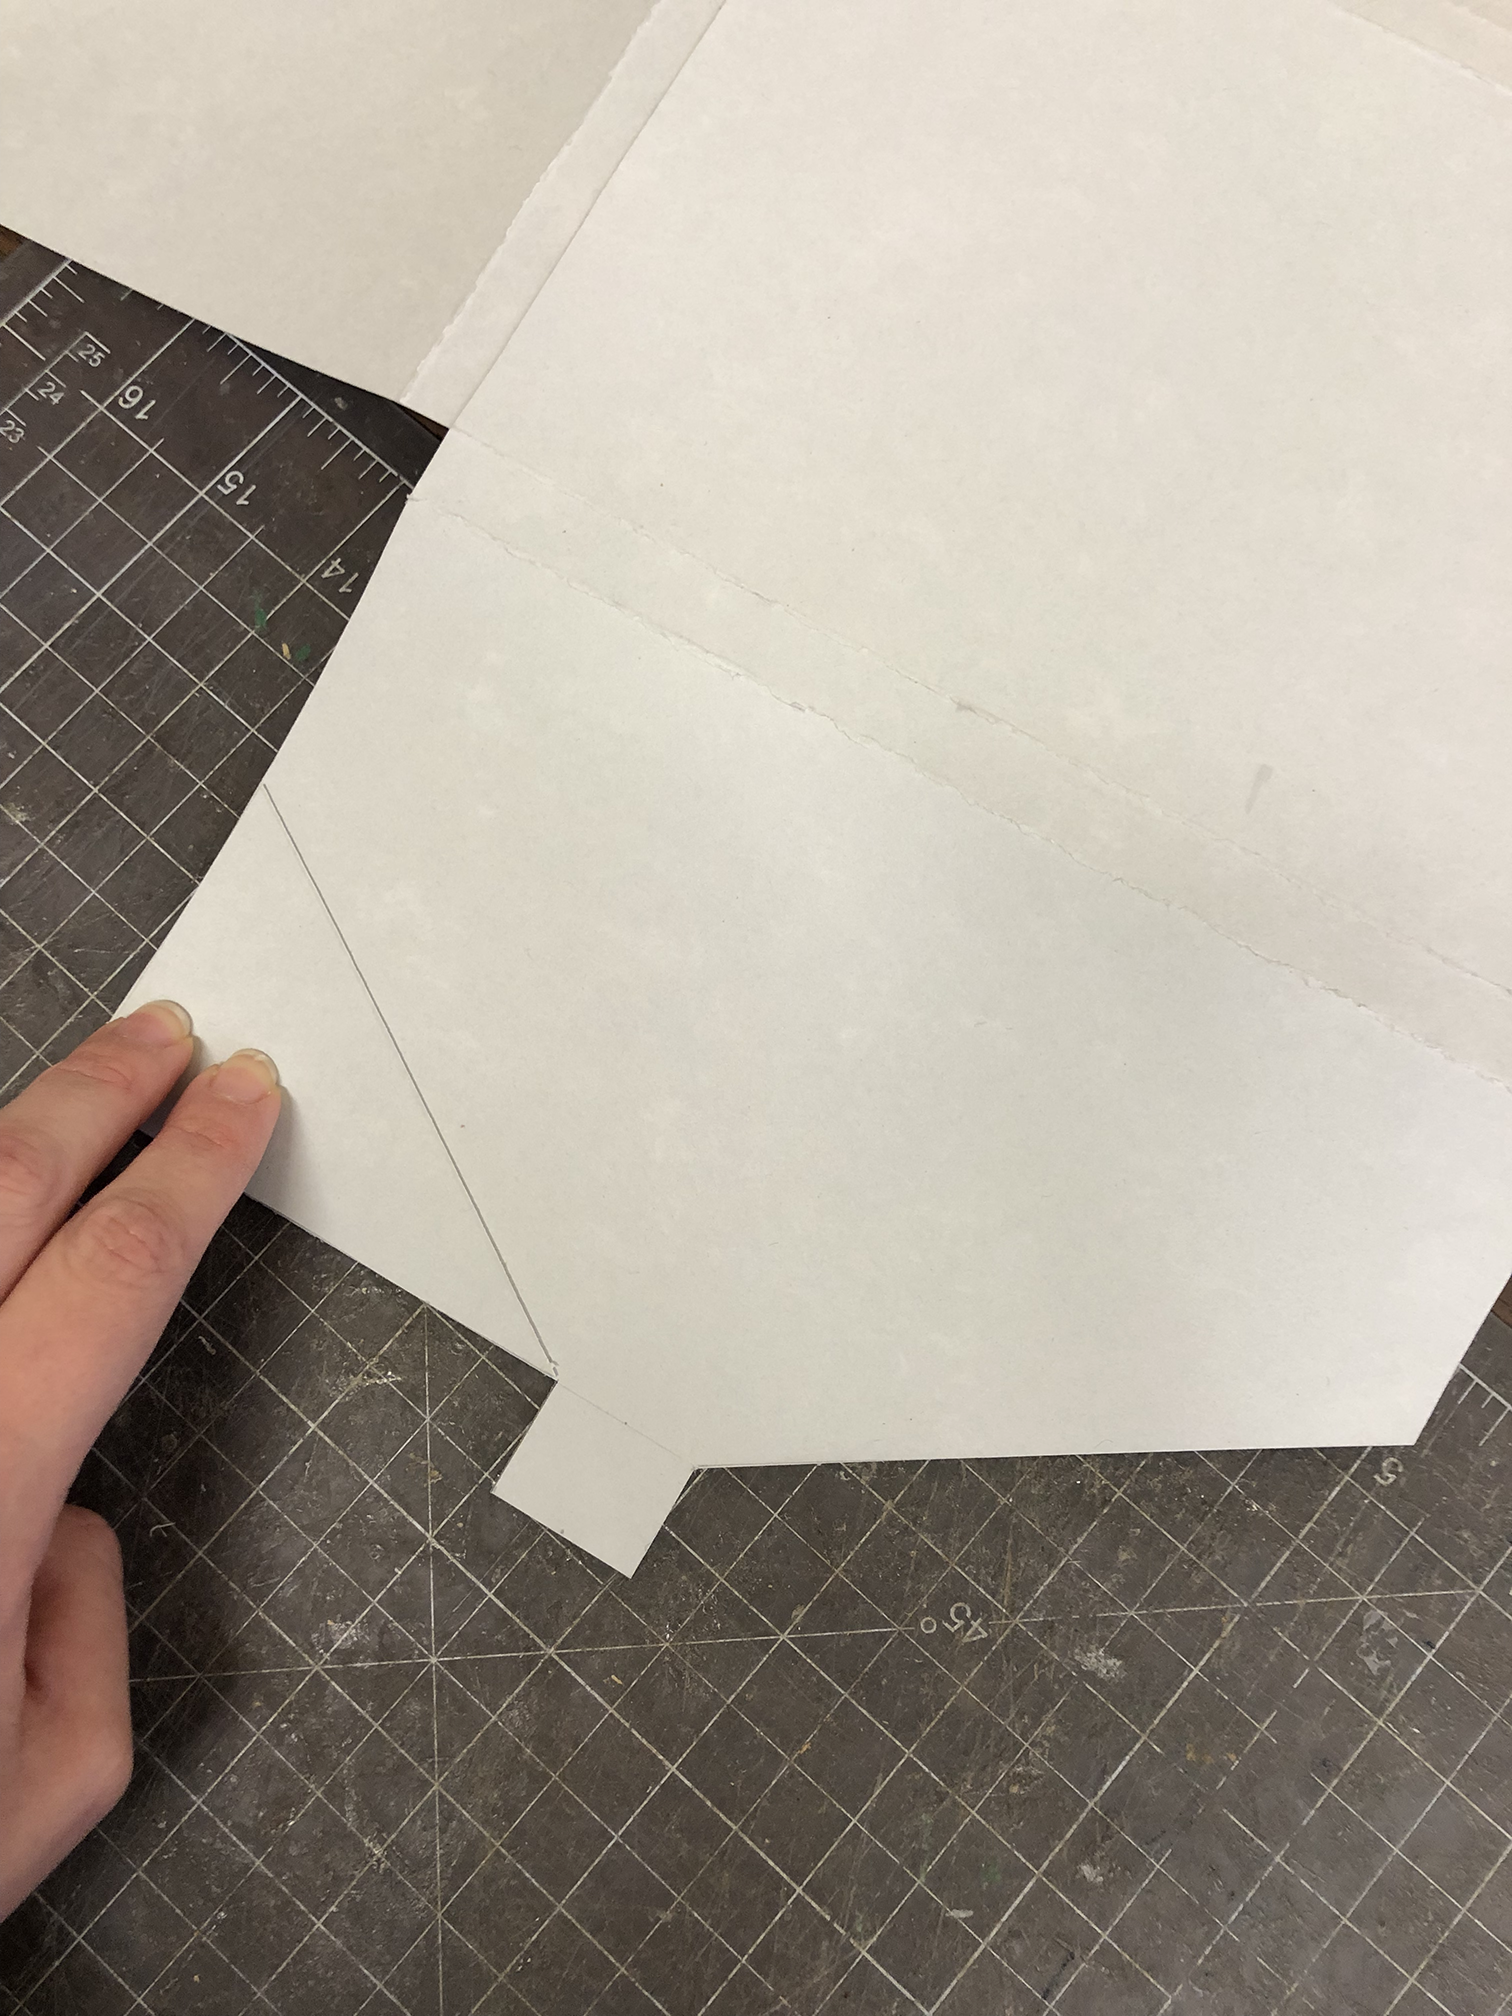 Part B: Lightly draw a diagonal line from the corner of the tab to the bottom edge of the flap. The line should end a little past halfway of the bottom edge. Cut along the diagonal line. Use the triangle piece to create a diagonal line on the opposite side of the flap and cut along that line.
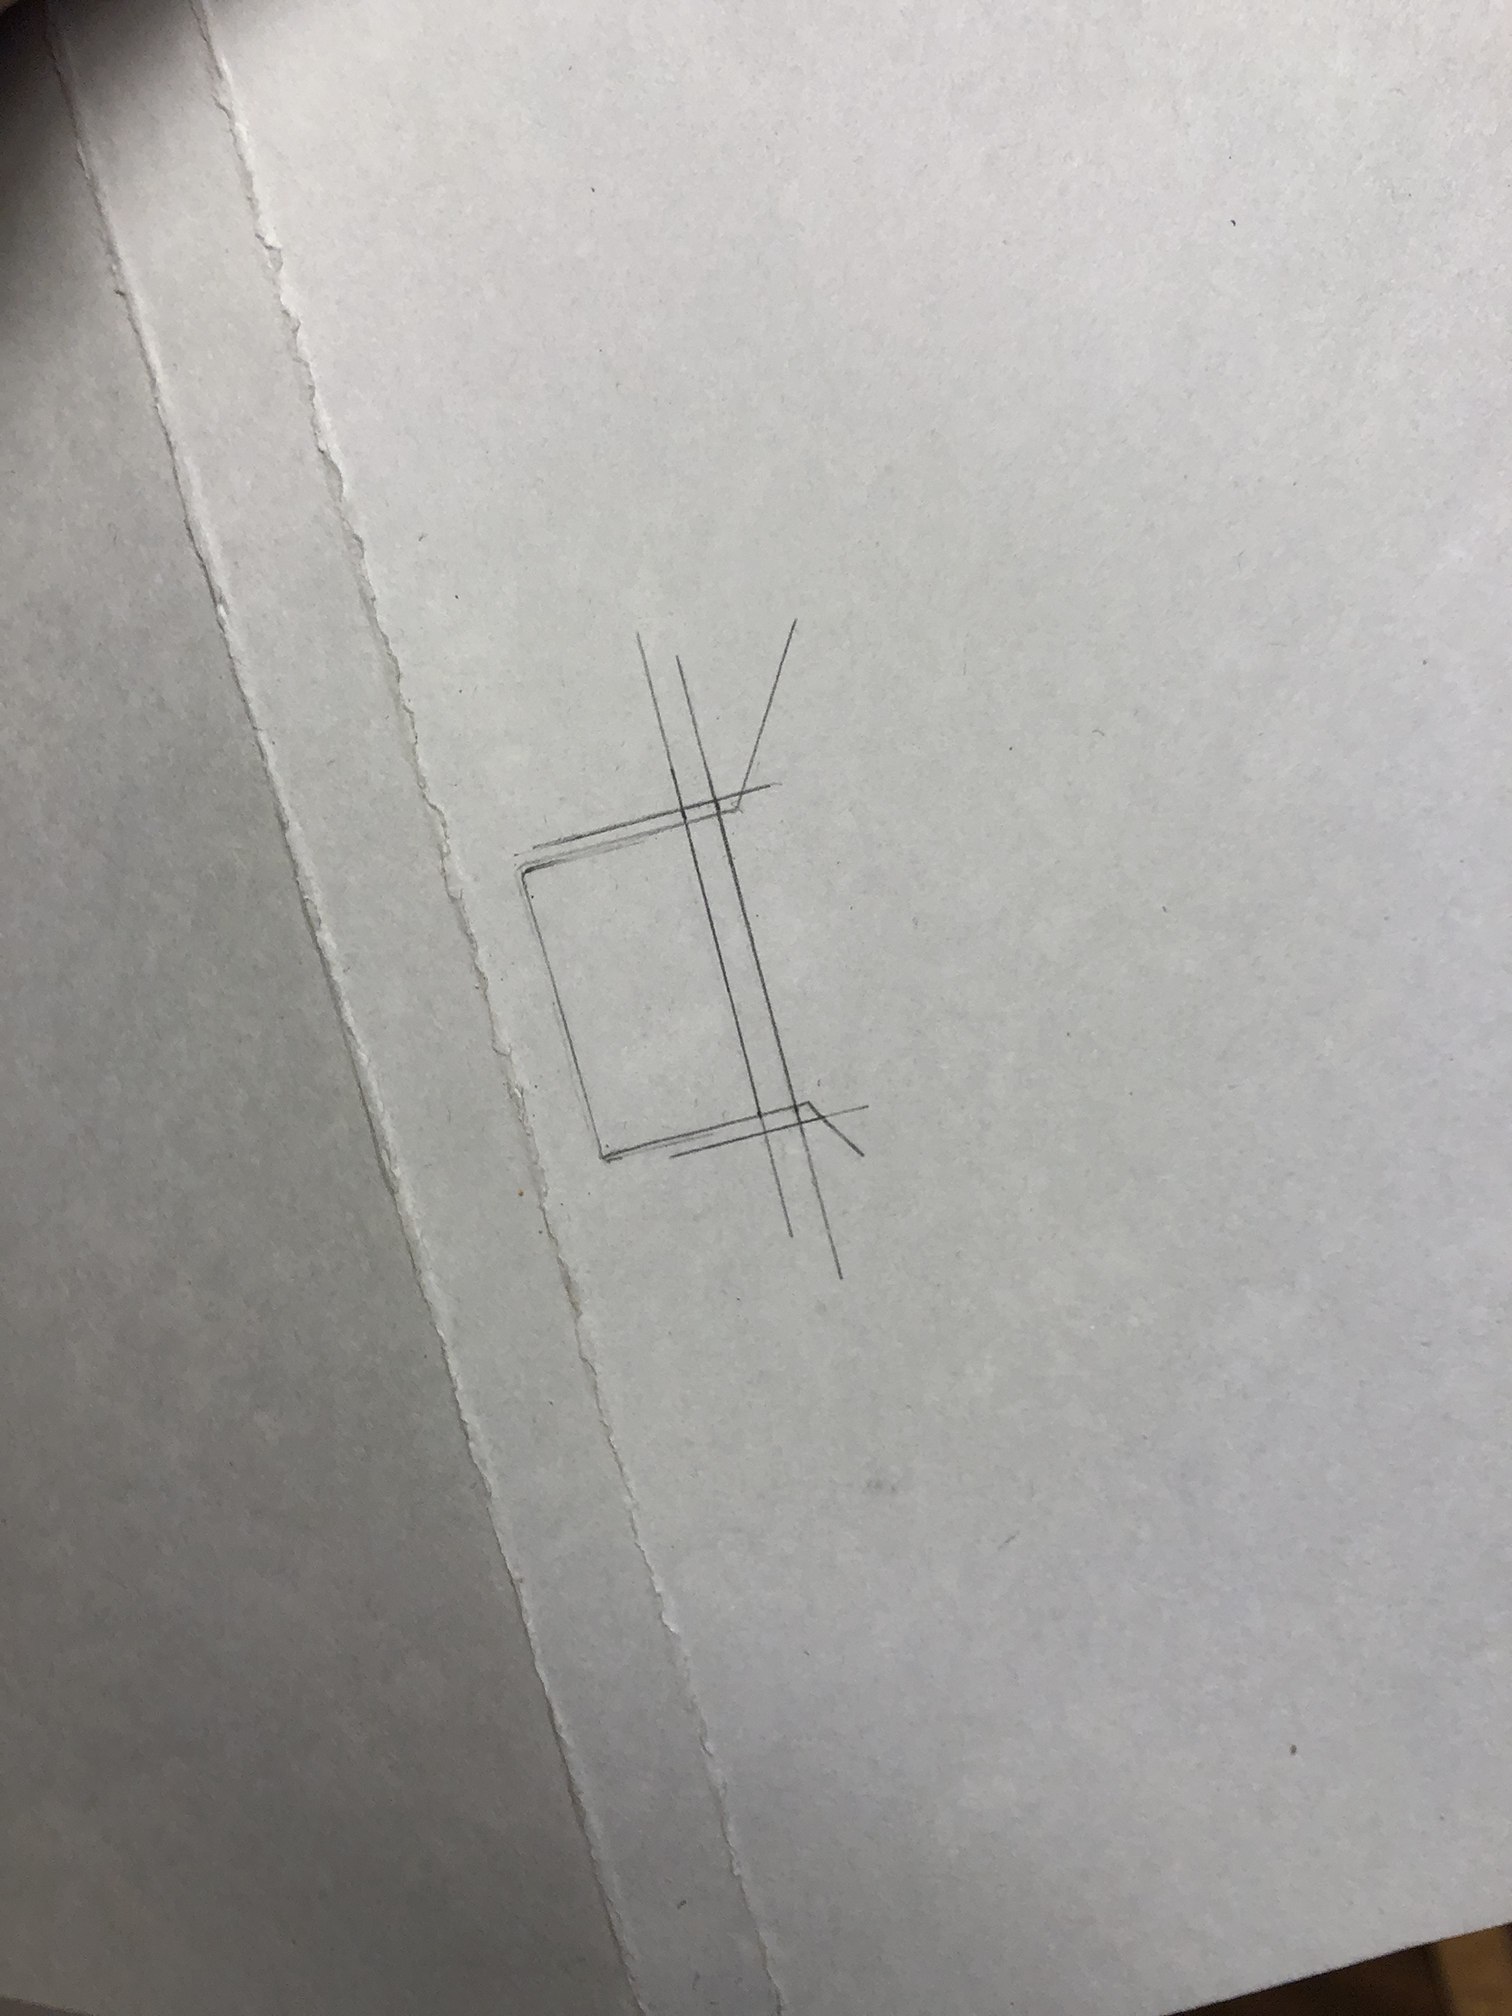
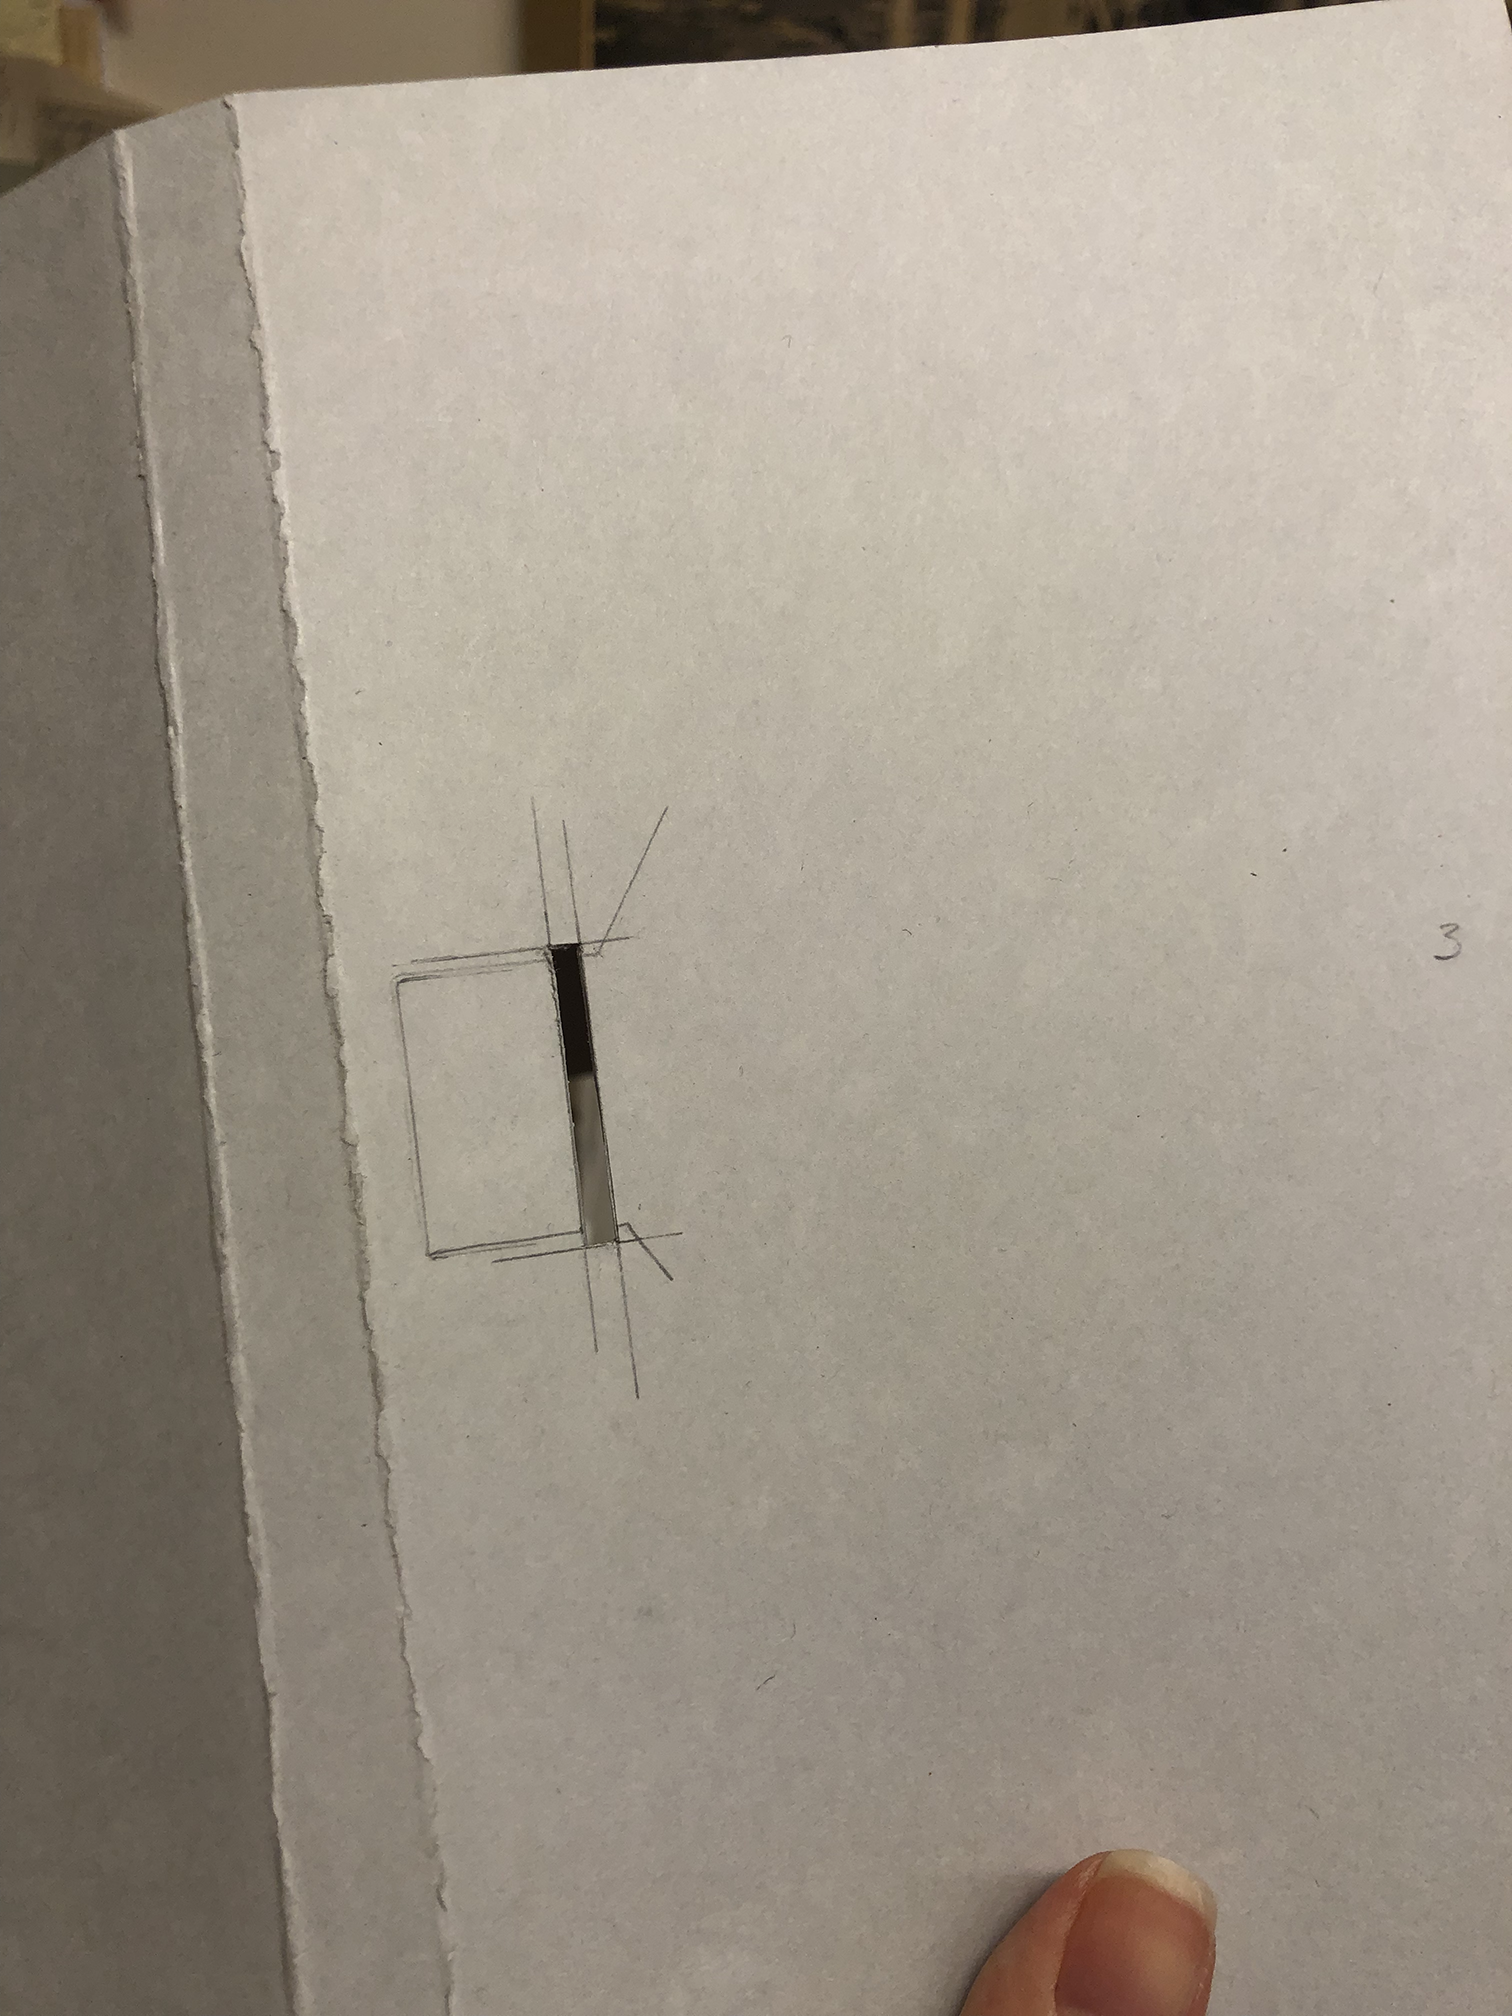
Part C: Using a pencil, trace around the tab and the diagonal edges on the third flap. This will help you figure out where to make the opening to put the tab in. The opening should be 1/8 inch away from the bottom of the tab. The opening should be 1/8 inch wide and 1 and 1/8 inch long (1/16 inch on each side of the tab). Lightly draw lines for the opening. Cut along the lines using an X-Acto knife – take your time and be very careful.
Part D: Erase all pencil marks and test the tab and opening. You can also erase the number marks on the flaps.

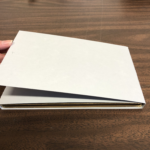
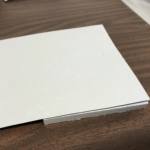
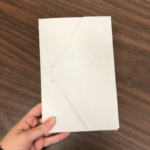
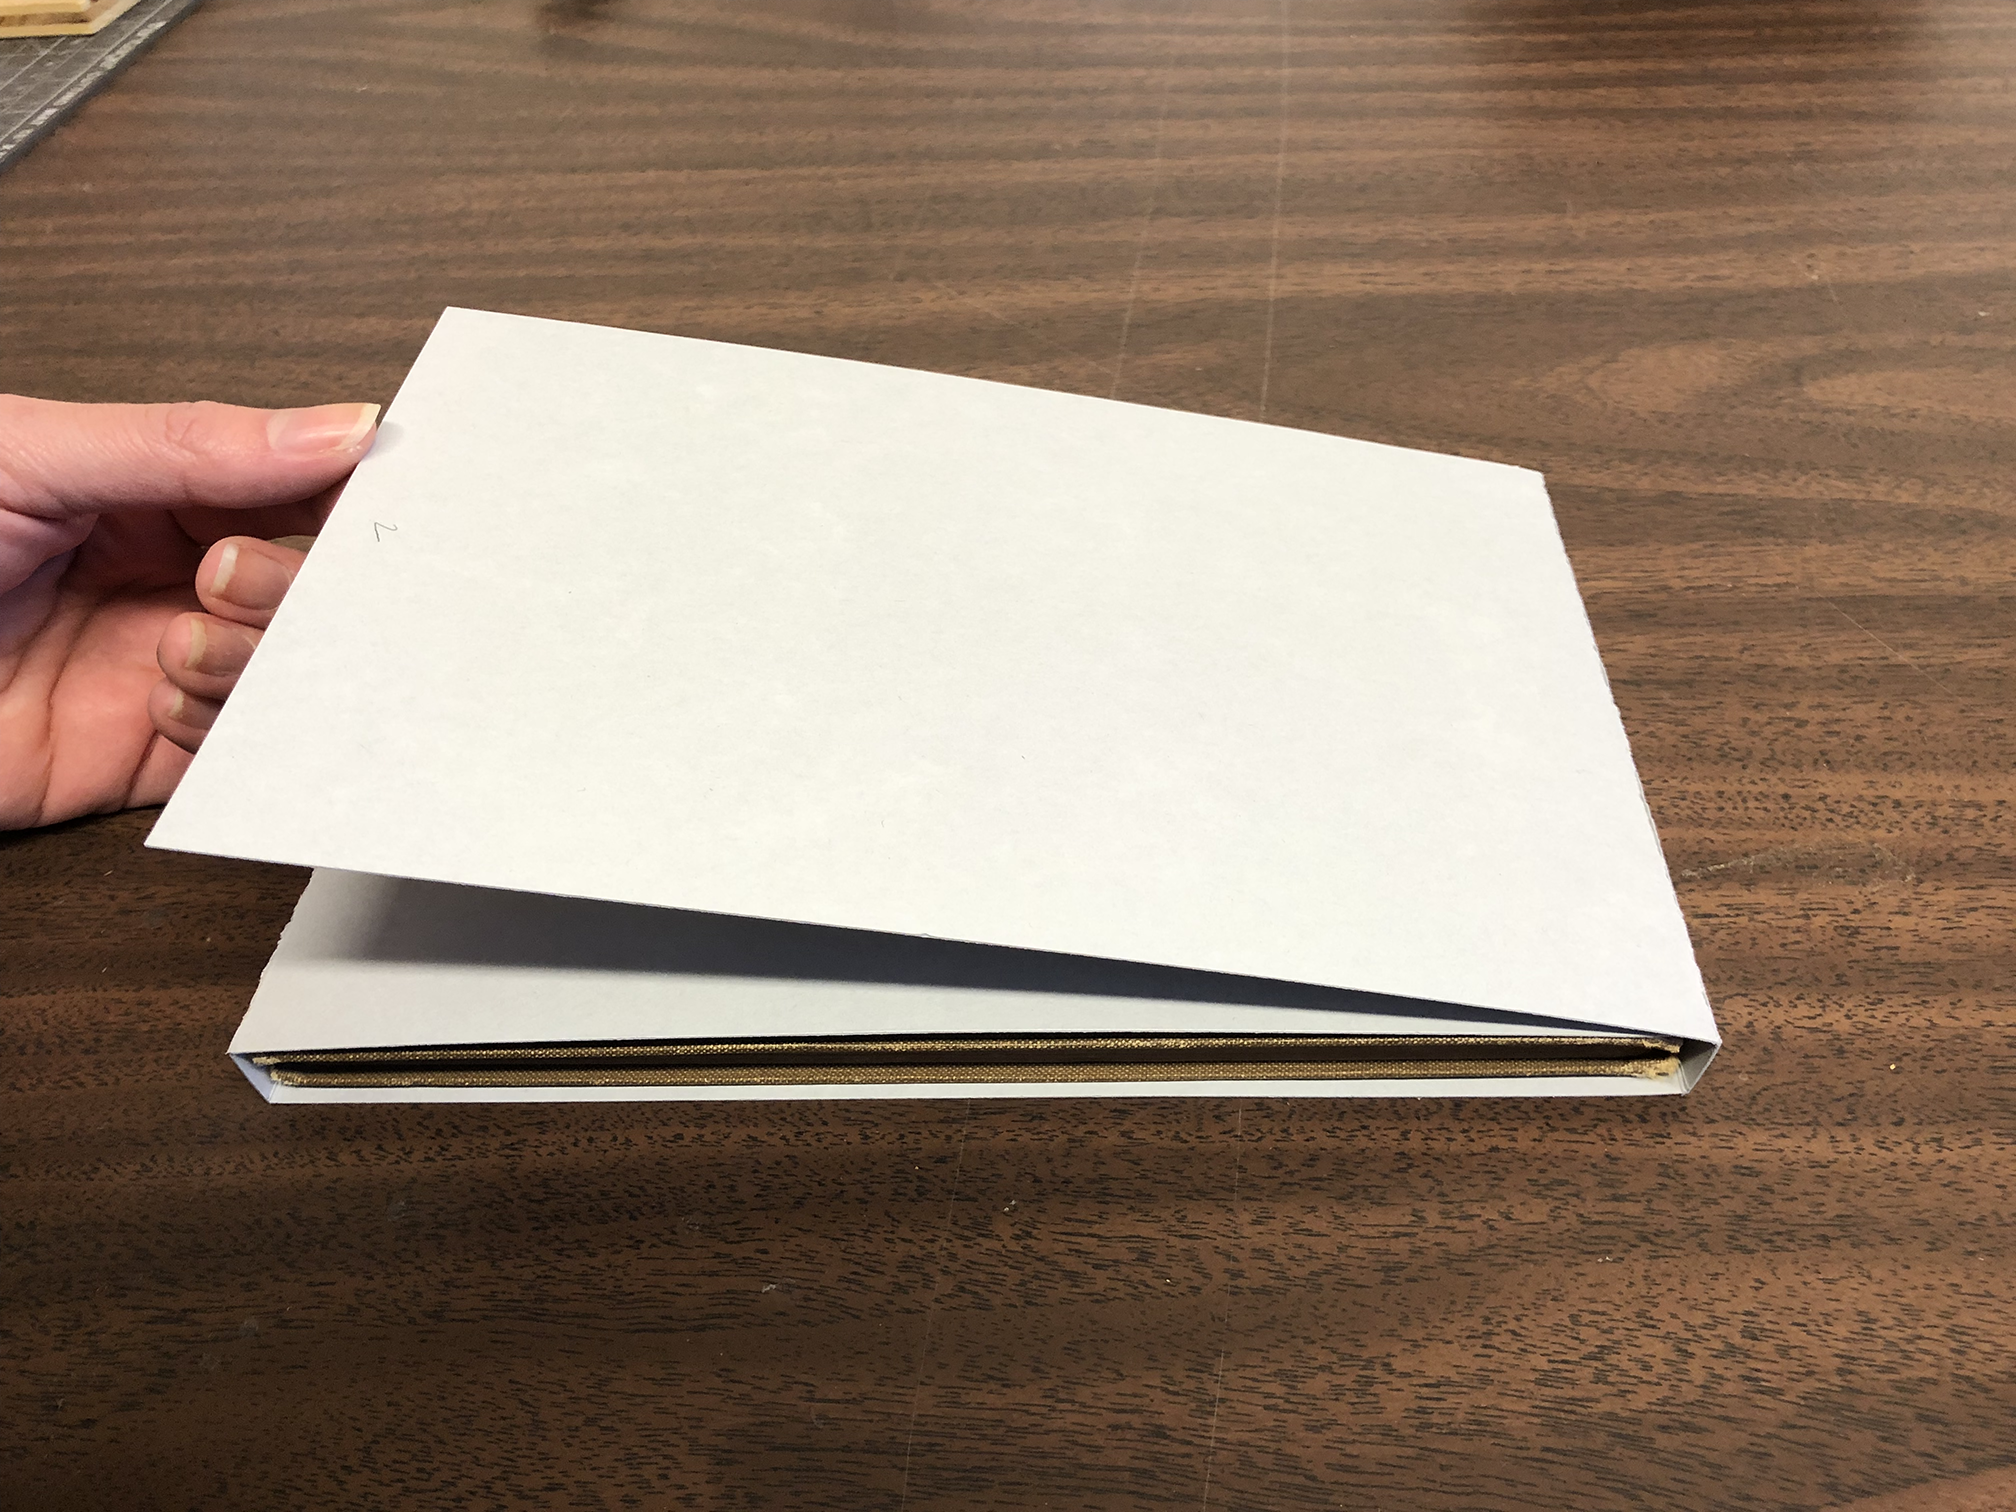
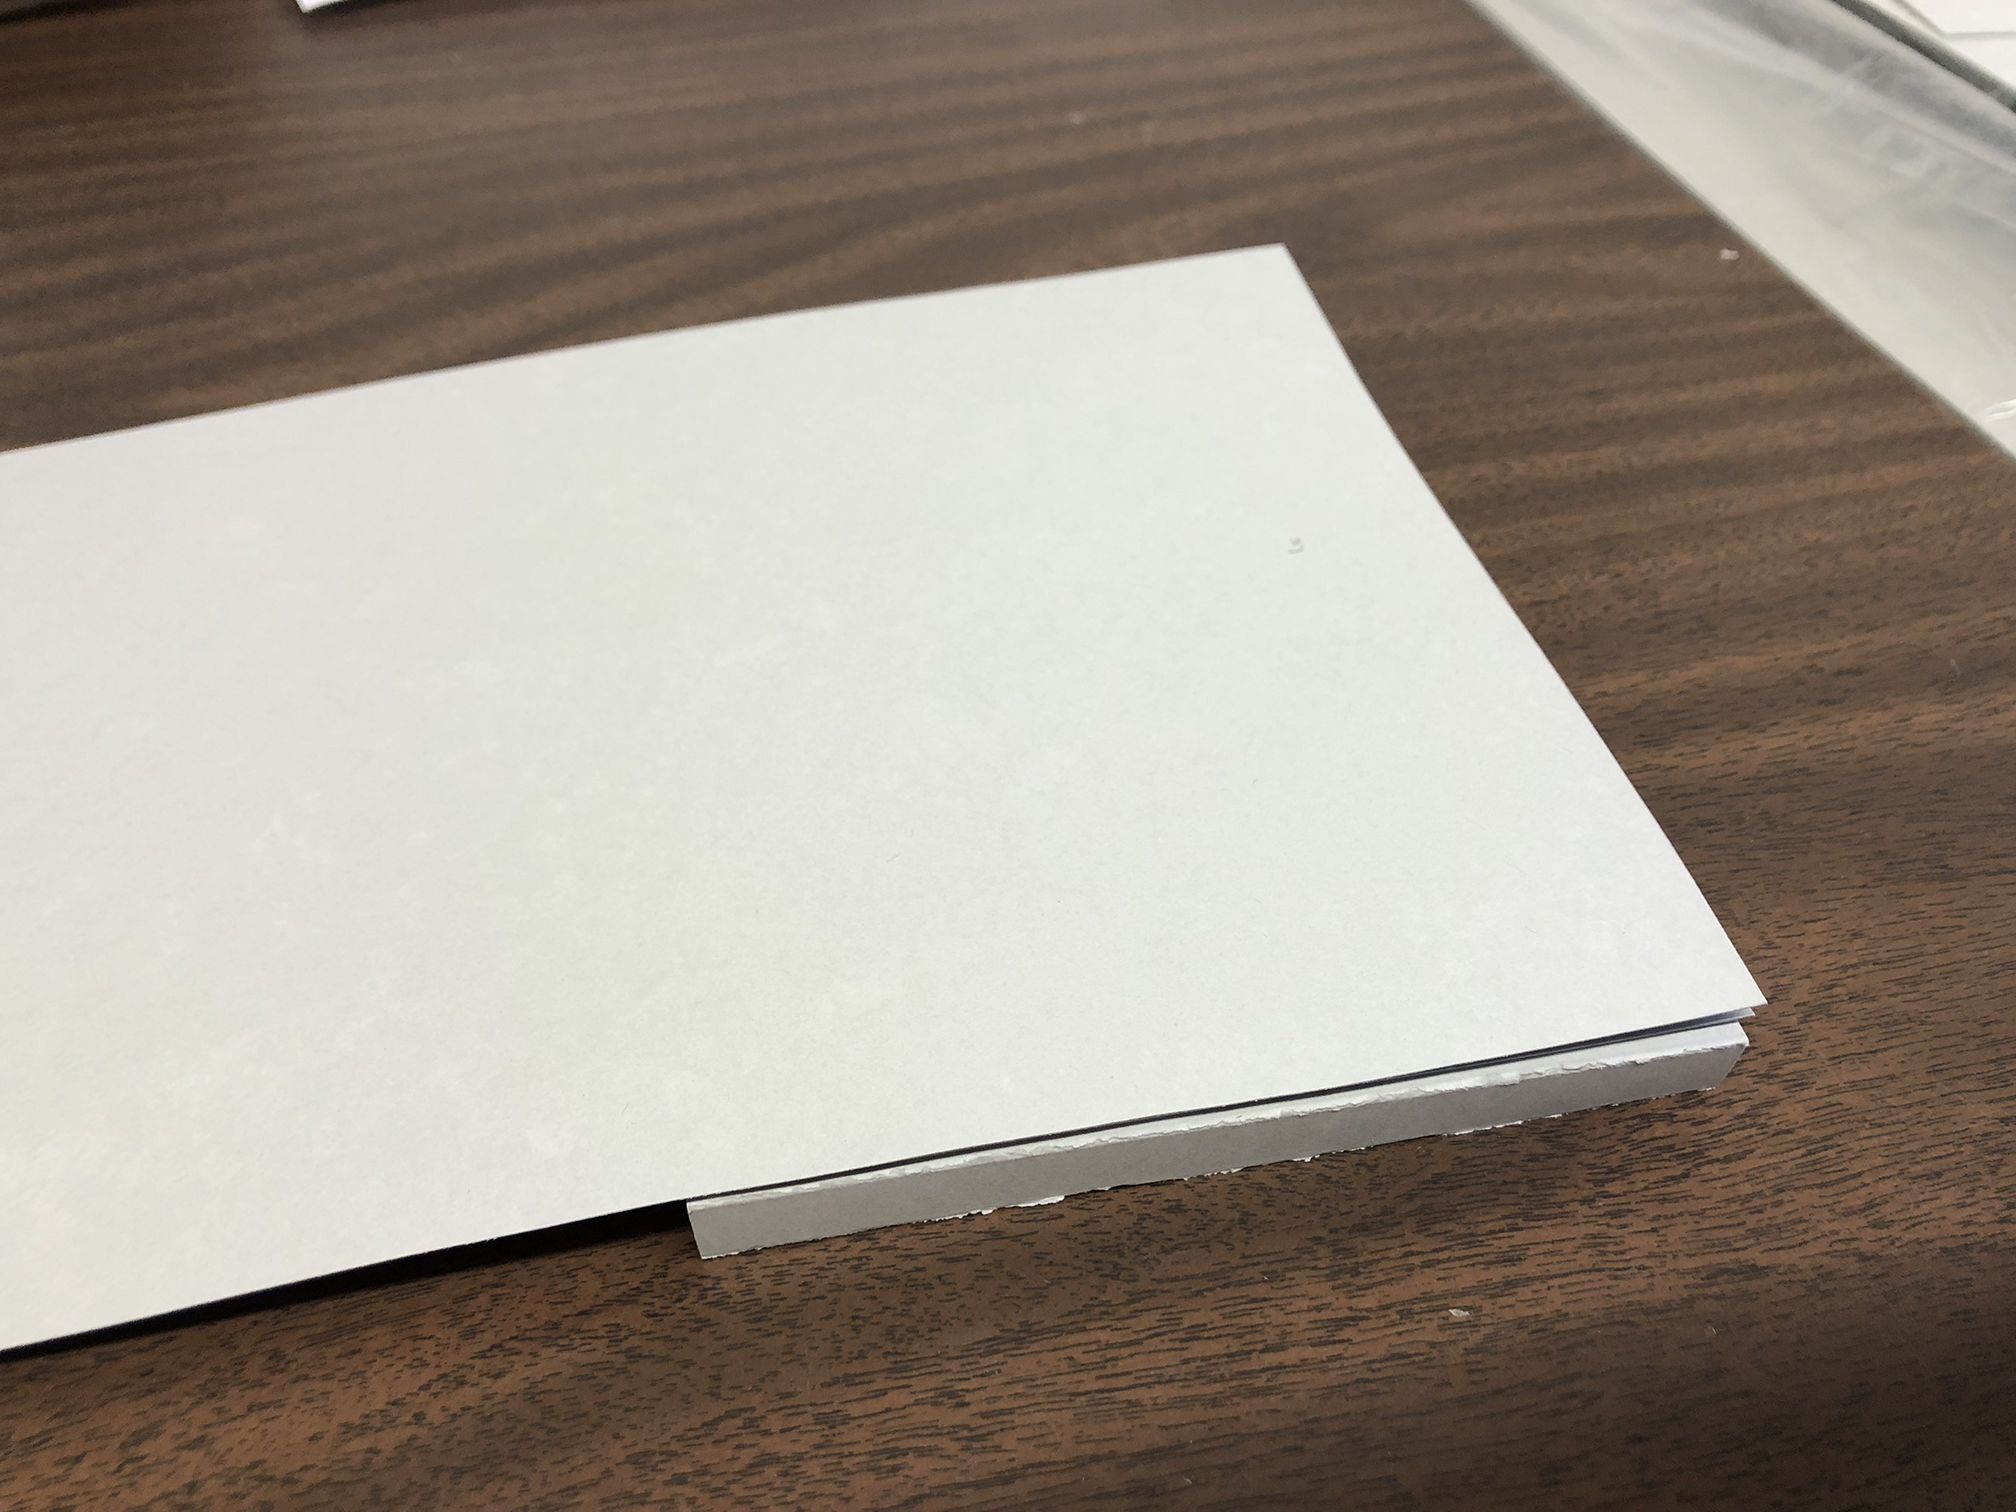
The final product.
Additional Resources and References:
- Video tutorial: https://vimeo.com/100139002 (note: this video covers the basics for creating four-flap enclosures; some of the process differ from the instructions outlined in this post.)
- Reference for grain direction: https://mail.artistpaper.com/faq-full/how-can-i-determine-the-grain-direction-of-paper.html