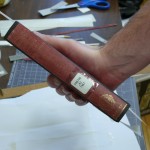
About:
Spine replacements are avery common repair for Ullman Library books. This tutorial will teach you how to replace a loose spine without removing the boards.
Things You Will Need:
- Bone Folder
- Microspatula
- Exacto Knife
- Ruler
- Cutting Mat
- Paint Brush
- PVA Glue
- Wheat Starch Paste
- Folder Stock
- Computer Paper or other Archival paper
- Buckram
Overview of the Process:
Step 1: Preparation
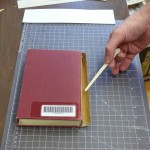
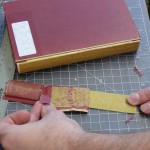
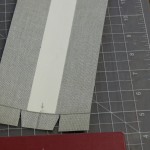
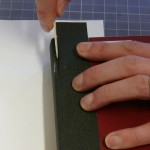
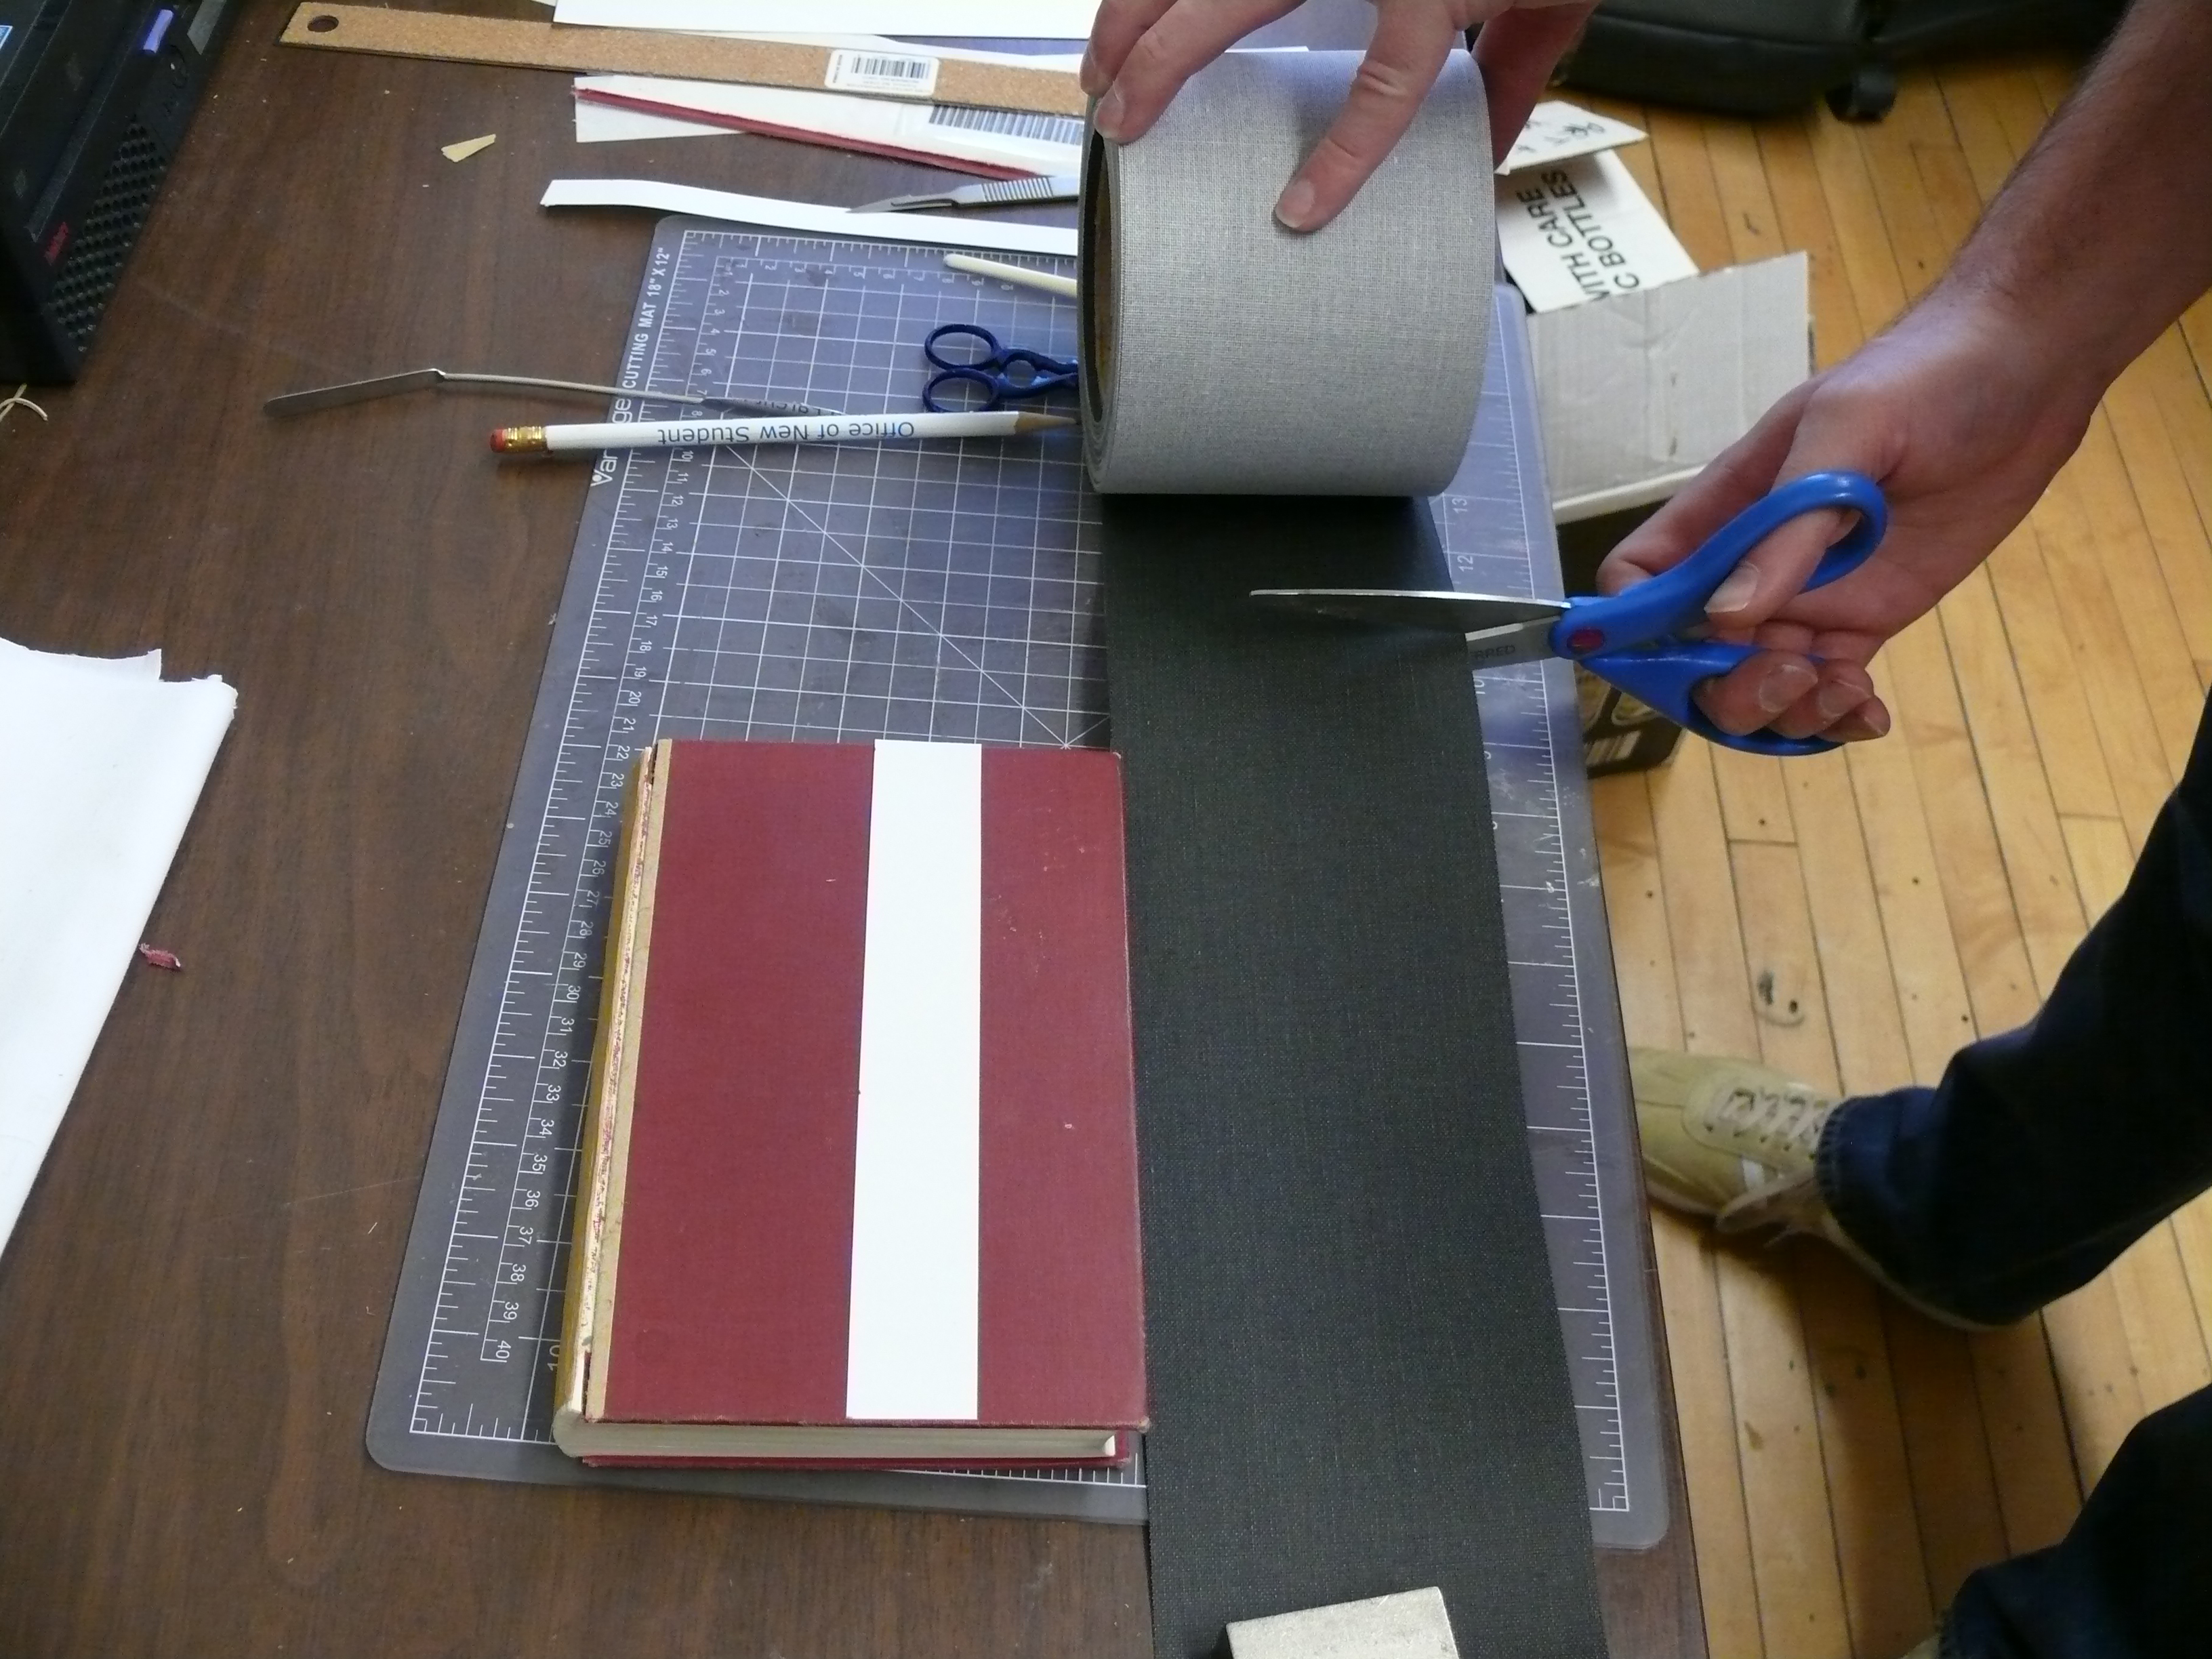
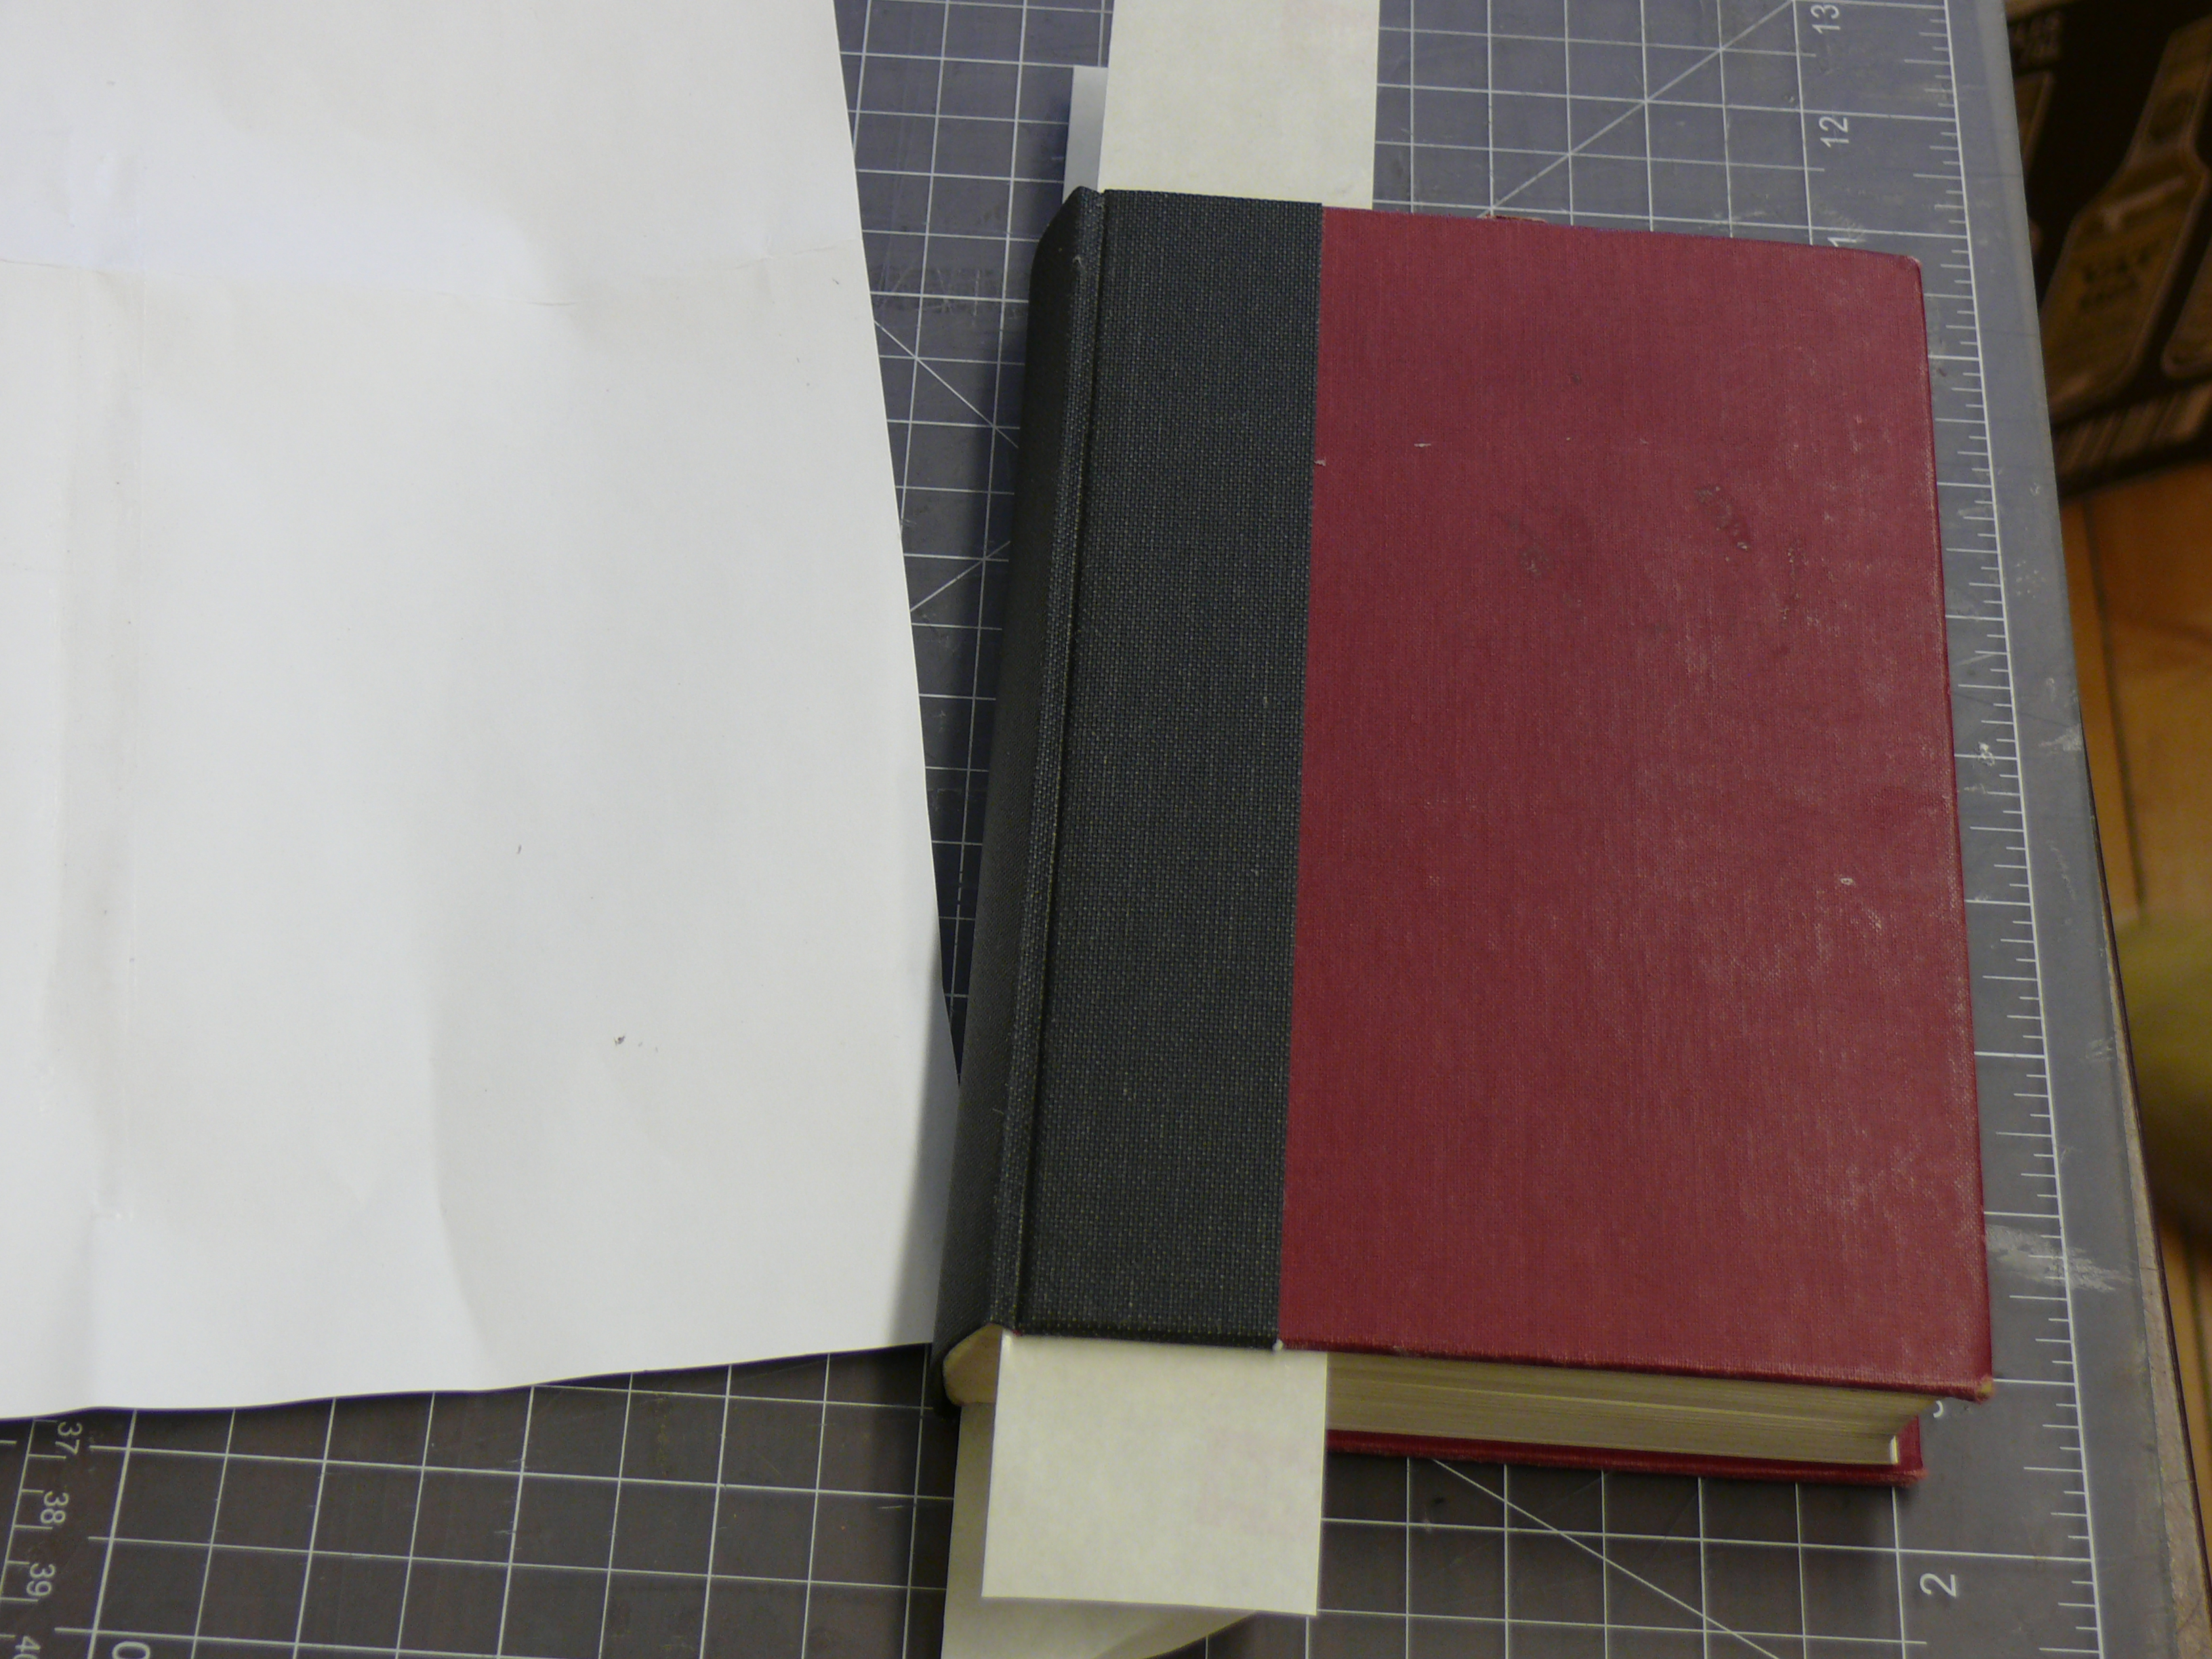
Remove a strip of the book cloth.
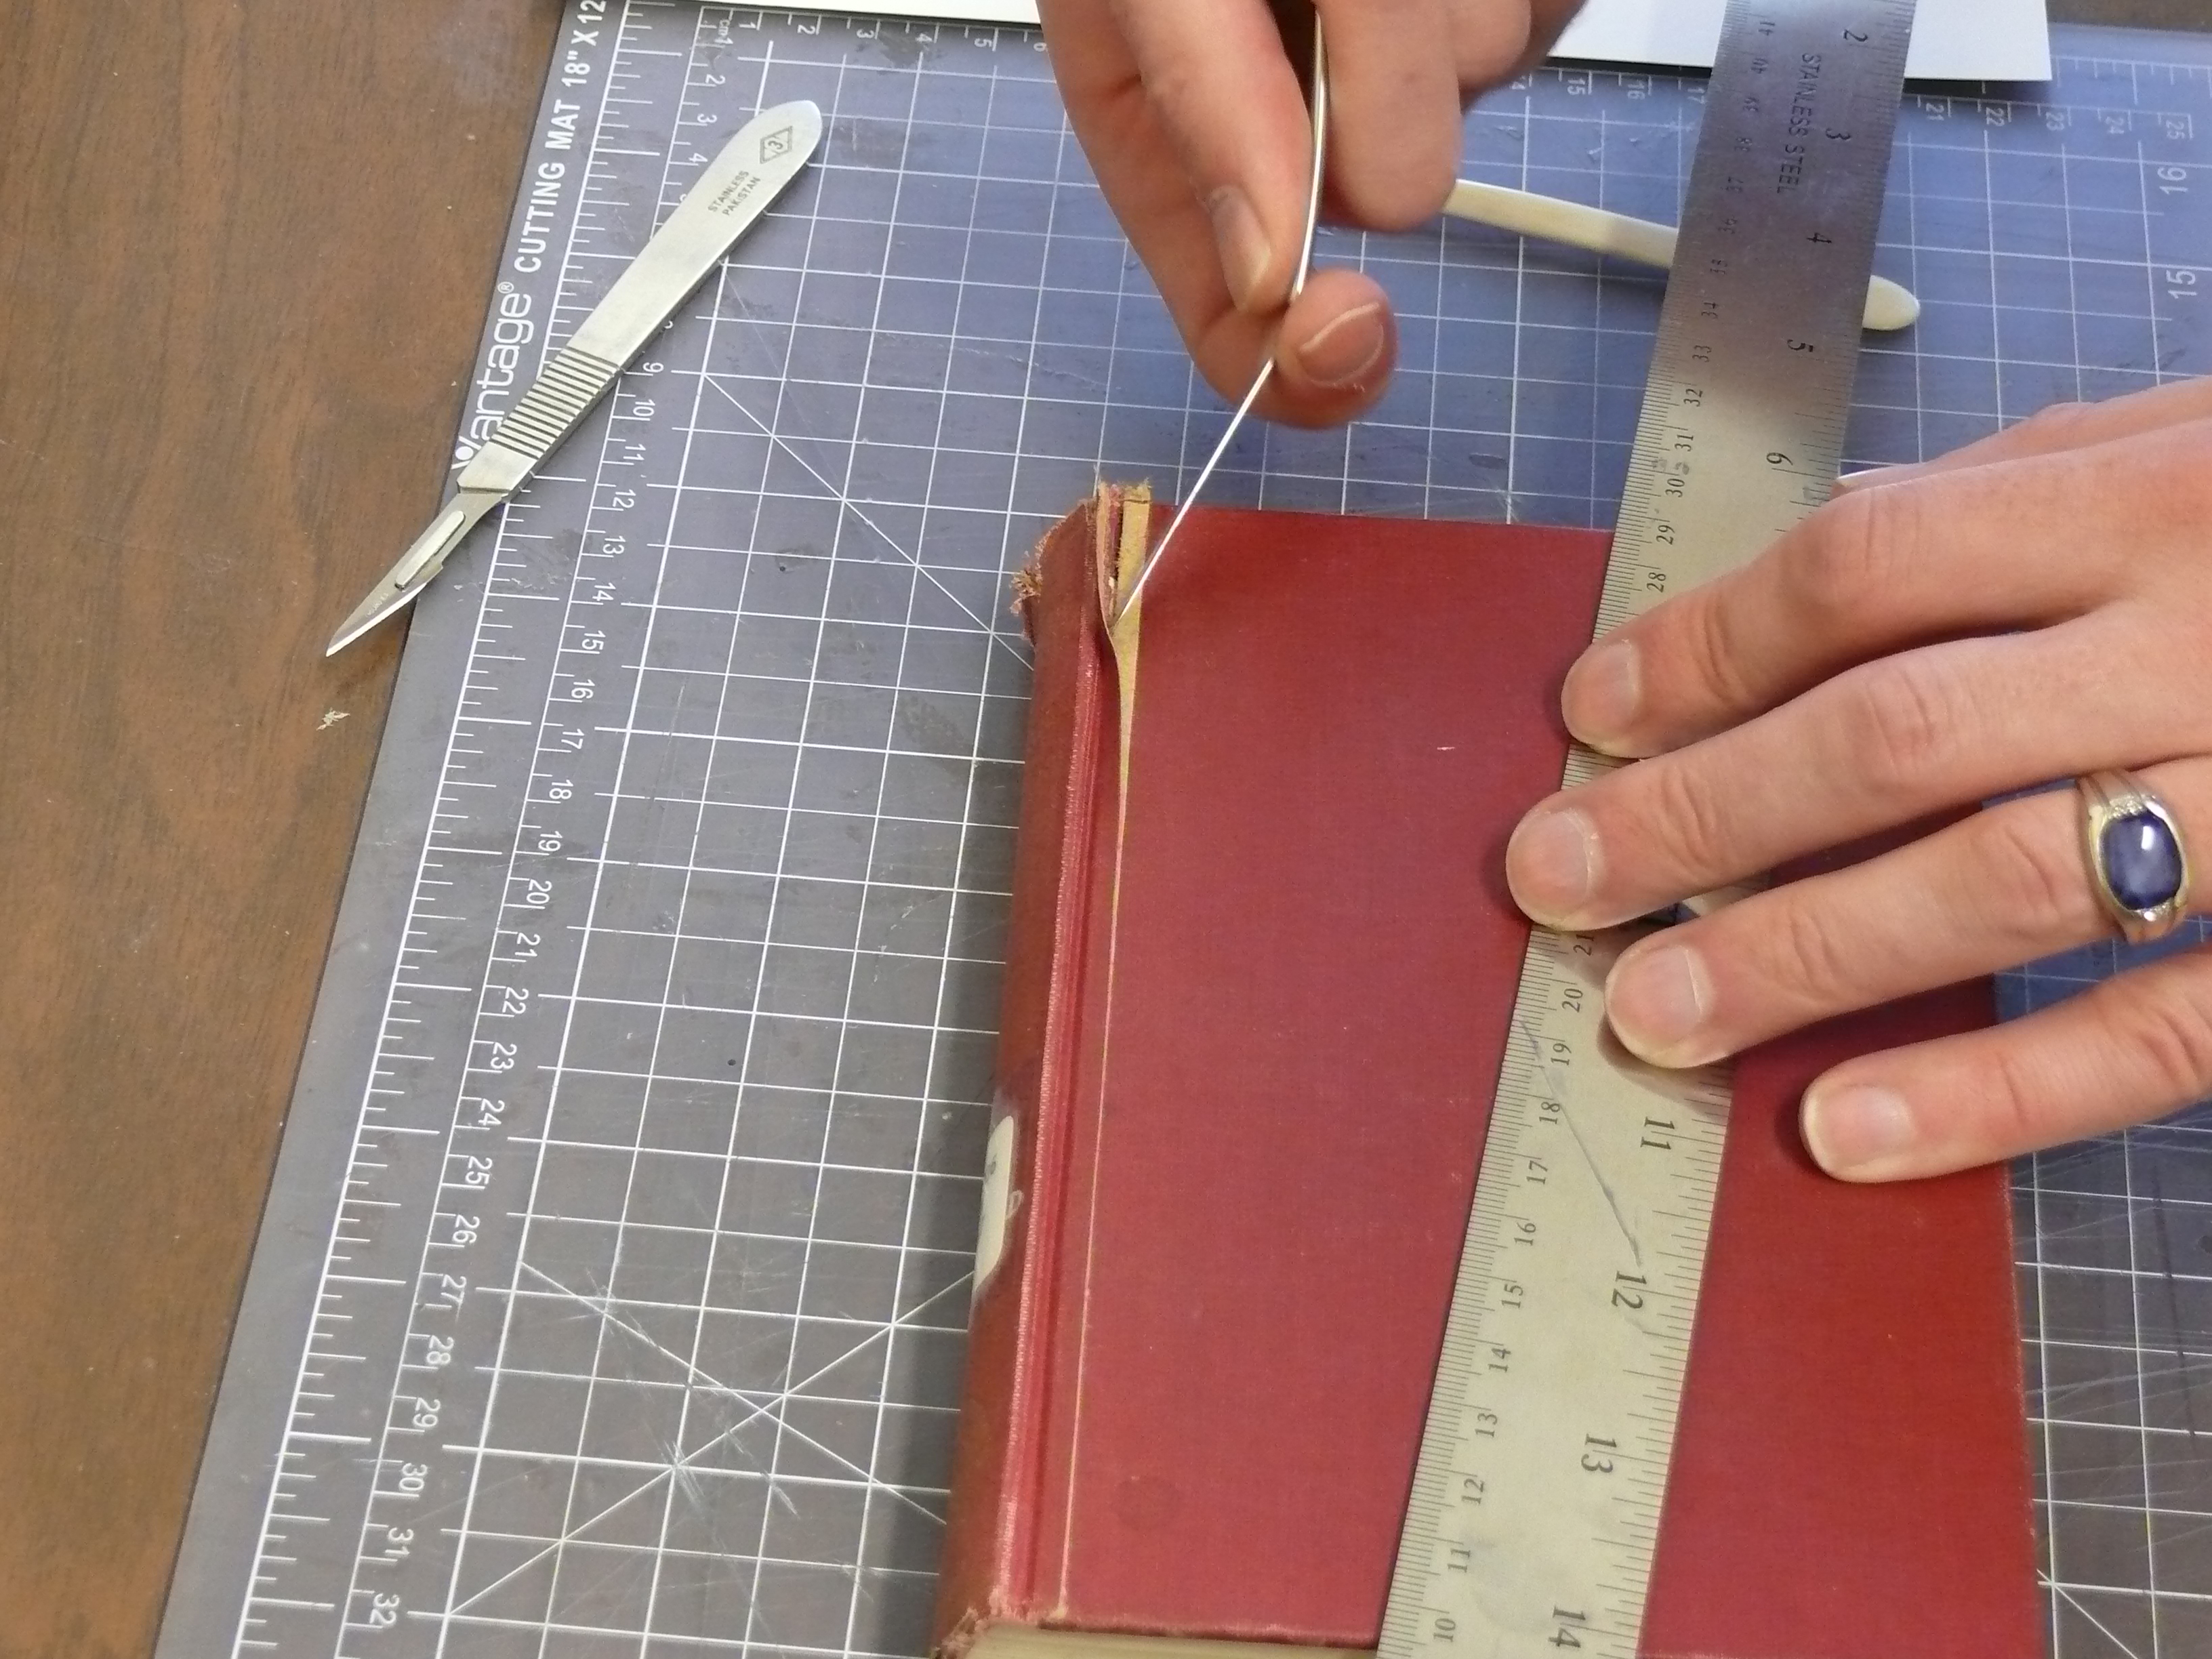
Part A: Place a metal ruler on the front cover of your book approximately a half inch from the edge of the spine. Using a sharp X-acto blade, cut along the length of the ruler from the head of the book to the tail. Remove the loosened strip. Flip over the book and repeat this process on the other. Here the goal is to carefully remove the spine from the book as well as providing a porous surface for glue in the later stage of the repair.
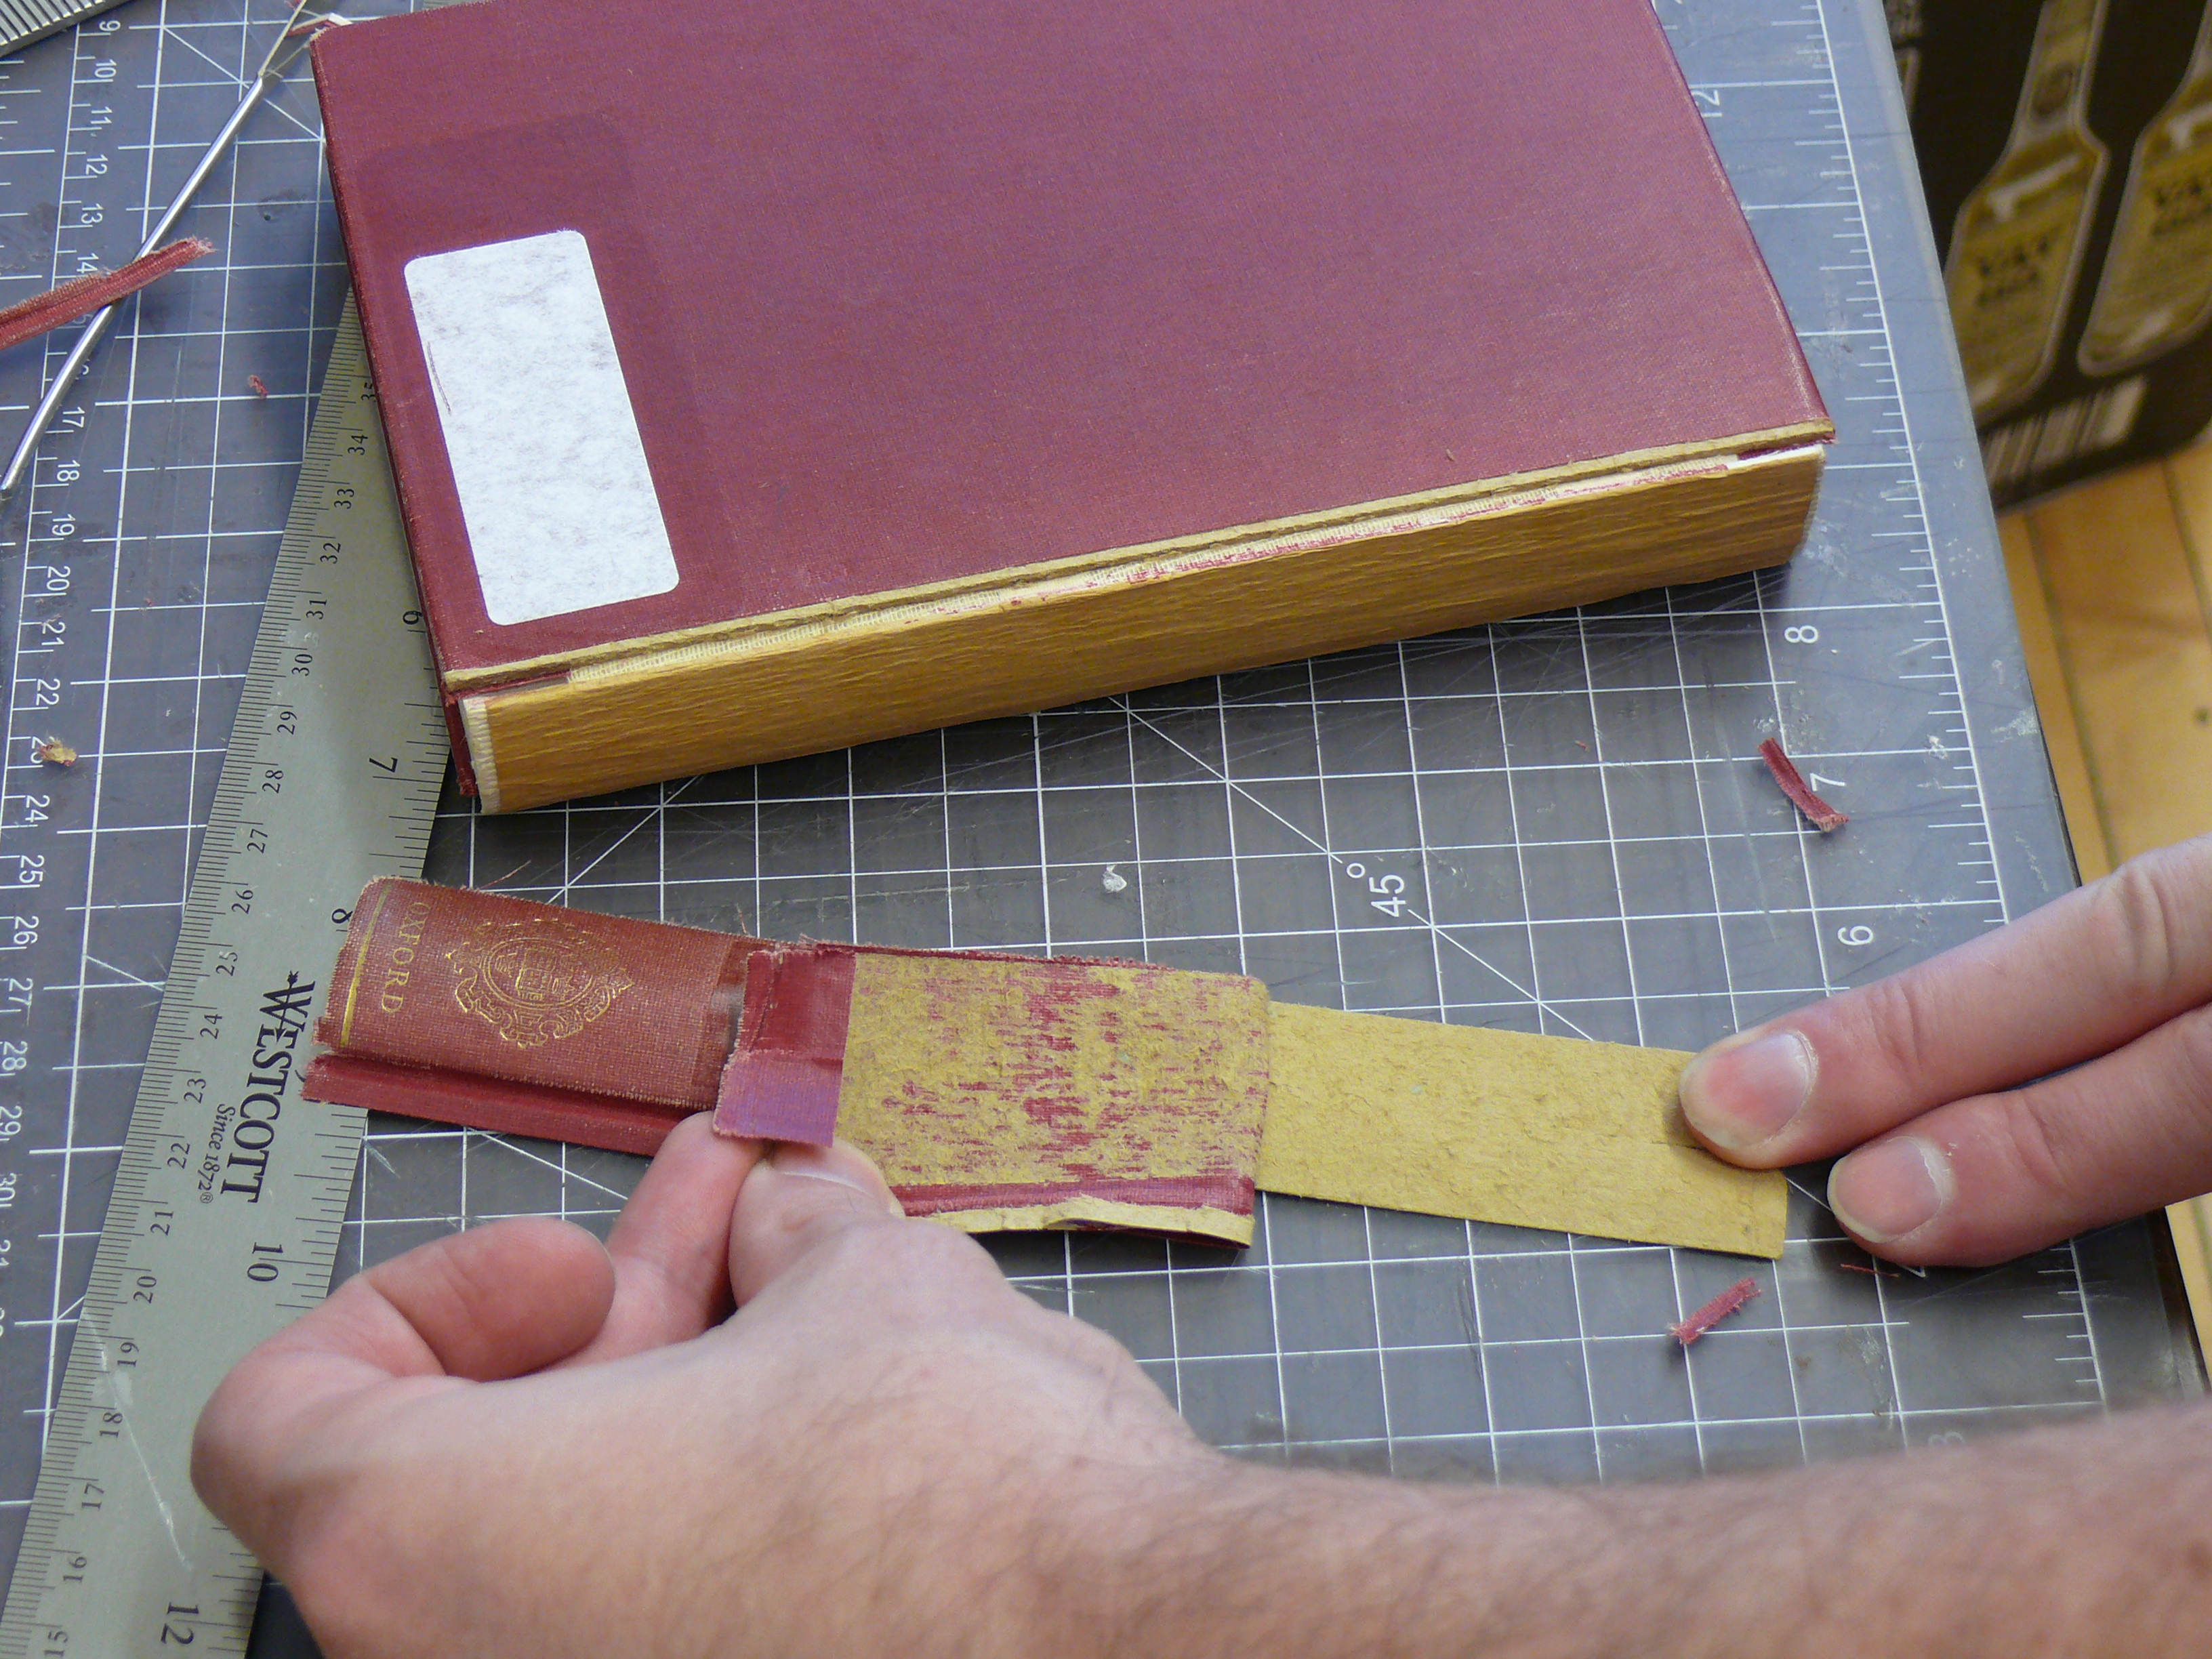
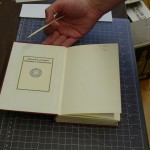
Separate the spine cloth from its backing.
Part B: At this point, the spine cloth should have come loose from the book. Remove the spine cloth. Using a spatula or your fingers, peel the spine cloth away from its paper backing. If you cannot remove the backing without ripping the spine cloth, leave it in place.
Step 2: Creating a Spine Stiffener and Sizing Buckram
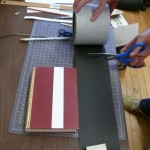
 Measure the length of your book by measuring the length of a board from top to bottom and measuring the width of the spine. Cut a piece of folder stock to this size. Next, cut a swath of buckram that is slightly larger than the length of your book(about 2 inches larger) . Cutting a larger piece of buckram will allow you to square off the buckram and trim it size in the next step.
Step 3: Measuring and Marking
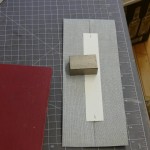
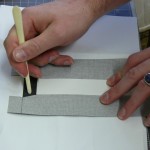
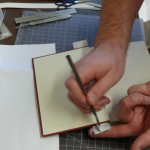
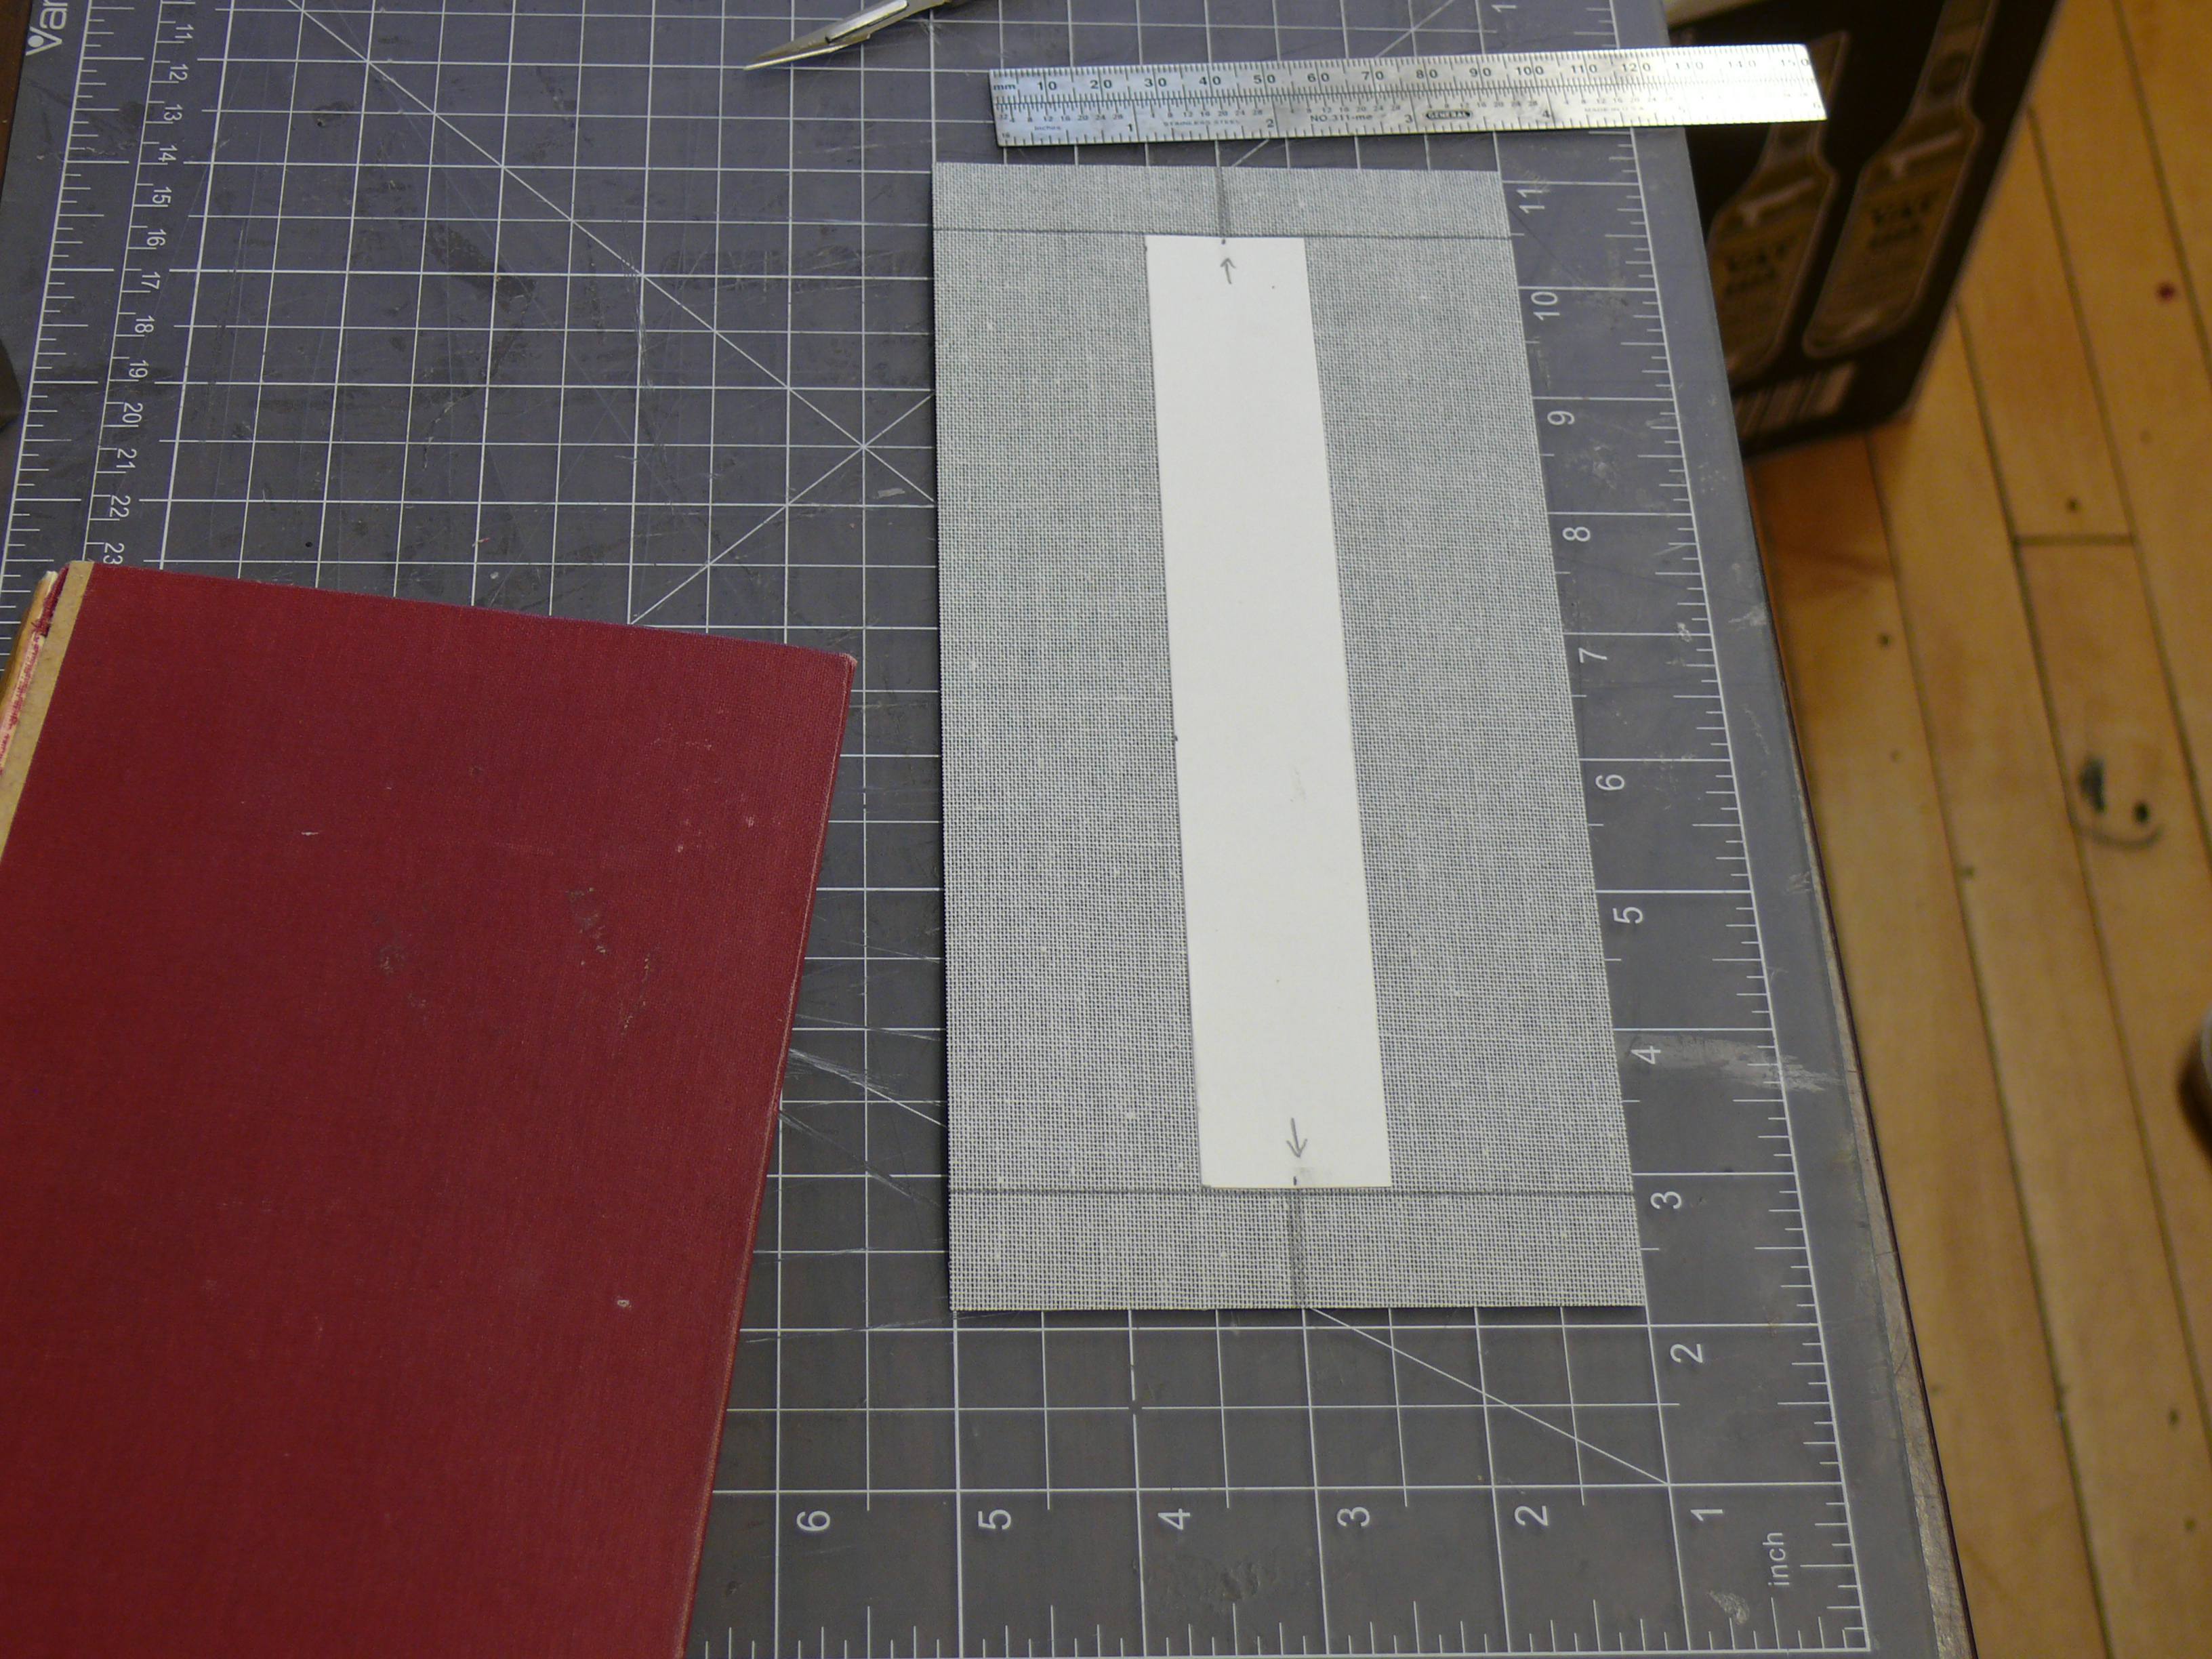 Part A: Using a ruler, measure the width of your spine stiffener in millimeters and make a mark at the center. Use these measurements to mark off the center at the other end of you spine stiffener. These marking are depicted as arrows in the photograph. It is important to take careful measurements during this stage of the game to ensure that you repair fits your book properly.
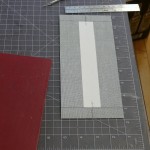
Part B: Fold the sheet of buckram in half. Draw a short line on each end that marks the middle of the sheet of buckram. Place the spine stiffener on top of the buckram. Line up the arrows you drew on the spine stiffener with the middle marks you added to the buckram.
Part C: Using PVA glue, carefully glue the spine stiffener in the middle of the buckram sheet. Be sure to line all up all of the markings you have made at this point.
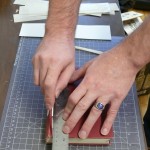
Step 4: Creating Darts
 Place the width of your ruler across the buckram directly above the spine stiffener. Trim any excess. Repeat for the other side. At this point you will want to create “darts” or small slits in the buckram that will allow it to bend more freely.
To create a dart, make a pencil mark about 1/6” to either side of the head of the spine stiffener. Using scissors, cut two small triangles into the cloth. Repeat for the other side. You should have four darts: two at the head of the spine stiffener and 2 at the tail of the spine stiffener.
Using PVA glue, glue the middle section of the buckram (the middle piece created by the darts) to the spine stiffener. Smooth into place with the bone folder. Repeat for the other side.
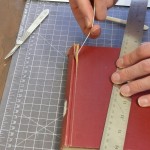
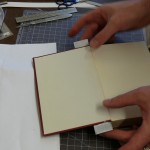
Step 5: Dry Fitting the New Spine
At this point you should dry fit the new spine to ensure a proper fit on your book. Place the buckram around the textblock as if it were already attached. Using a pencil, make a mark on each side about 1/8” away from the spot where the board ends. This is to accommodate the thickness of the board and the depth of the groove, allowing the action of the book to move smoothly. You will want the remaining buckram flaps to line up with the edges of the boards. You can use the bone folder to make light marks to help guide the reattachment process.
Step 6: Attaching the New Spine

Apply PVA glue in the striped area.
Use the bone folder to define the “groove.”
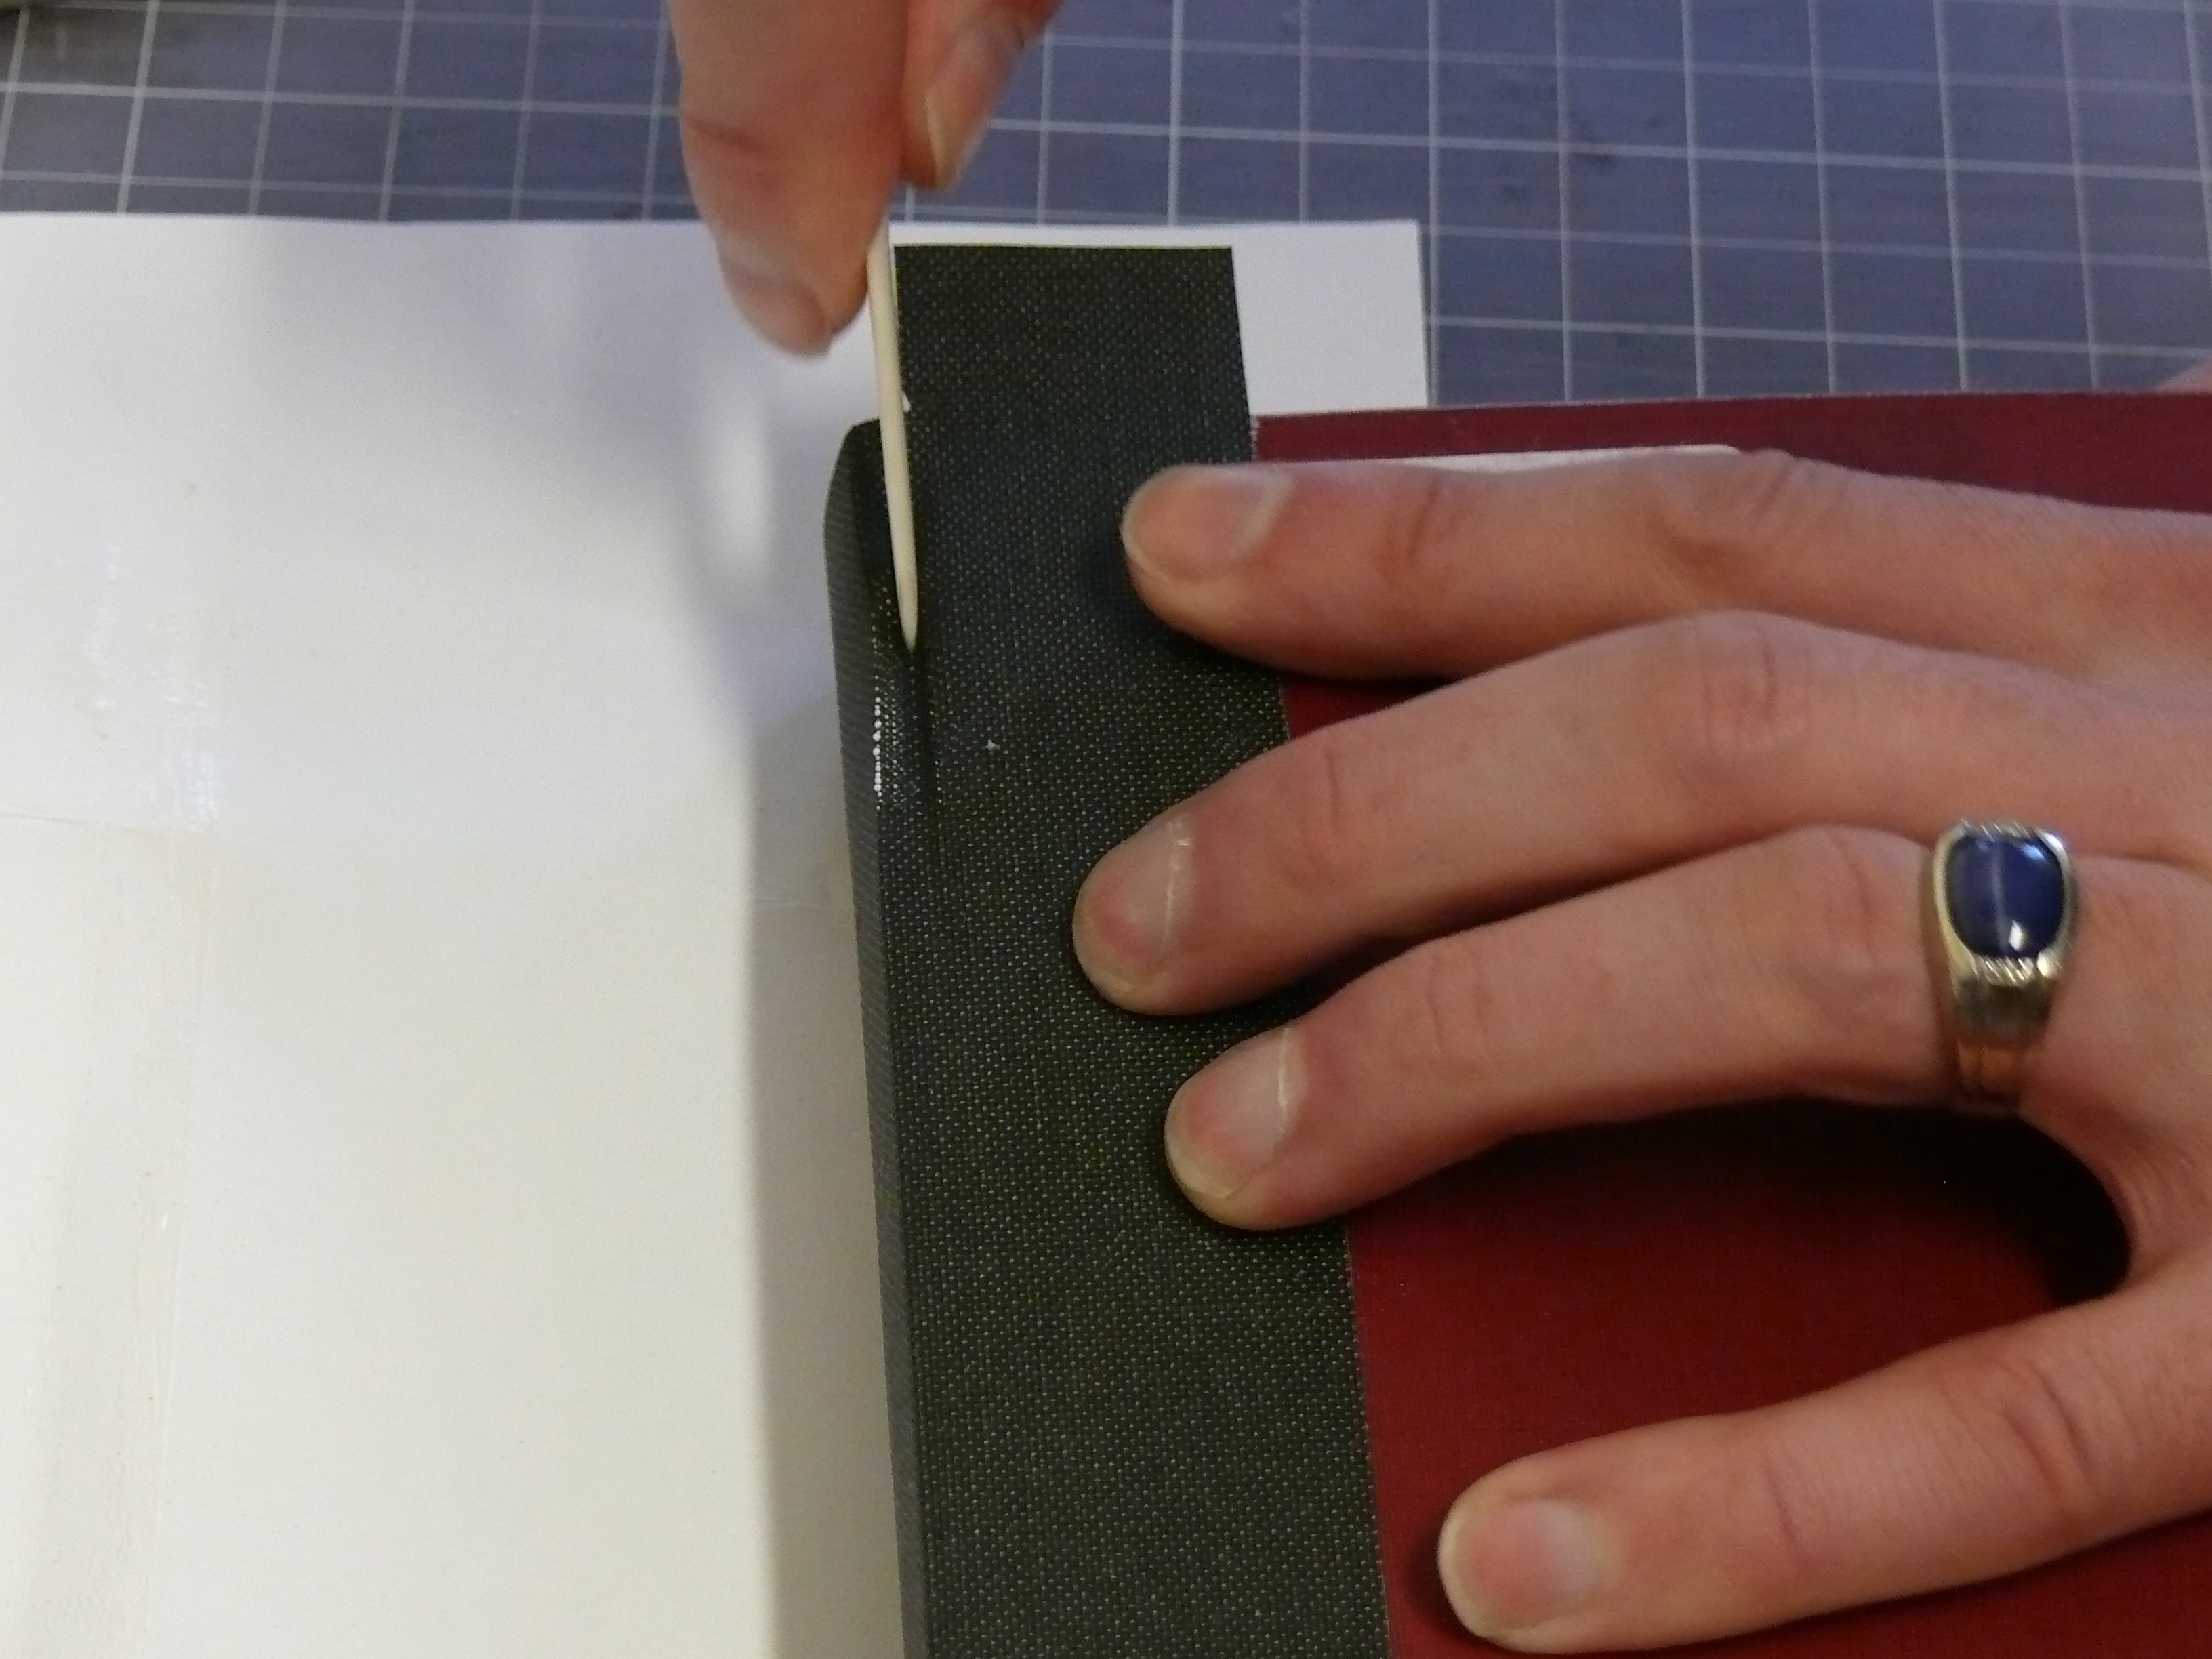
Put the buckram sheet in place underneath one side of your book. Paint PVA glue on the remaining exposed buckram, using strokes that pull away from the spine. Try not to get any glue on the spine. Press the buckram to the book’s board, line it up, and smooth into place. You can check you lined it up properly by making sure the edge of the buckram flap lines up with the edge of the board.
Place the bone folder into the natural “groove” formed in the space between the spine and the book’s cover. Use the blunt edges of the bone folder to deepen and define this groove.
Repeat this process for the other side of the book.
Step 6: Finishing Up
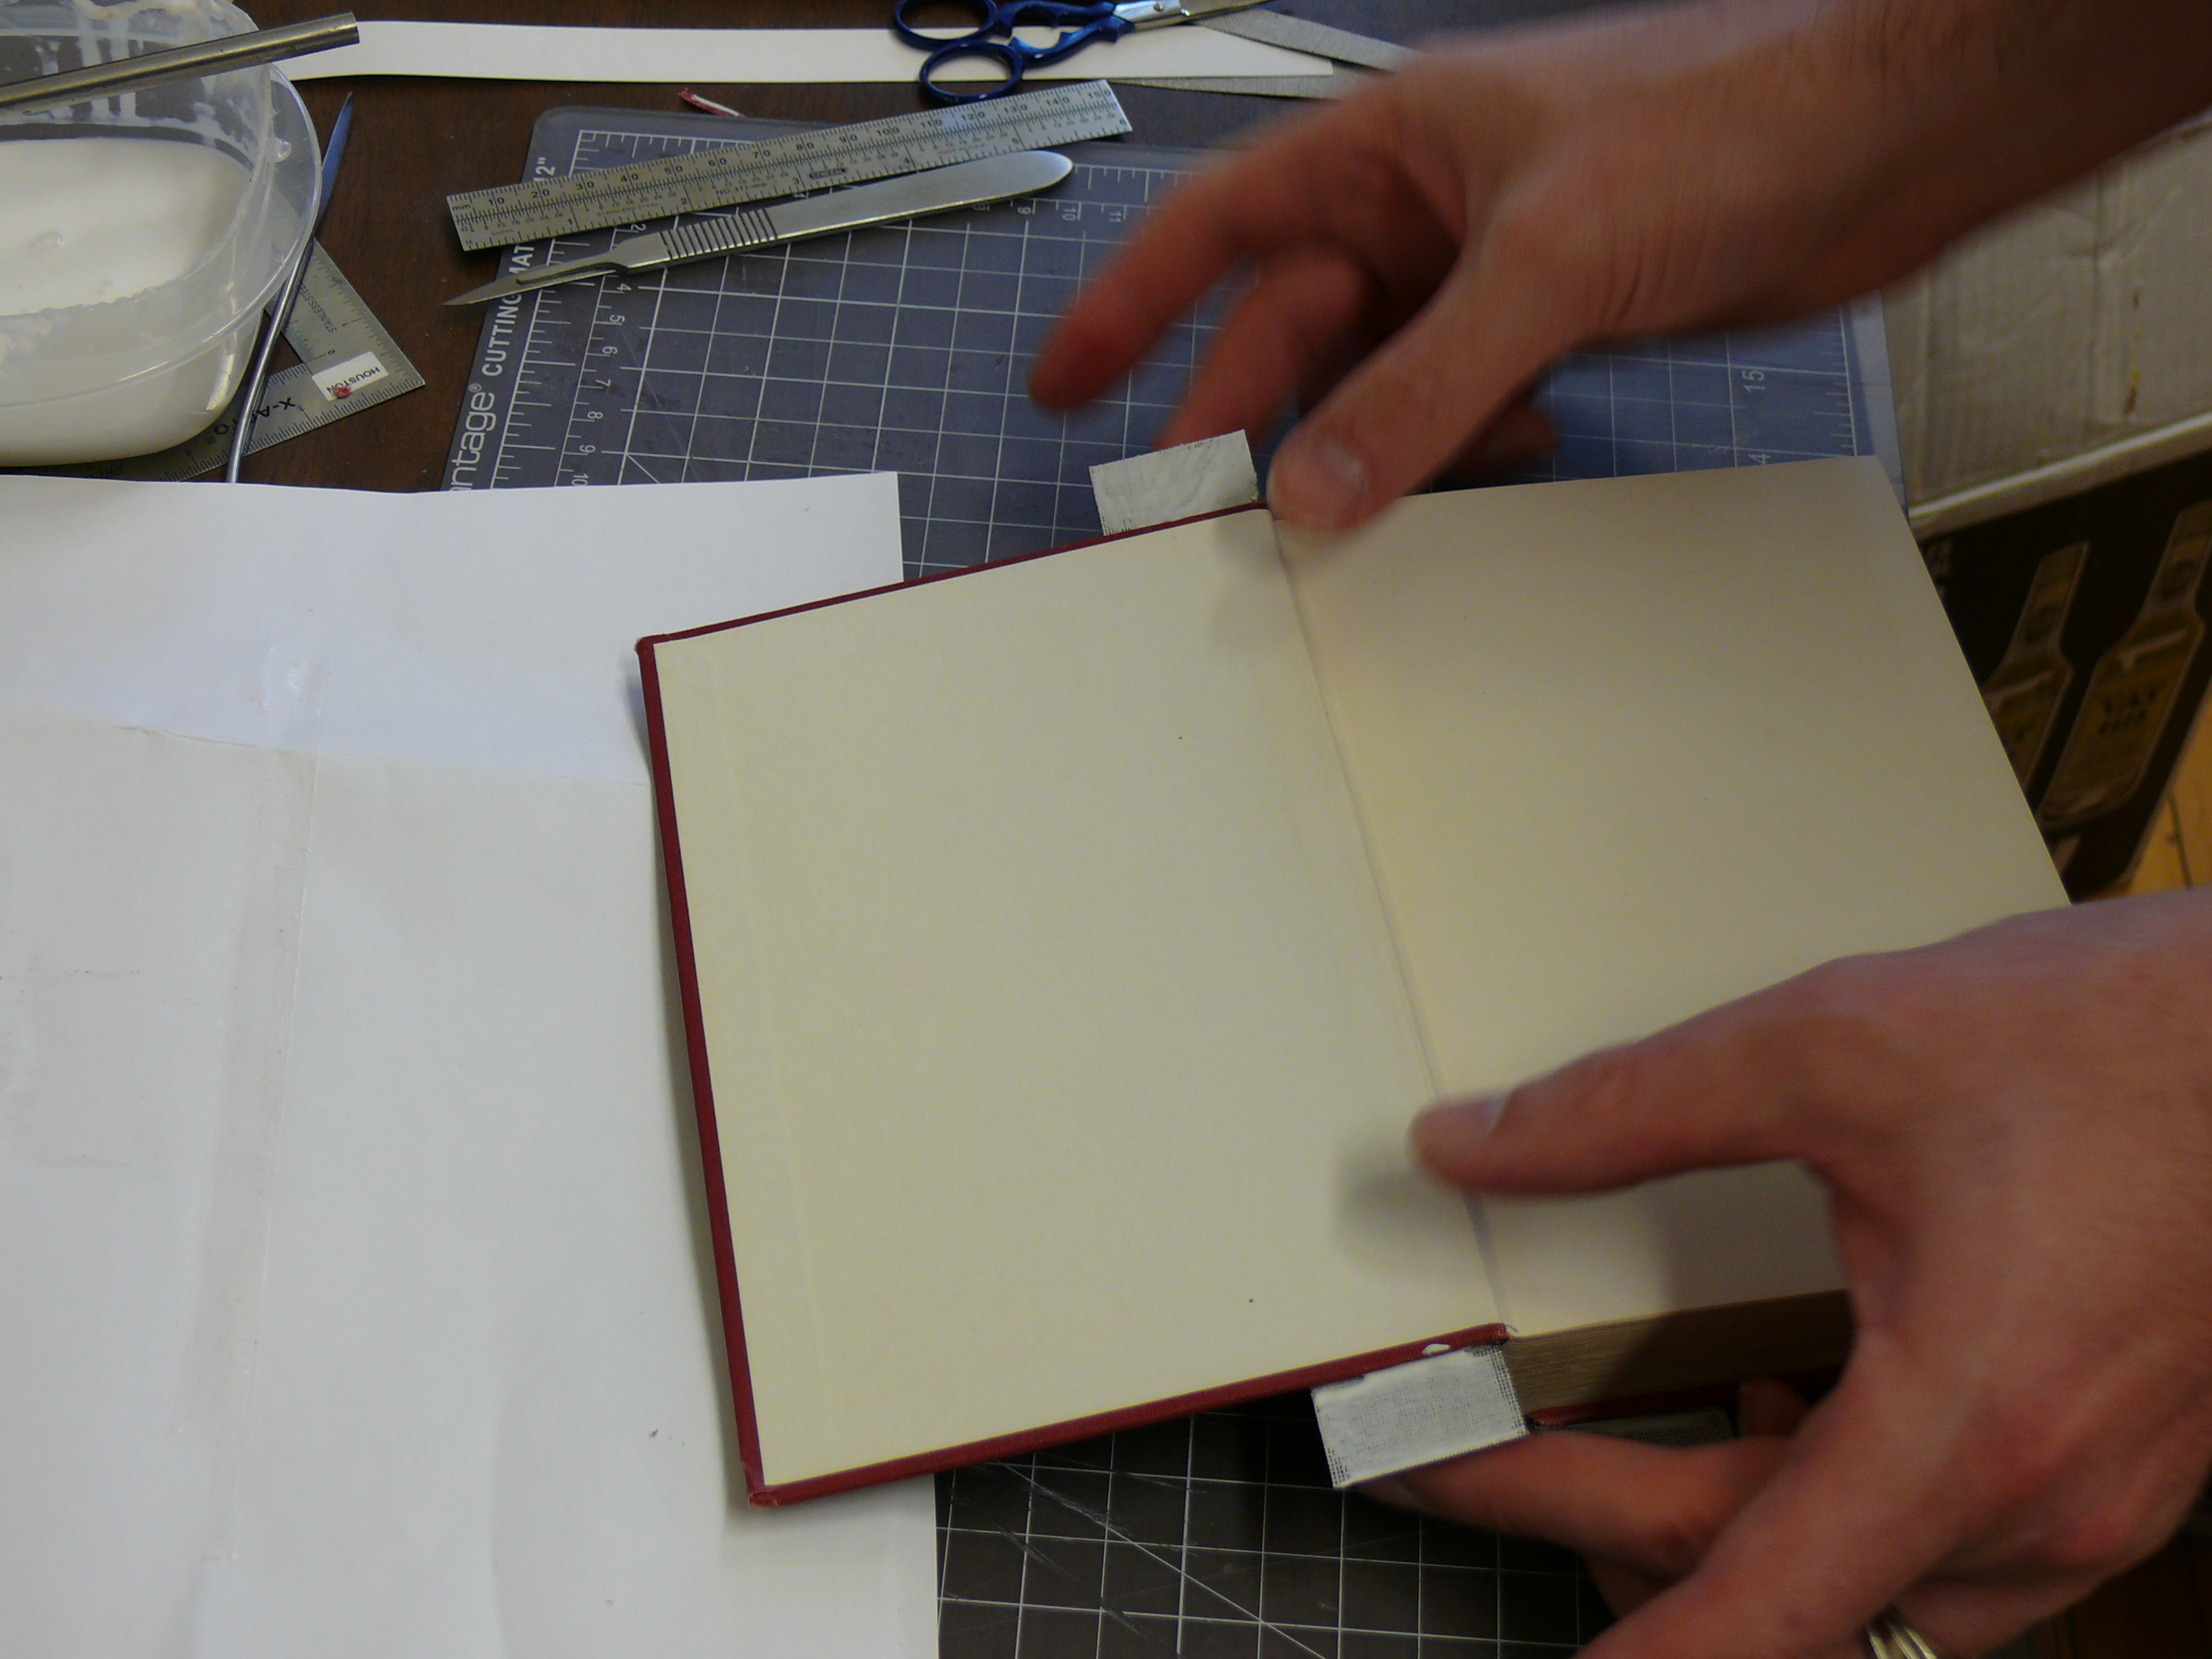
Glue and smooth the remaining buckram flaps to the boards.
Apply PVA glue to the buckram flaps that should now be sticking out from the book. Fold them over and using the bone folder, adhere and smooth them to the inside covers of the book.
Place the book in the book press between the edge boards for at least 15 minutes.
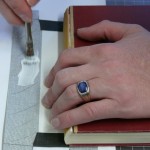
After removing the book from the book press, apply PVA glue to the decorative spine cloth. Carefully glue the spine cloth over the new buckram spine and smooth it into place. Allow to dry.
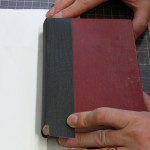
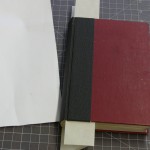
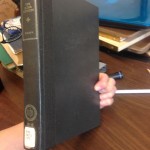
The final product.
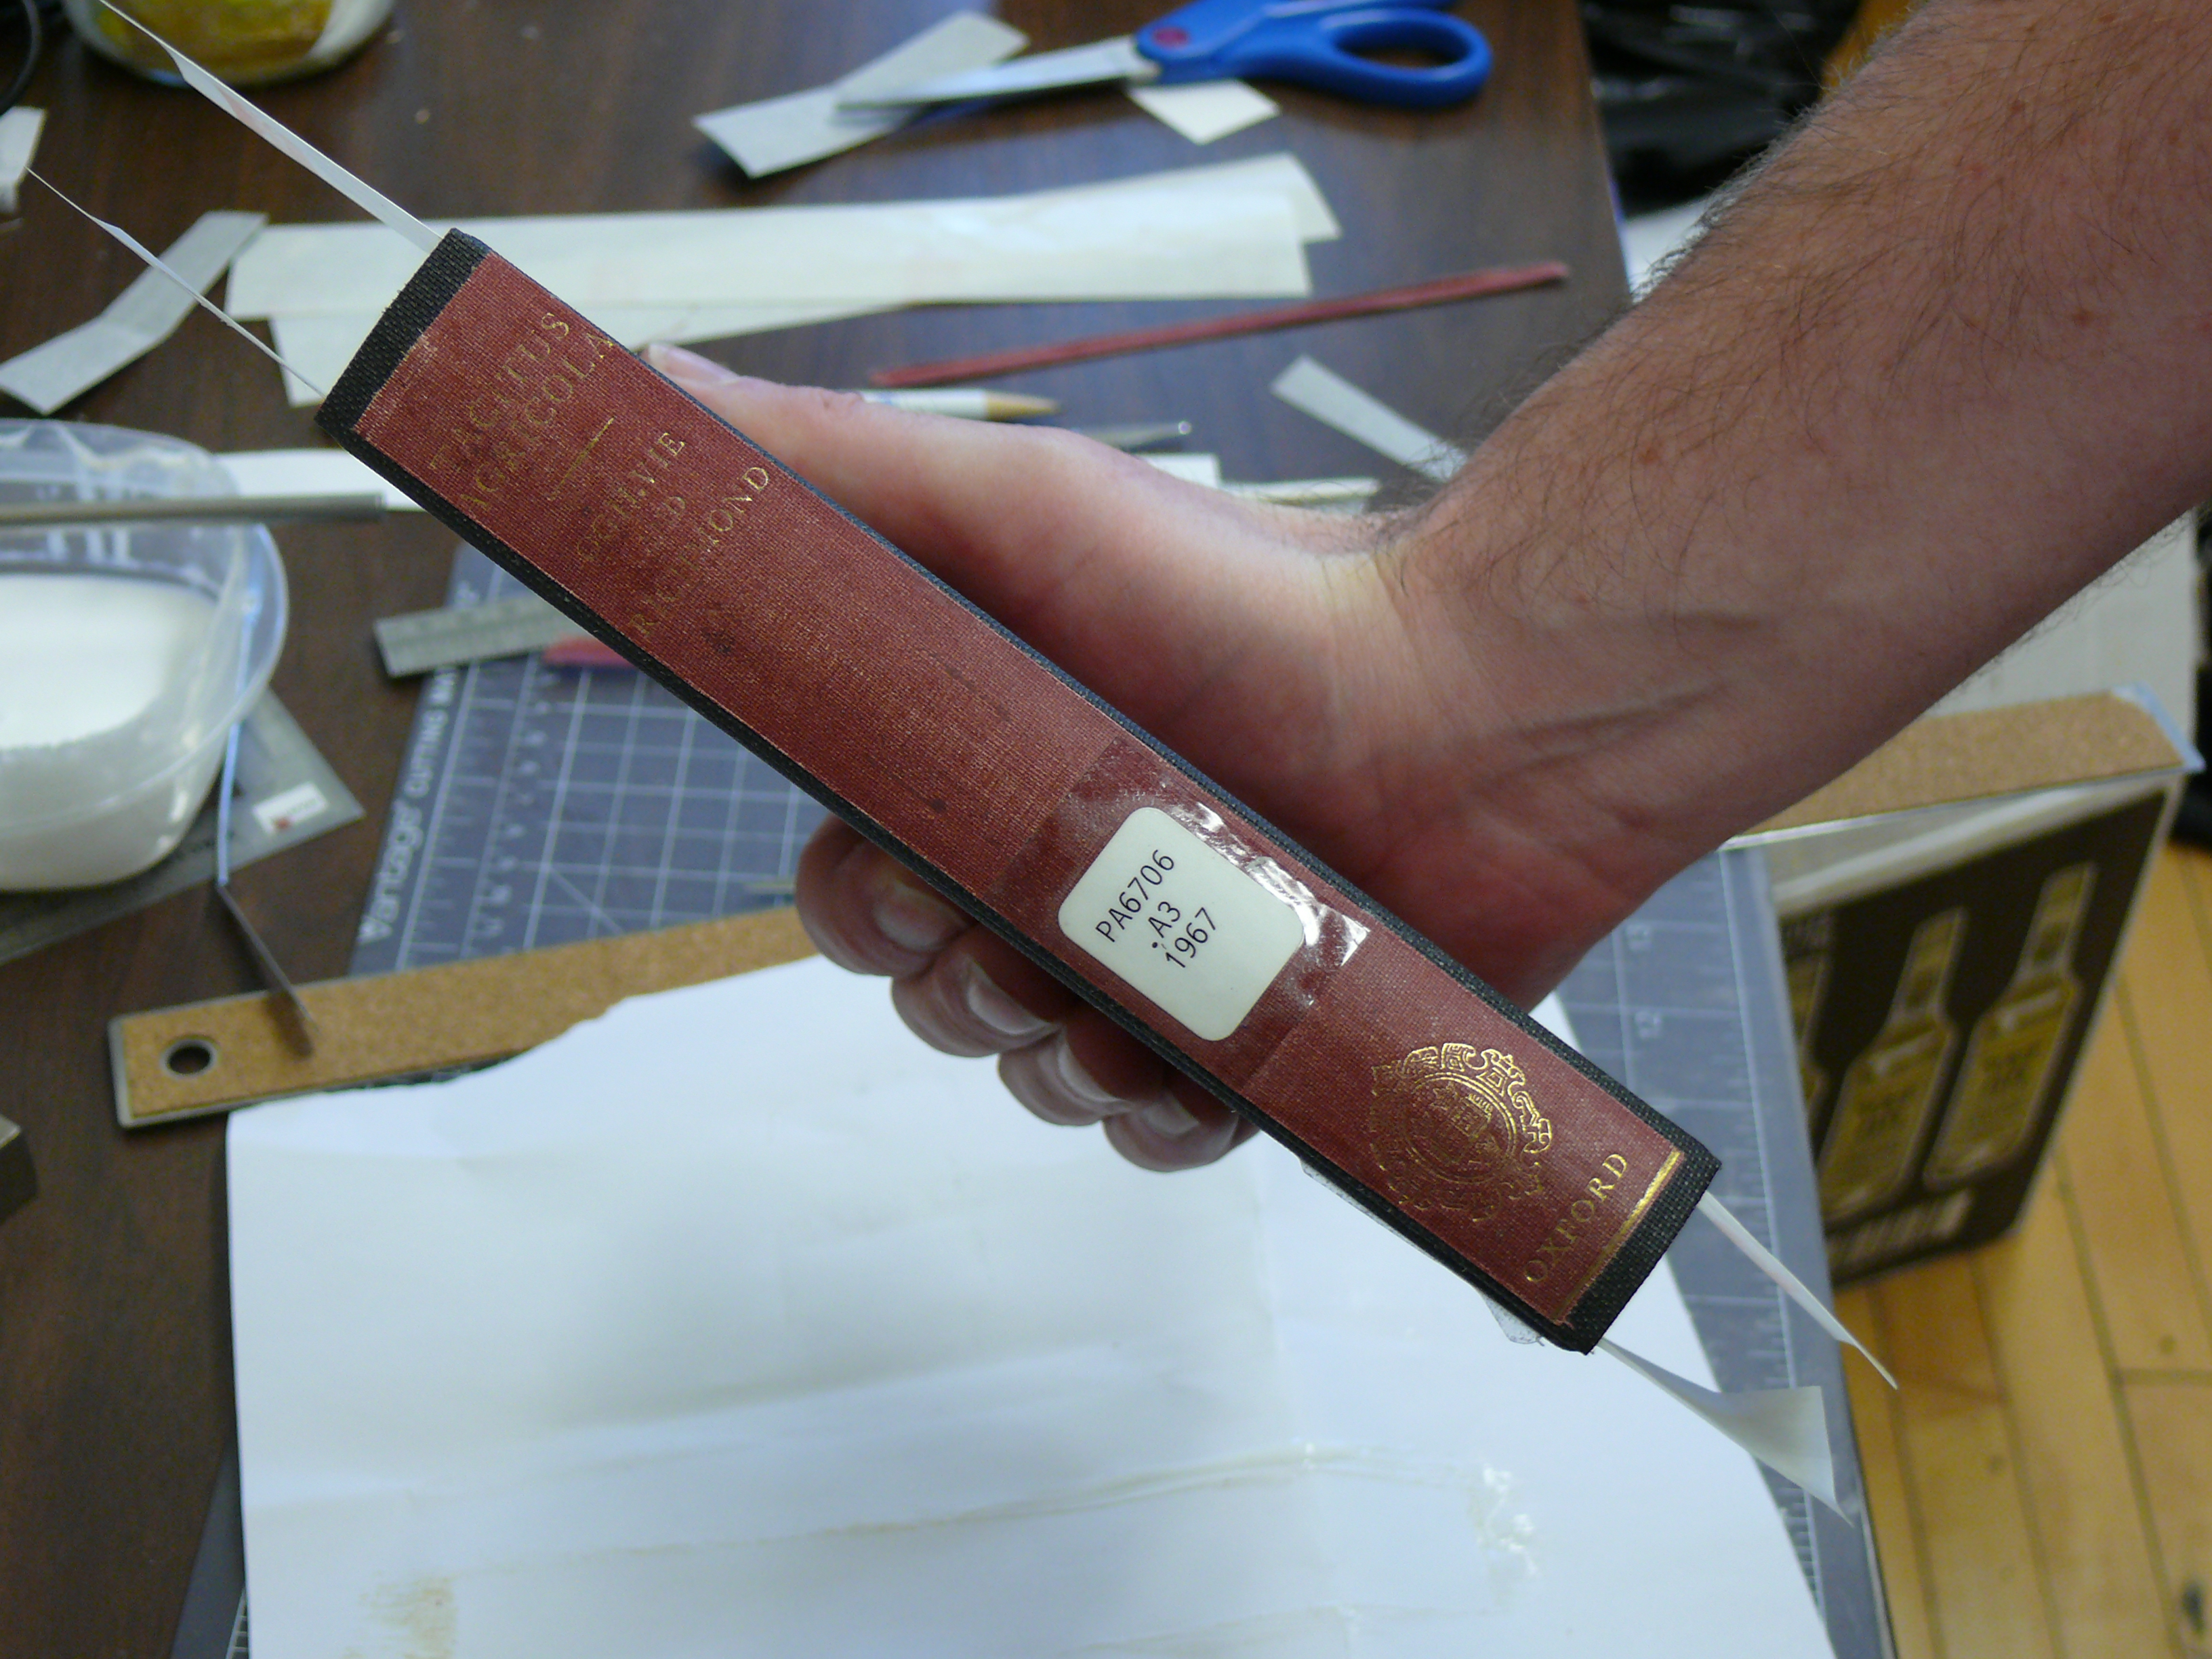
The final product with spine cloth reattached.
For More Information about Spine Replacement and alternate methods try these links:
- Video tutorial: https://www.youtube.com/watch?v=_adU_0hUdr8
- Video tutorial: https://www.youtube.com/watch?v=LG4A5AU8BCw
- Dartmouth book Repair instructions: http://www.dartmouth.edu/~library/preservation/repair/newspine.html