About:
Paperback covers can be reattached in a very similar manner to hardcover boards. First, check to see if your covers need to be reinforced. Then follow these steps to reattach the cover to your paperback book.
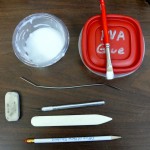
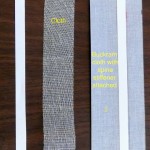
Things You Will Need:
- Bone Folder
- Microspatula
- Exacto Knife
- Ruler
- Cutting Mat
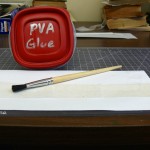
- Paint Brush
- PVA Glue
- Wheat Starch Paste (click here for instructions)
- Japanese Paper
- Folder Stock
- Computer Paper or other Archival paper
- Buckram
-
- Wheat starch paste.


1. Preparation:
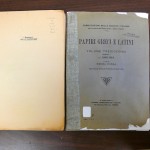
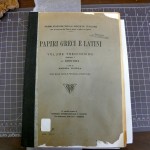
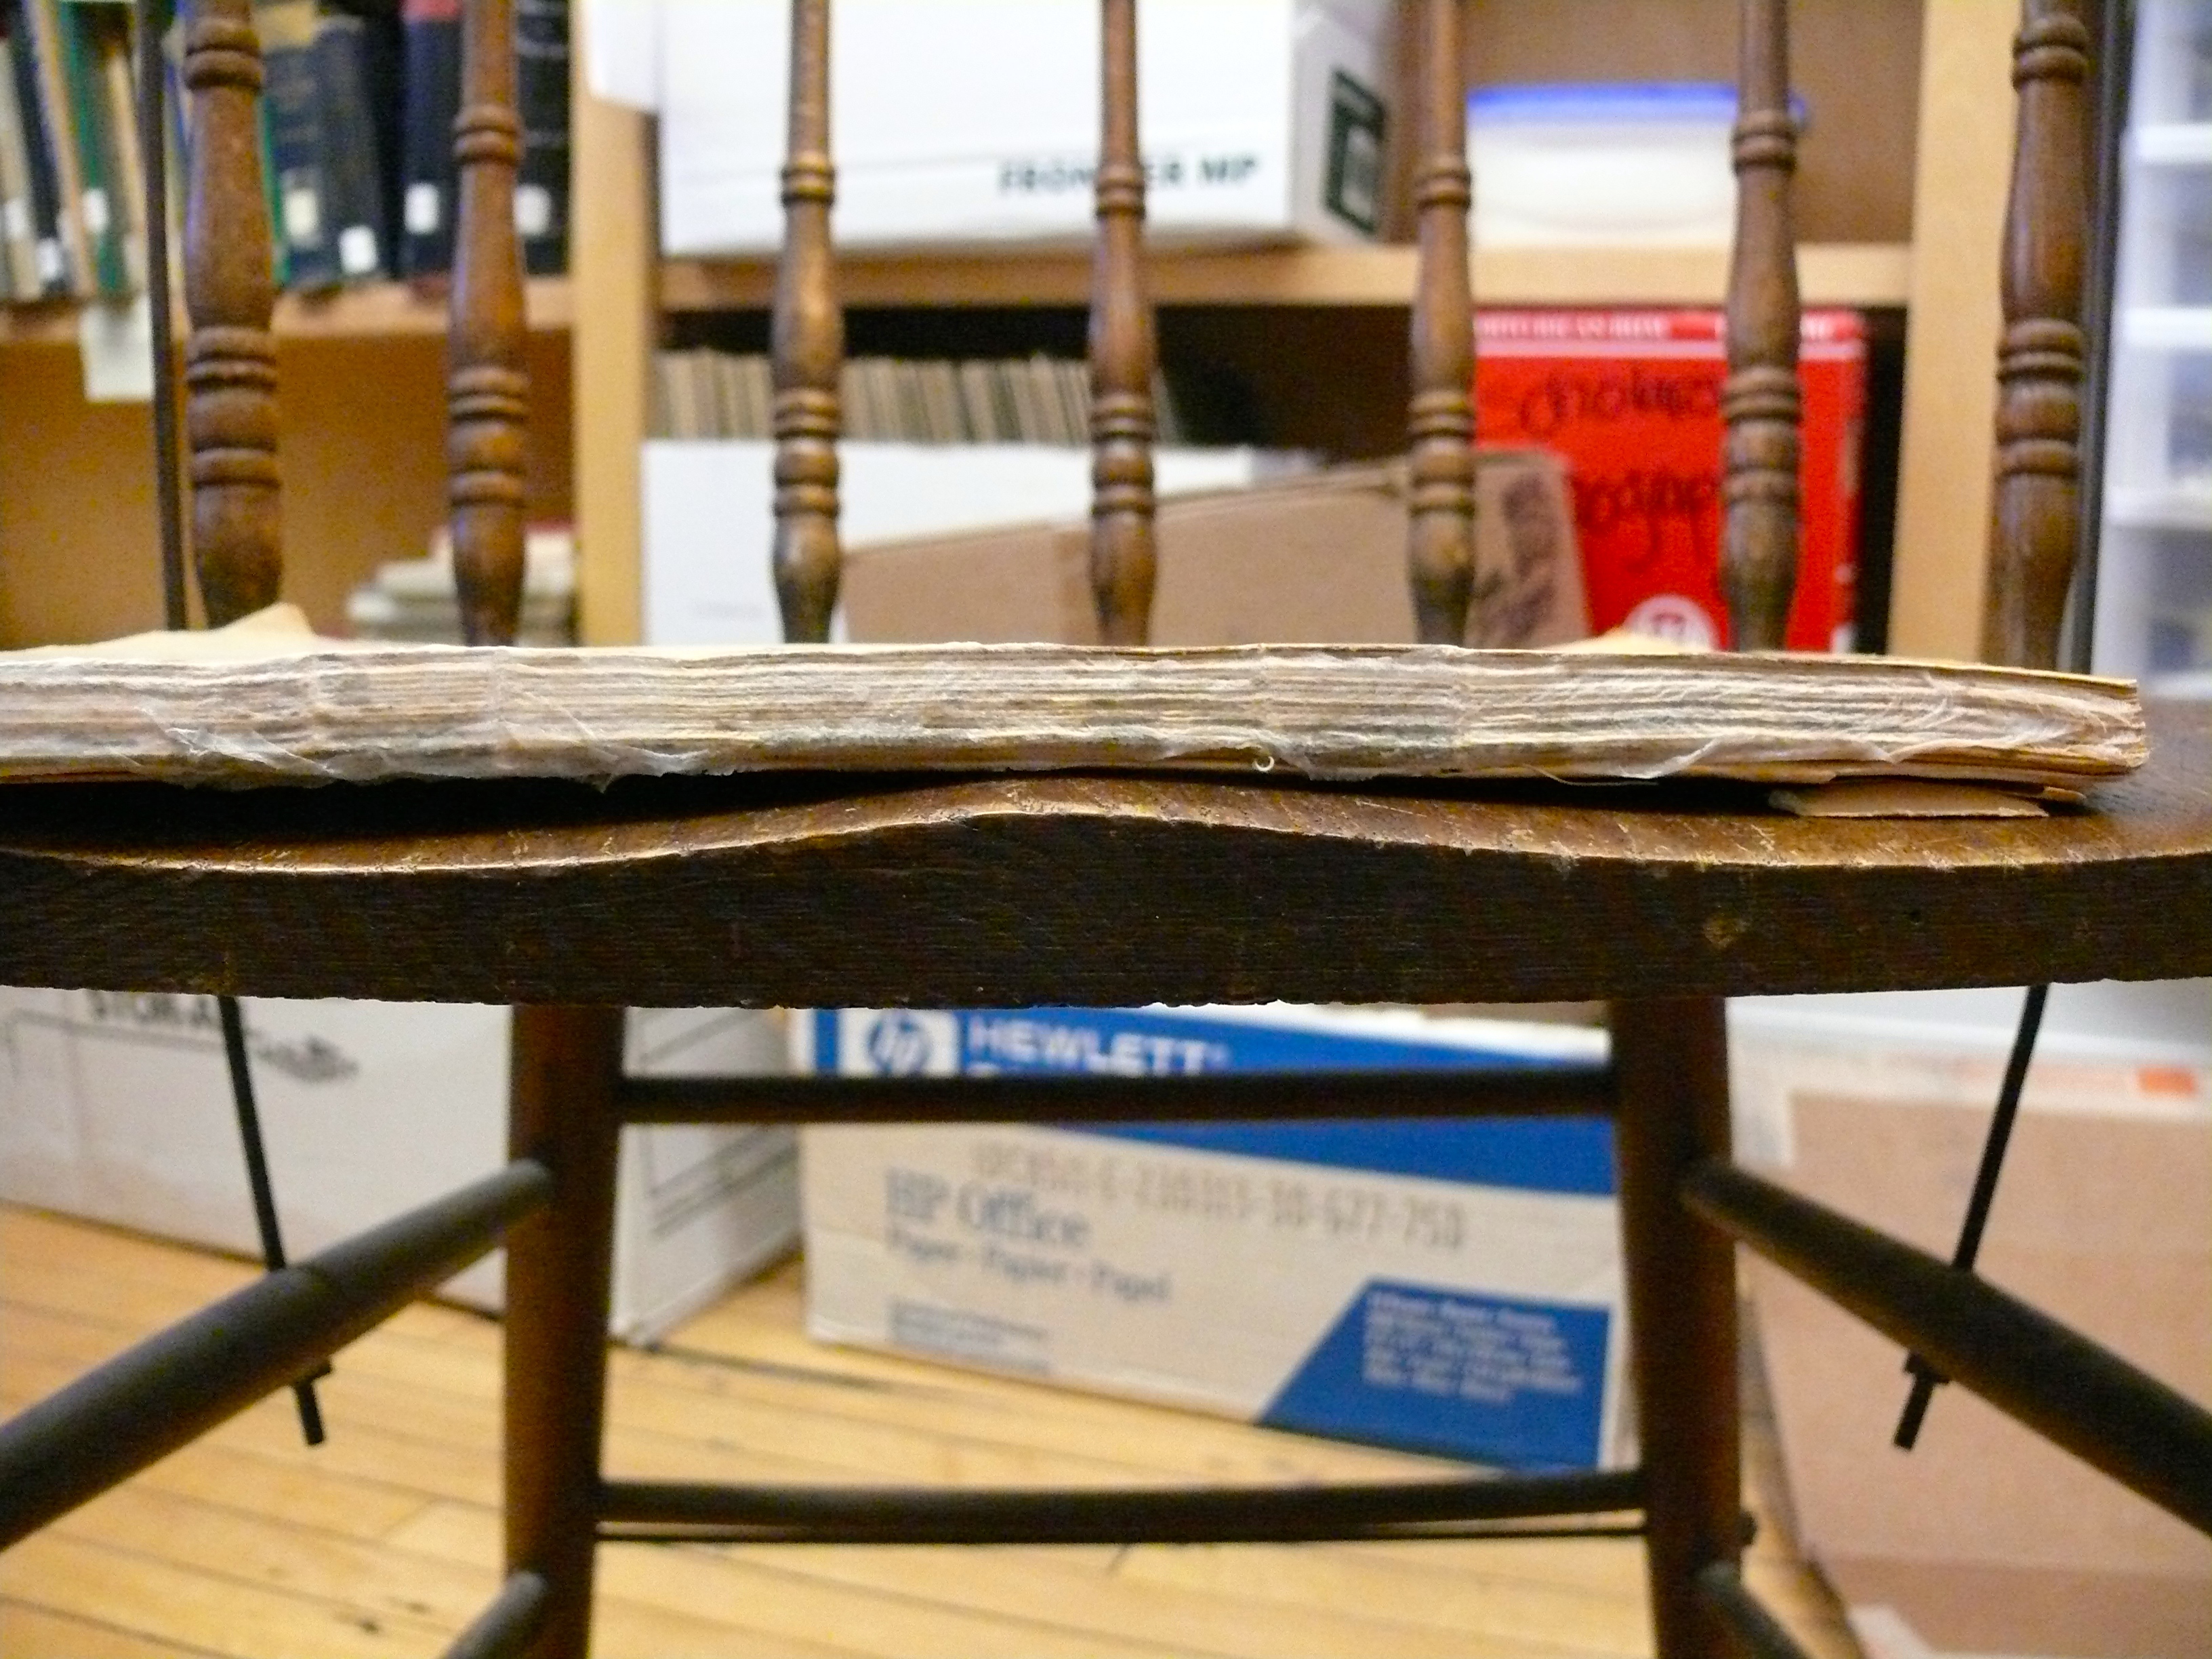
If not already detached, gently remove the covers of your book from the text block. Examine the stitching. If the stitching is loose follow the rest of this step. If the stitching is O.K., proceed to Step 2.
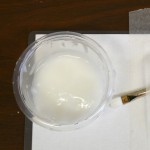
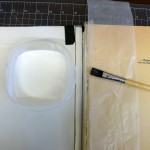
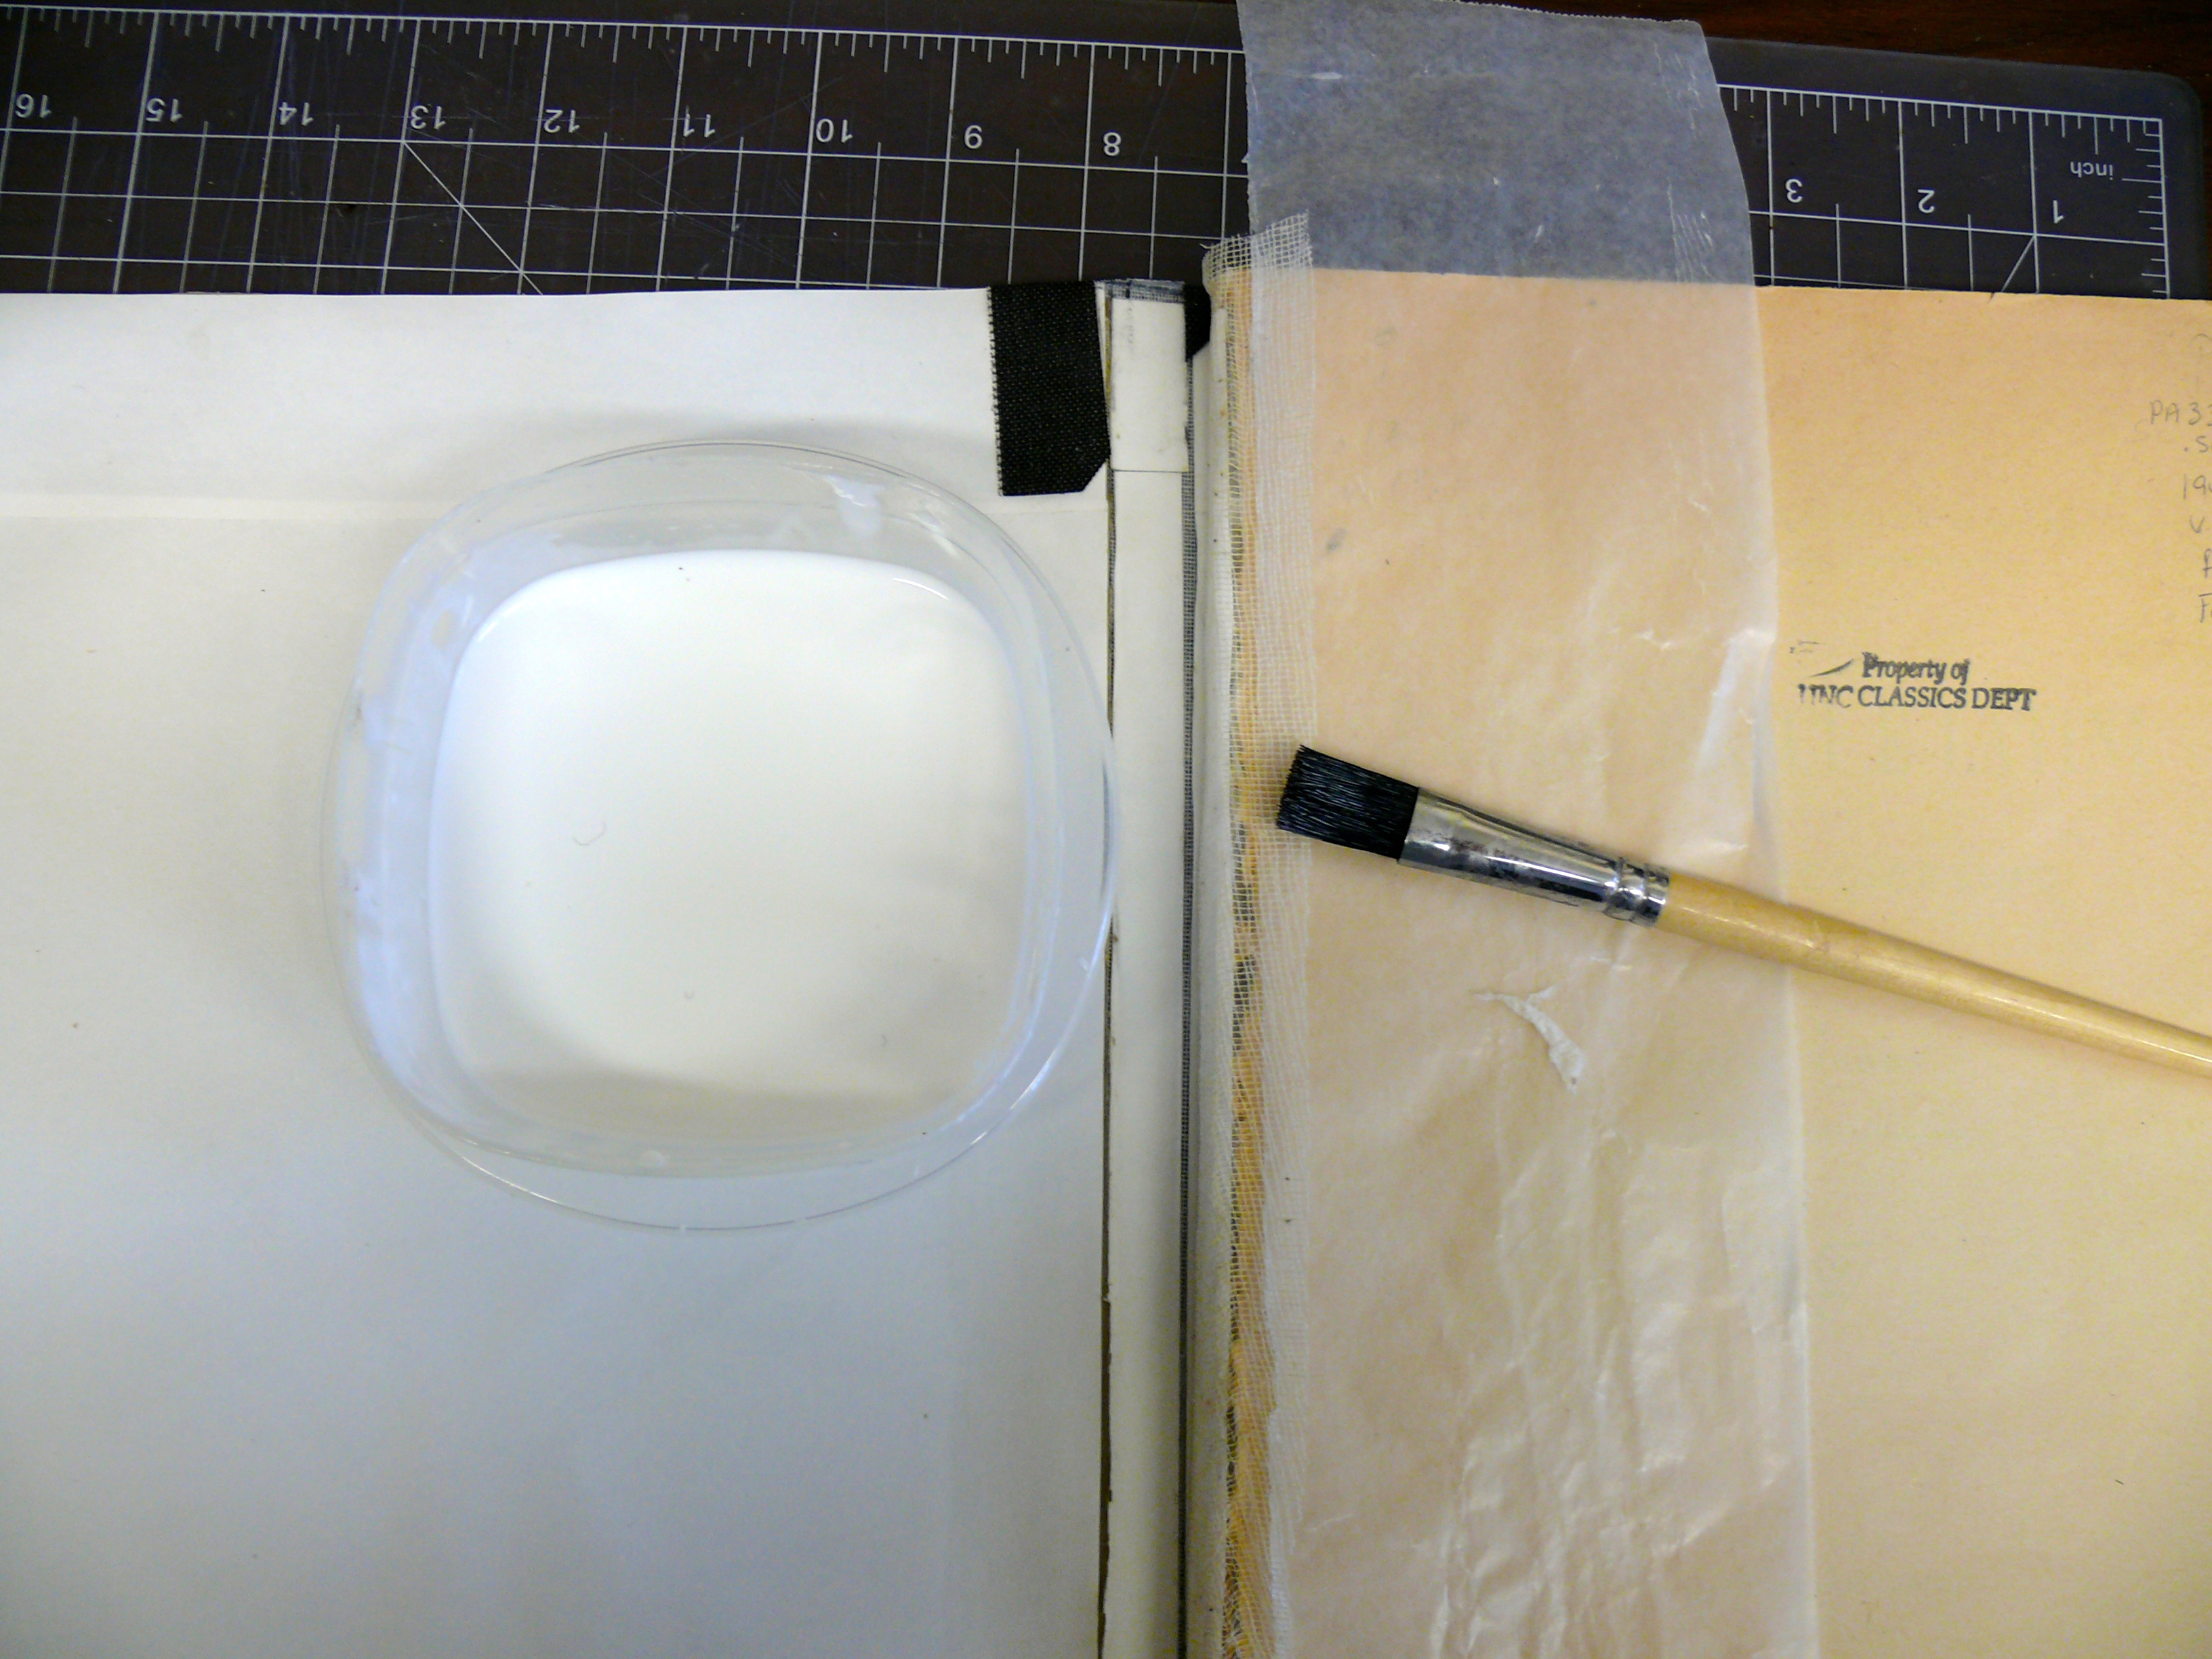
If the stitching is loose, measure the spine and cut a piece of Japanese paper to the same length. Place the Japanese paper onto a sheet of waxed or scrap paper. Using a paintbrush, cover the Japanese paper with glue, being careful to avoid lumps. Using your fingers and/or a micro spatula, carefully pick up the Japanese paper, apply it to the spine, and smooth it into place. Trim any excess if necessary.
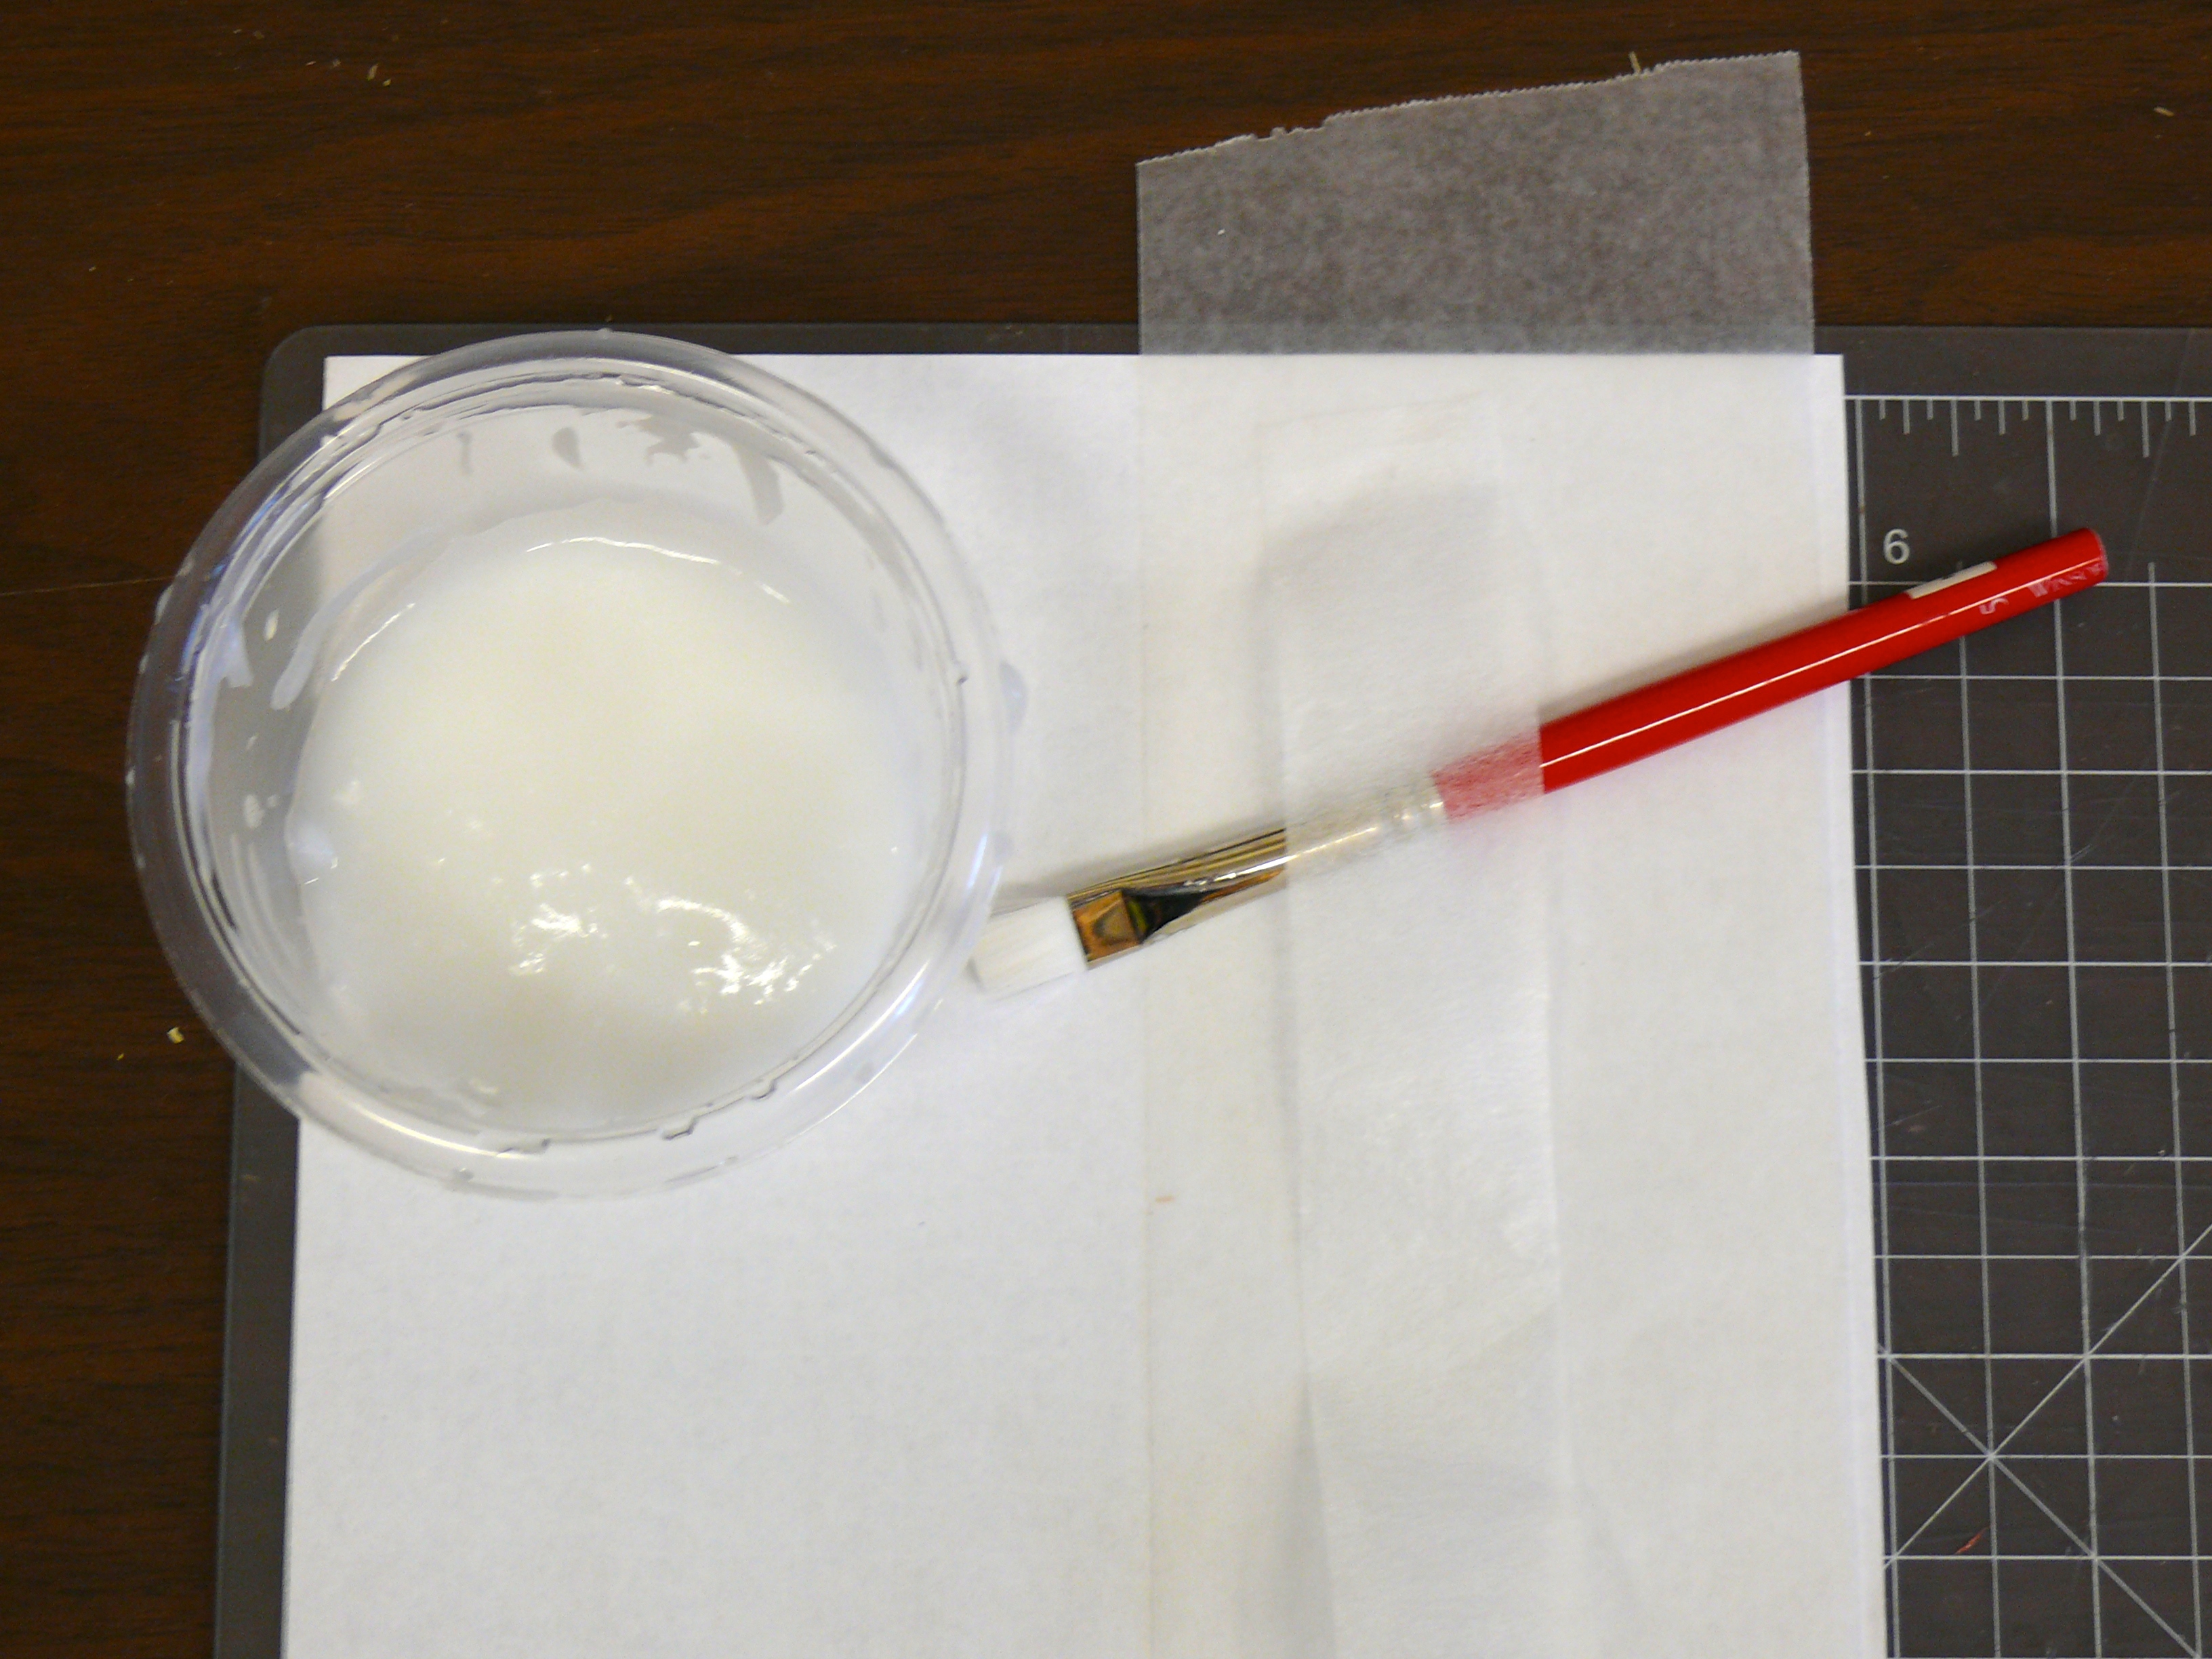
Apply wheat starch paste to Japanese Paper.
A Strip of Japanese Paper glued to the spine.
2. Covering the Spine:
Measure the length and width of the spine. Cut a piece of paper (computer paper from our printer will suffice) to the length and width of the spine. Place the paper strip onto a sheet of waxed or scrap paper. Using a paintbrush, cover the paper strip with glue, being careful to avoid lumps. Peel the paper strip off of the waxed paper and apply the glue covered paper to the spine. Smooth into place.
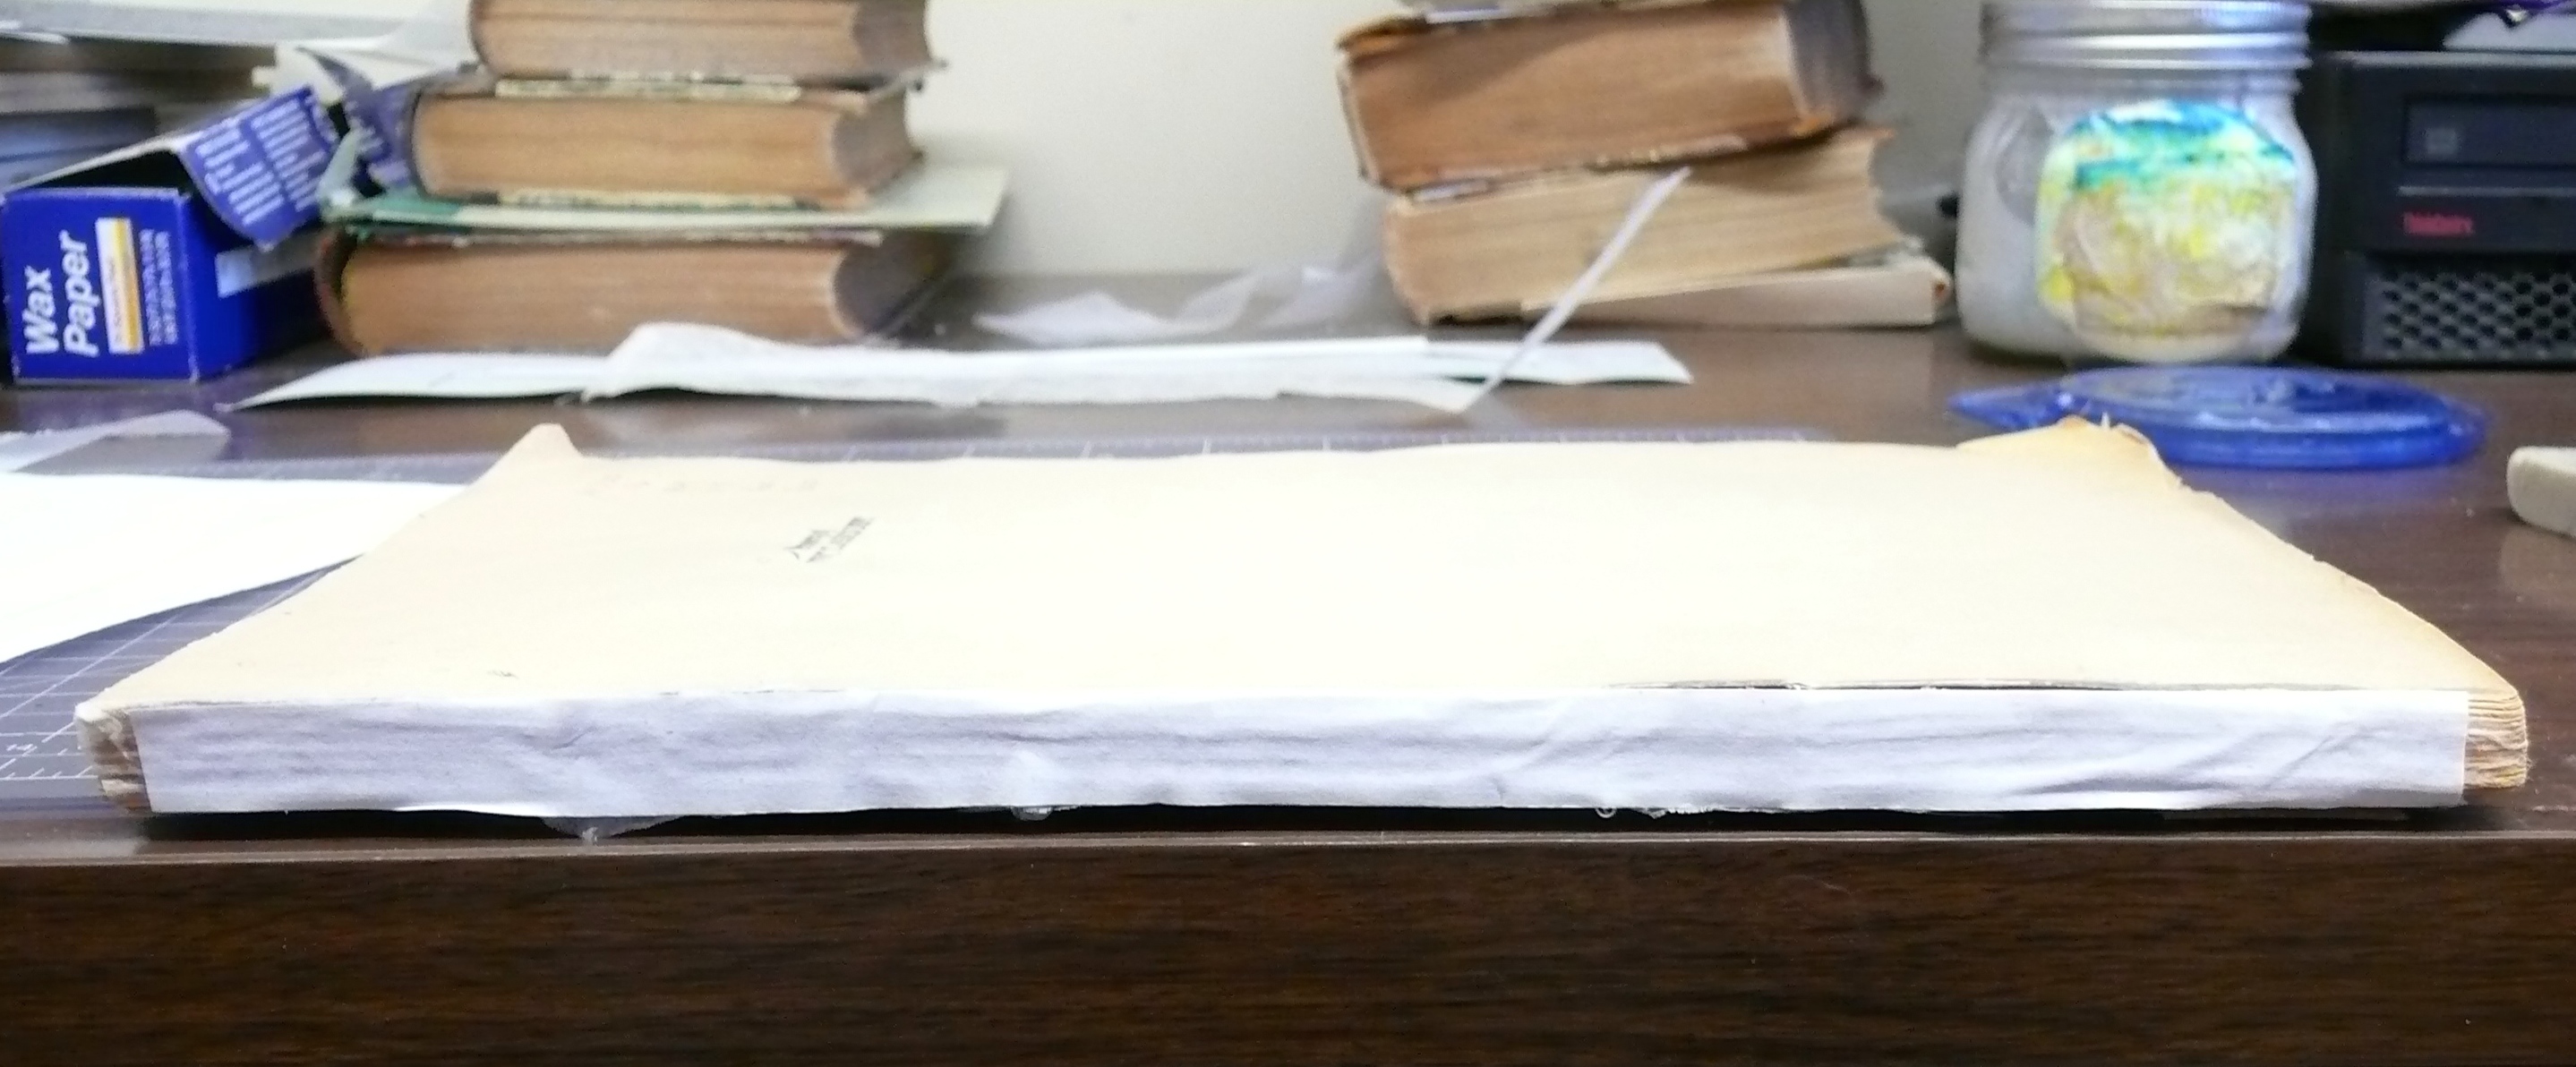
A strip of paper attached to the spine.
3. Measuring and Cutting the Binding Elements:
At this stage you will need to cut and prepare three items:
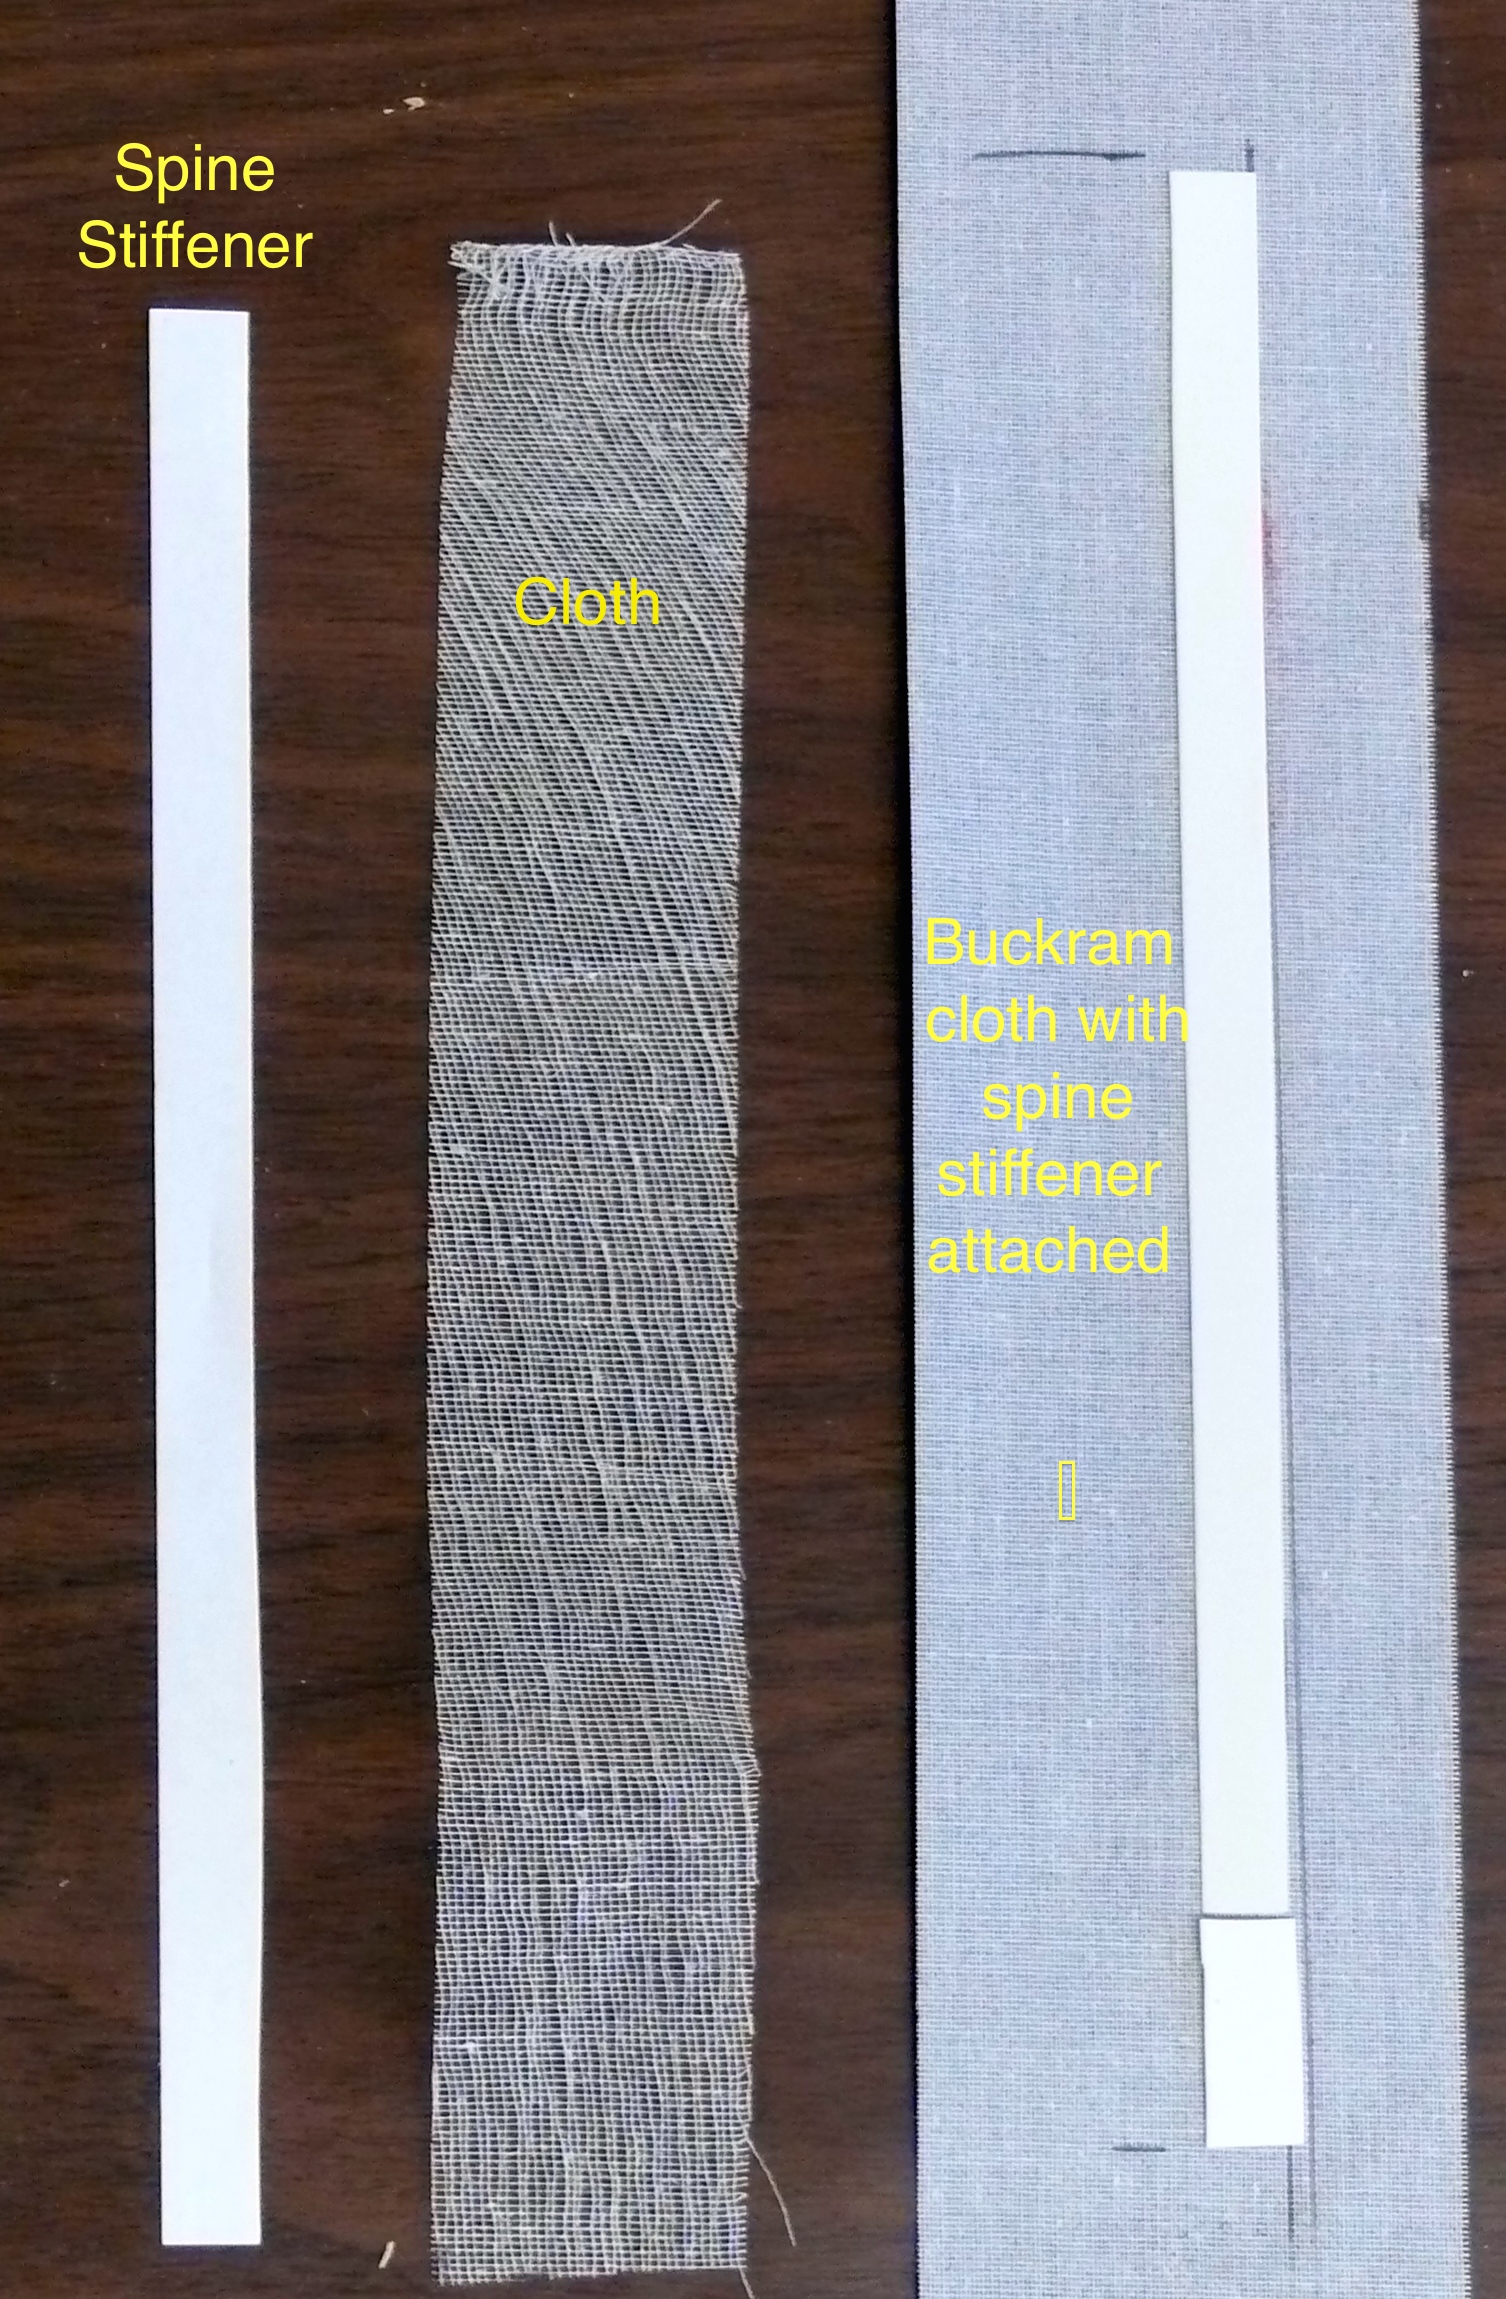
Figure 4
A. Spine Stiffener made out of folder stock.
Measure the length and width of the book’s spine. Cut a length of folder stock slightly shorter than these dimensions. Take off approximately 1/8” on each end. The goal in this step is to have a spine stiffener that is almost as long the spine, but short enough that it will not impede movement once the book is reassembled.
B. Buckram to attach the covers together.
Measure the length of the covers and add 1 inch to that number. Cut a piece of buckram to this size. As of now, the buckram in the office only comes in one width, so it may need to be trimmed depending on the size of your book. Dry fit the buckram and the book covers to make sure they sit nicely and none of the text on the covers is obscured.
C. Cloth to attach the covers to the book.
Measure the length of the text block. Cut a piece of cloth to this size with a width of 1 inch. To attach the cloth to the text block, dry fit the cloth to check how it will sit. You can use a bone folder to make creases in the cloth to mark the location of the spine. Place the cloth on waxed or scrap paper and apply PVA glue to the middle (the part that lines up with the spine). Remove the waxed paper and carefully line up and place the glued part of the cloth onto the spine of the book. Smooth into place with your bone folder. You should now have a strip of cloth glued to the spine of your book with a loose flap on each side. This flap is called the “flange.”
An example of a “Flange” on a hard cover book.
4. Putting together the covers
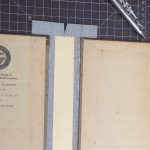
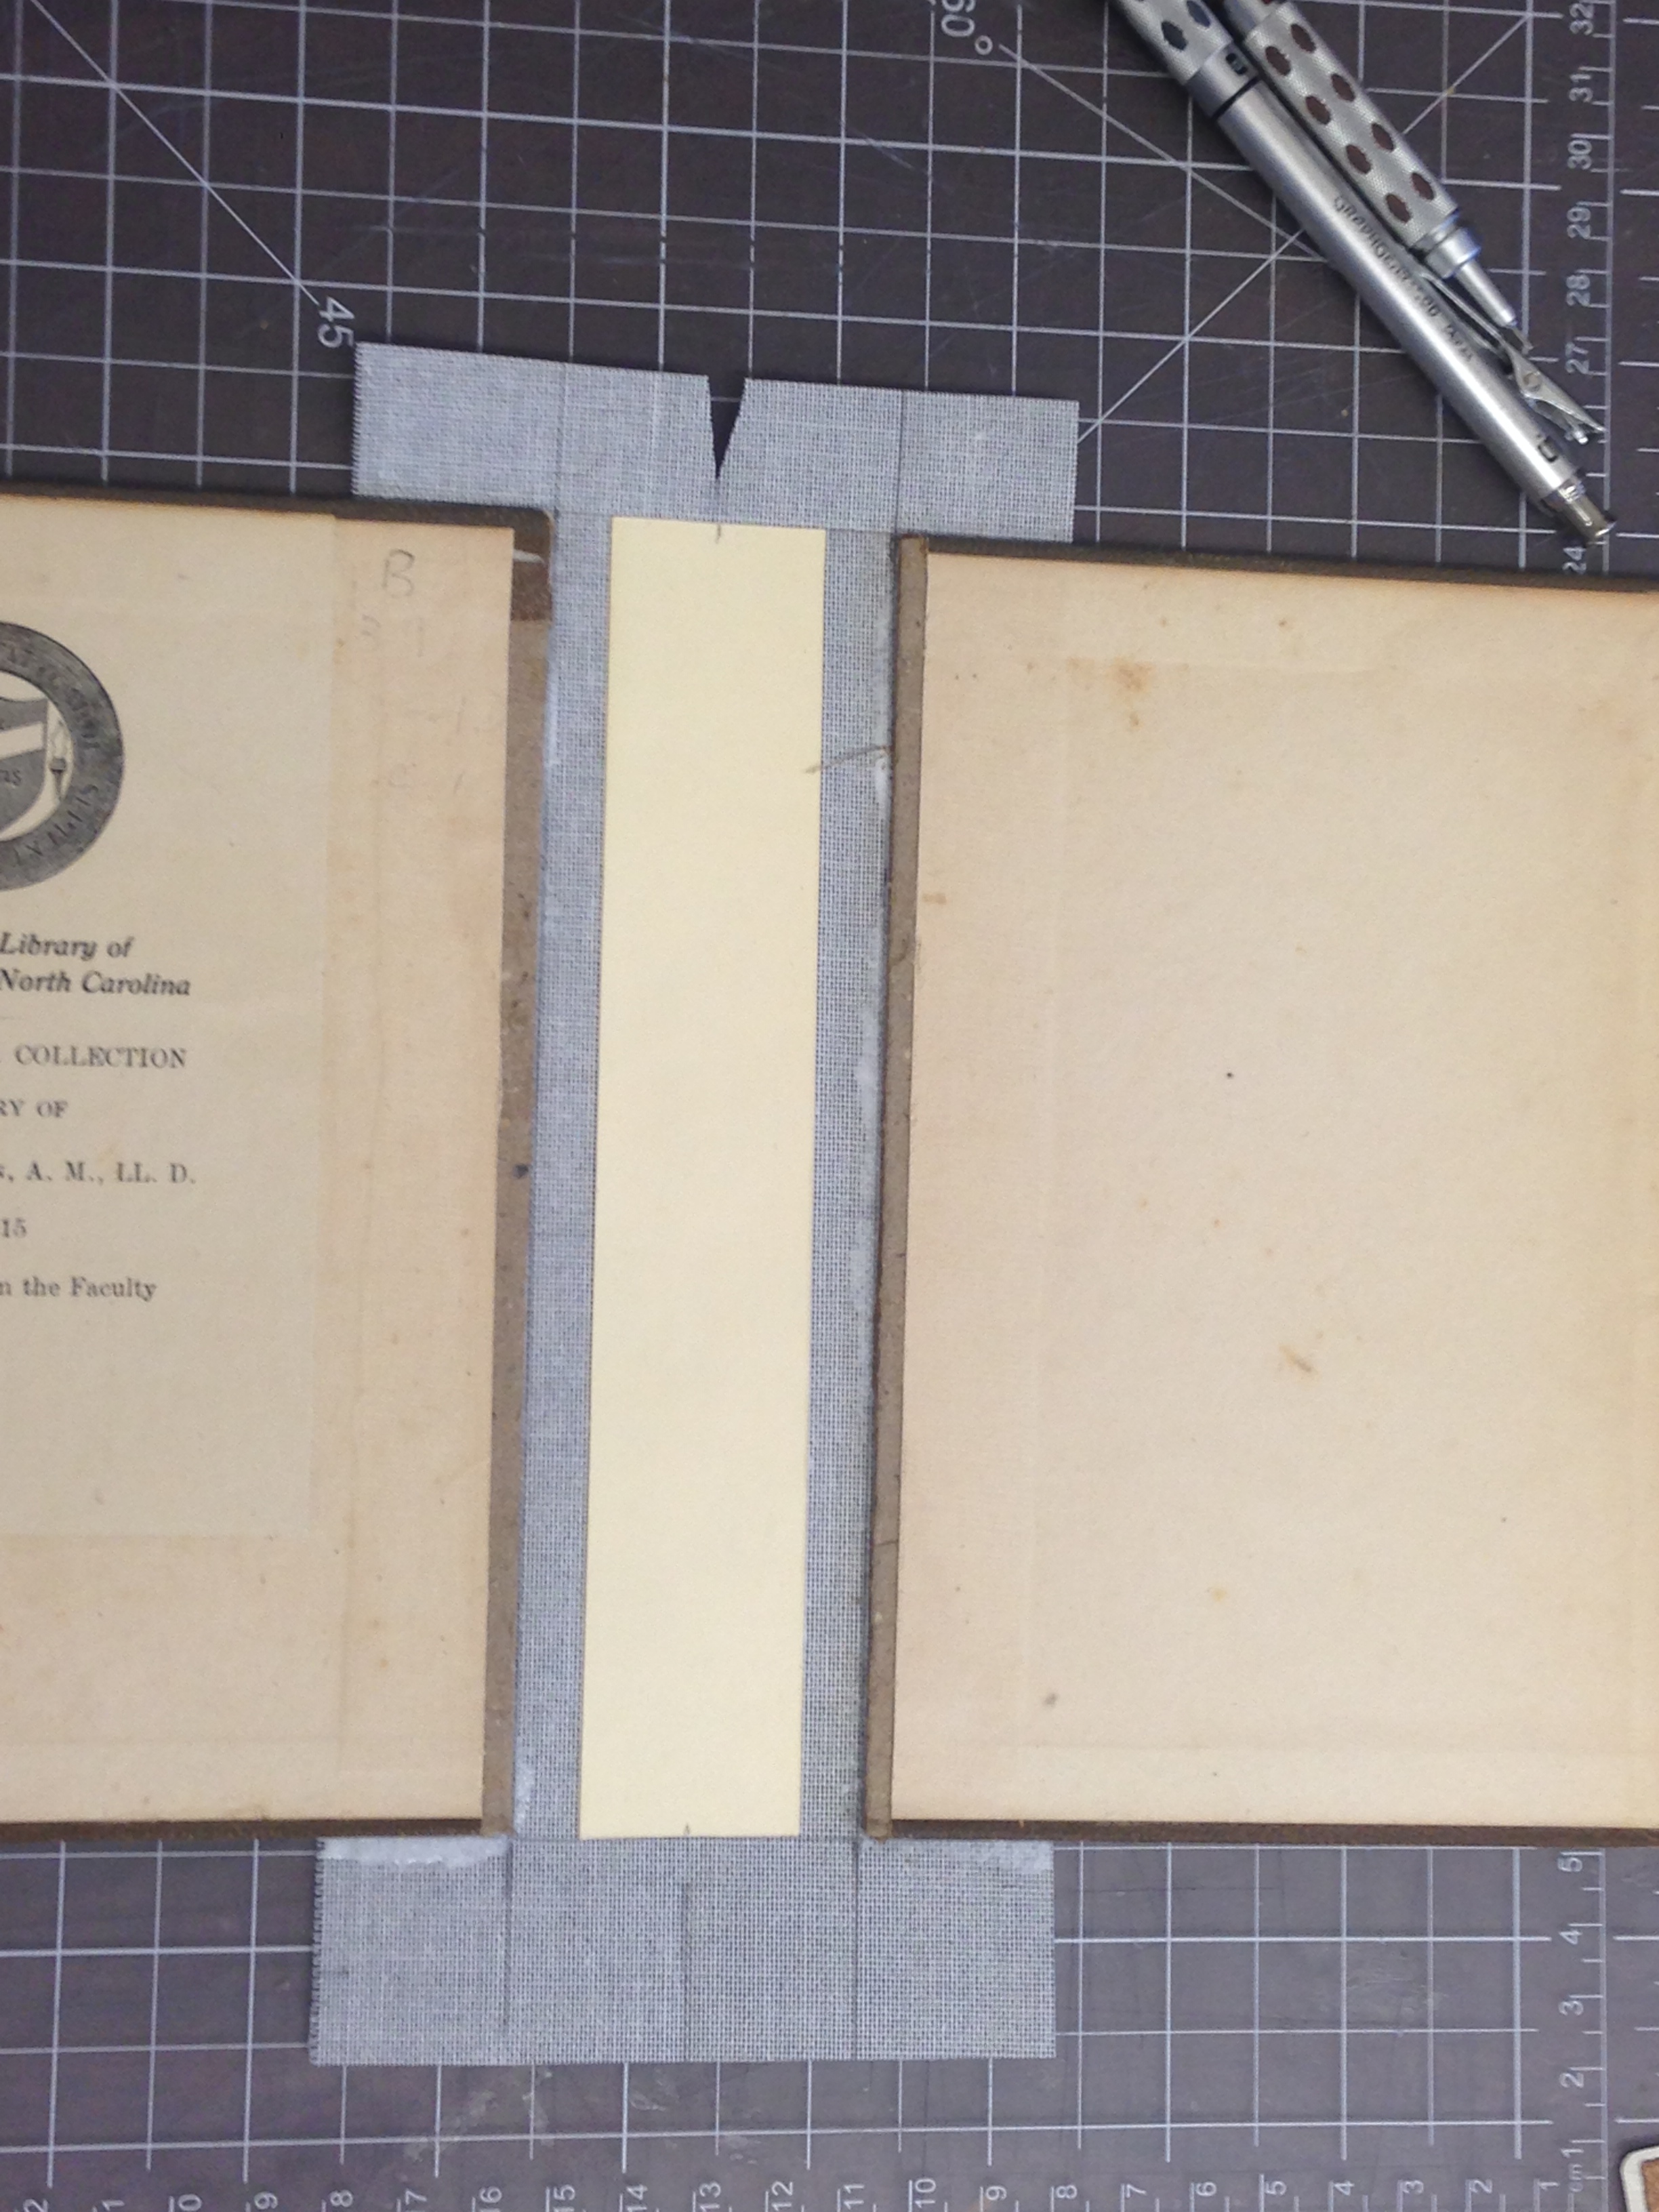
A. Attach the Spine Stiffener to the Buckram
Using a pencil, mark the dimensions of the spine stiffener in the middle of your sheet of buckram. Make a line all the way across the width of the buckram to mark the top and bottom dimensions of the spine stiffener. Apply PVA glue to the spine stiffener, place it in the designated spot on the buckram, smooth into place (See Figure 4).
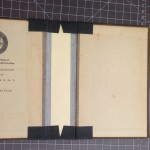
B. Glue the Covers and Buckram Together:
Place the buckram face up on the table so that the spine stiffener is visible. Take the covers of your book and lay them on top of the buckram. Place the text block on top of the spine stiffener and close the book as if everything was attached. The goal of this exercise is to dry fit the covers. Check to make sure that the buckram does not obscure any text on either the front or back cover. If there is too much buckram or text is obscured trim the buckram as is appropriate.
After dry fitting is completed, use a paint brush to paint PVA glue onto one side of the buckram cloth. Glue should be spread parallel to the spine stiffener and not cross either of the lines marking the upper or lower dimensions of the spine stiffener. Line up and place one of the covers onto the glued area. Smooth into place with the bone folder.
Repeat this step with the other cover. Make sure that both covers are oriented the same way!
Attach both covers to the buckram using PVA glue. Be sure to check that both covers are facing the right way!
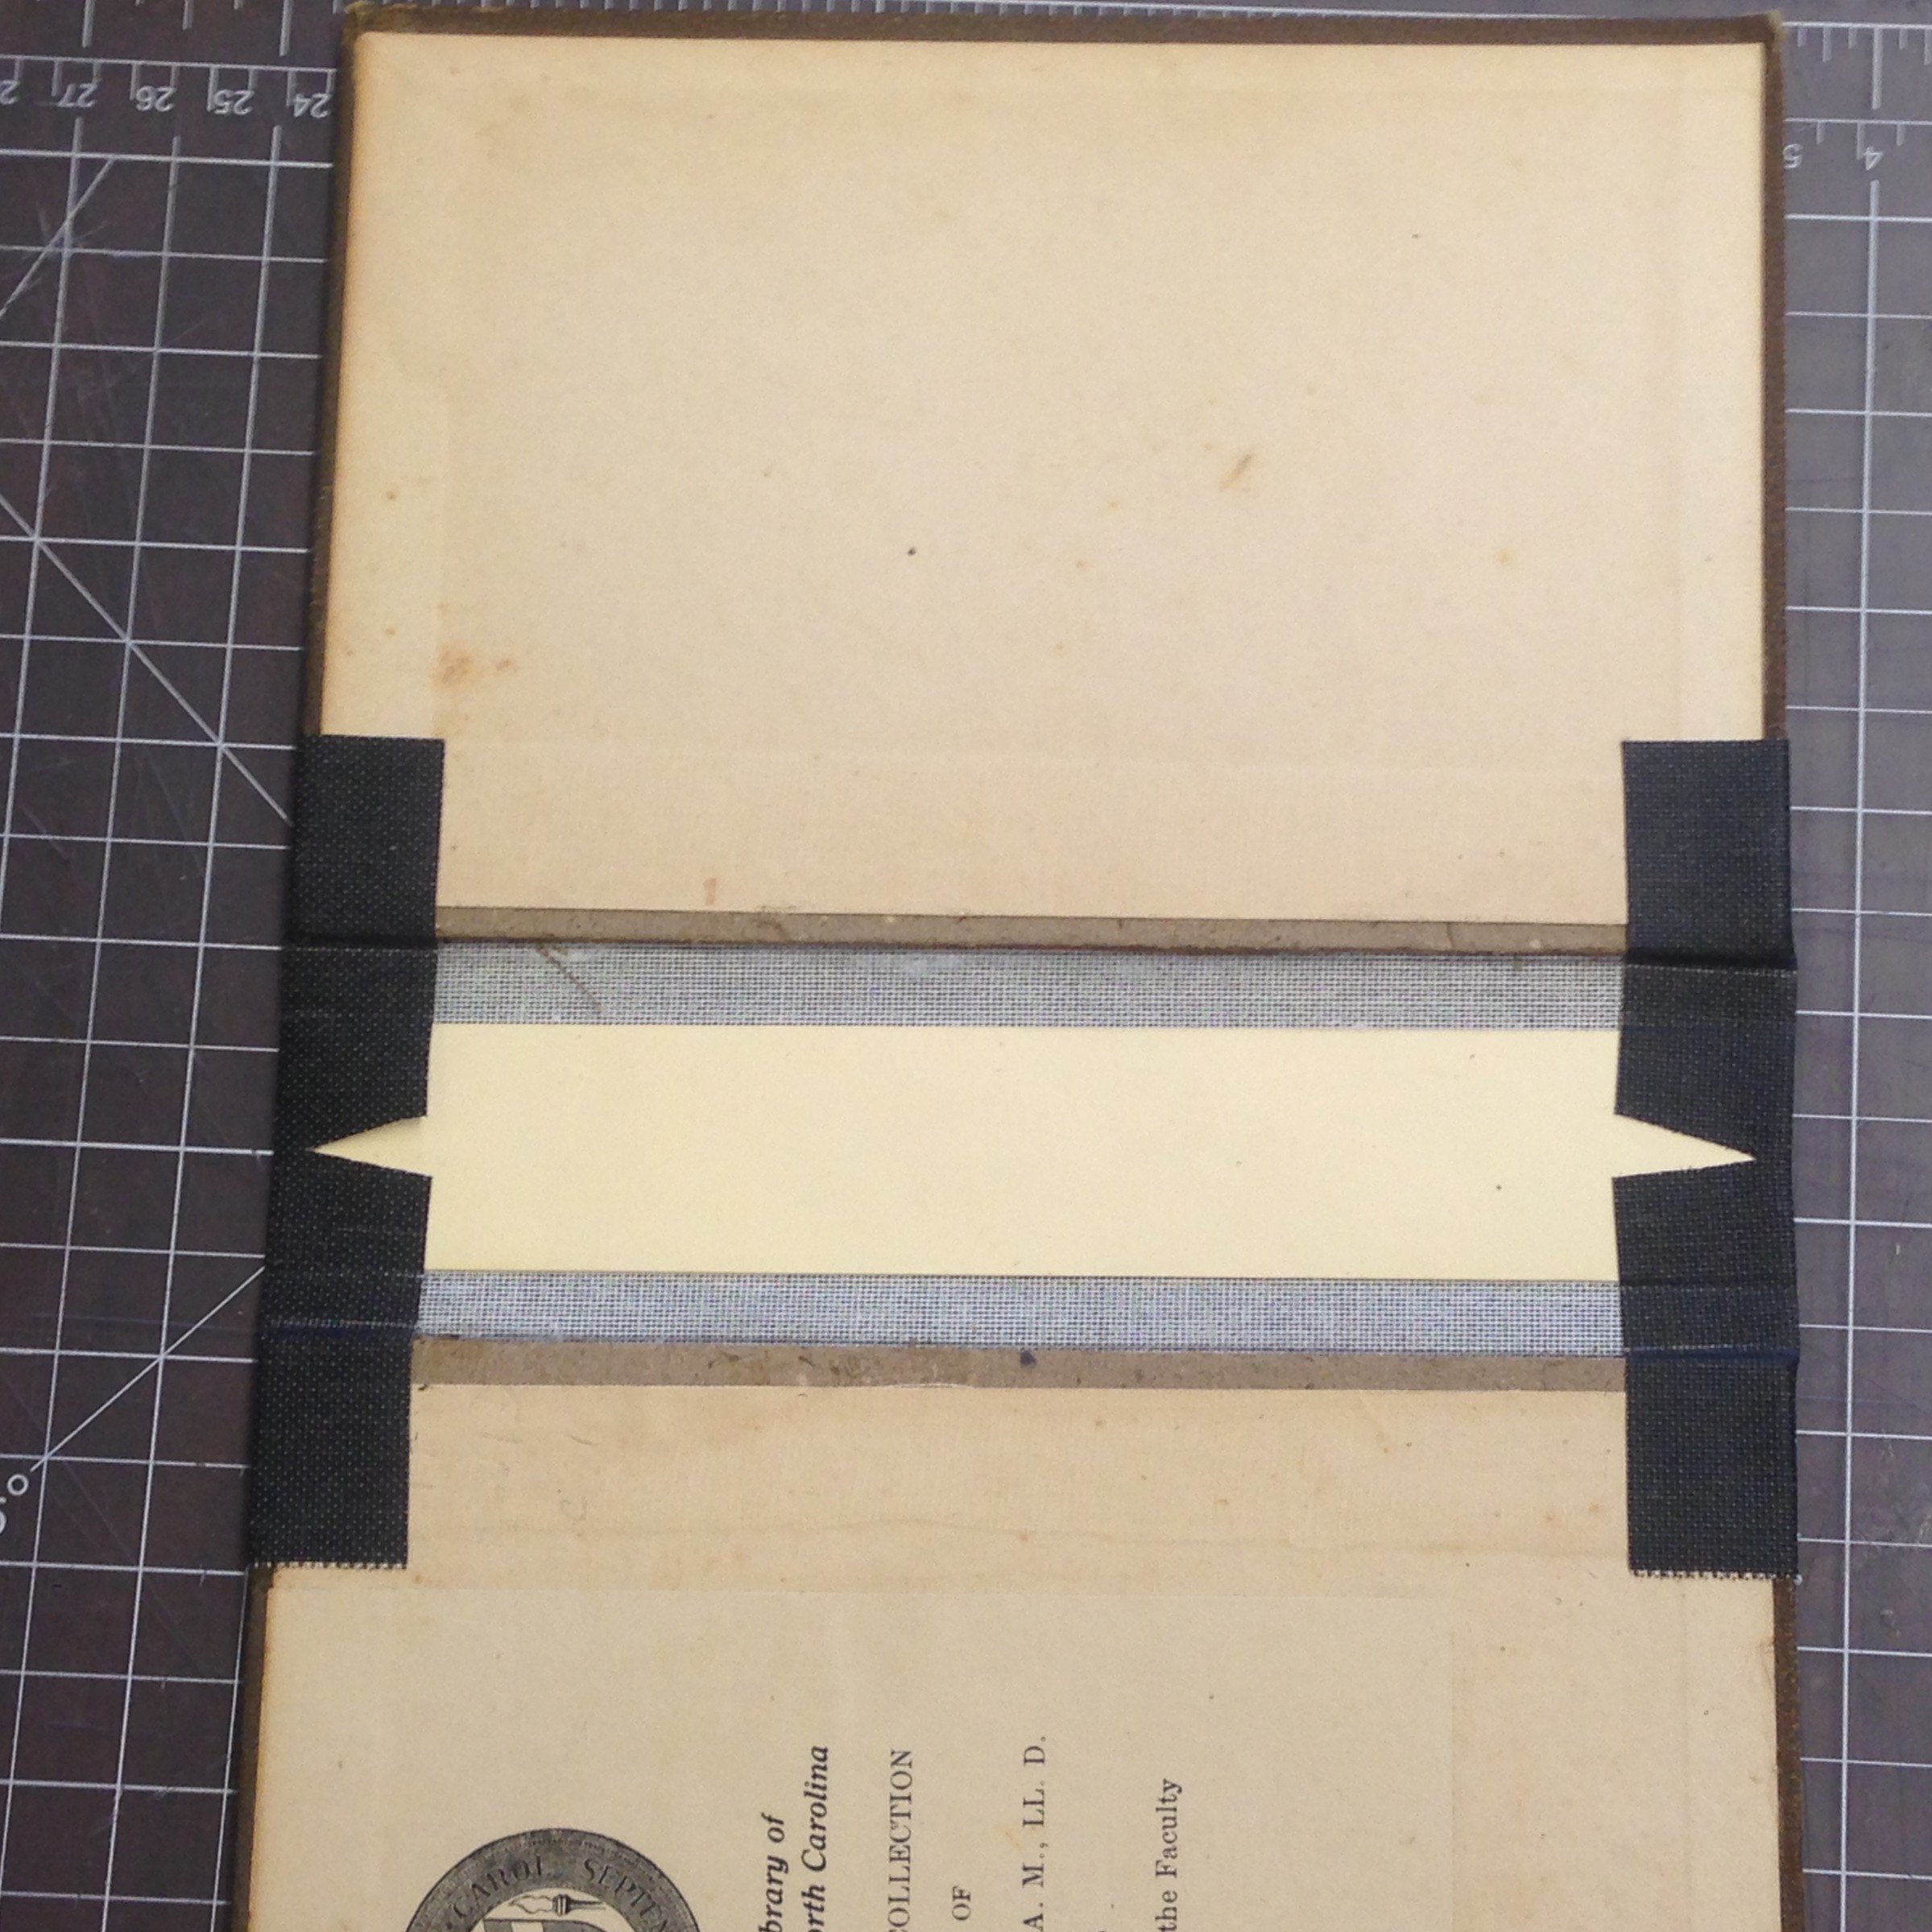
C. Creation of Darts:
At this point, you should have both covers attached with about a half inch of extra buckram sticking out at each end. Using a pair of scissors, cut a tiny triangle into the middle of this area on each end of the buckram. This is called creating a “dart.” The dart will help to relieve pressure on the buckram when the book is opened and closed.
After creating the dart, apply a small amount of PVA glue to the buckram strip sticking out at the head of the book. Carefully fold this strip over on the cover and smooth it firmly into place with your bone folder. Use the bone folder to create a crease where the buckram meets the book cover on each side.
Repeat this process for the buckram strip sticking out at the tail of the book.
Cut a small triangle in the buckram to create darts.
Fold Over Buckram and Smooth With Bone Folder
5. Attaching the New Cover to the Text block:
Place the text block on the newly formed cover. You will want to orient the book so that the covers and text are the same way up.
Place a piece of waxed paper under the flange on one side of your book and place a piece of scrap paper on top of that. Using a paintbrush, apply PVA glue to the top of the flange. Be sure to apply glue by pulling the paintbrush away from the spine. This will help to prevent glue leakage into the spine. Remove the scrap paper and leave the waxed paper in place.
Close the cover of the book and apply pressure to firmly attach the flange to the cover. Open the cover and make sure the cloth has adhered smoothly, with no bunches or bubbles. Use your bone folder to smooth the cloth.
Repeat this process on the other side of the book to attach the remaining cover to the text block.
Apply glue to the flange using waxed paper to protect the text block.
6. Finishing Up:
Check to the book to make sure there is no drastic glue seepage and that the flanges have been attached smoothly. Place the book into the book press and press the book for a minimum of 15 minutes to set the glue.
Once the glue is dry and the book is removed from the press, gently remove the remaining pieces of waxed paper.
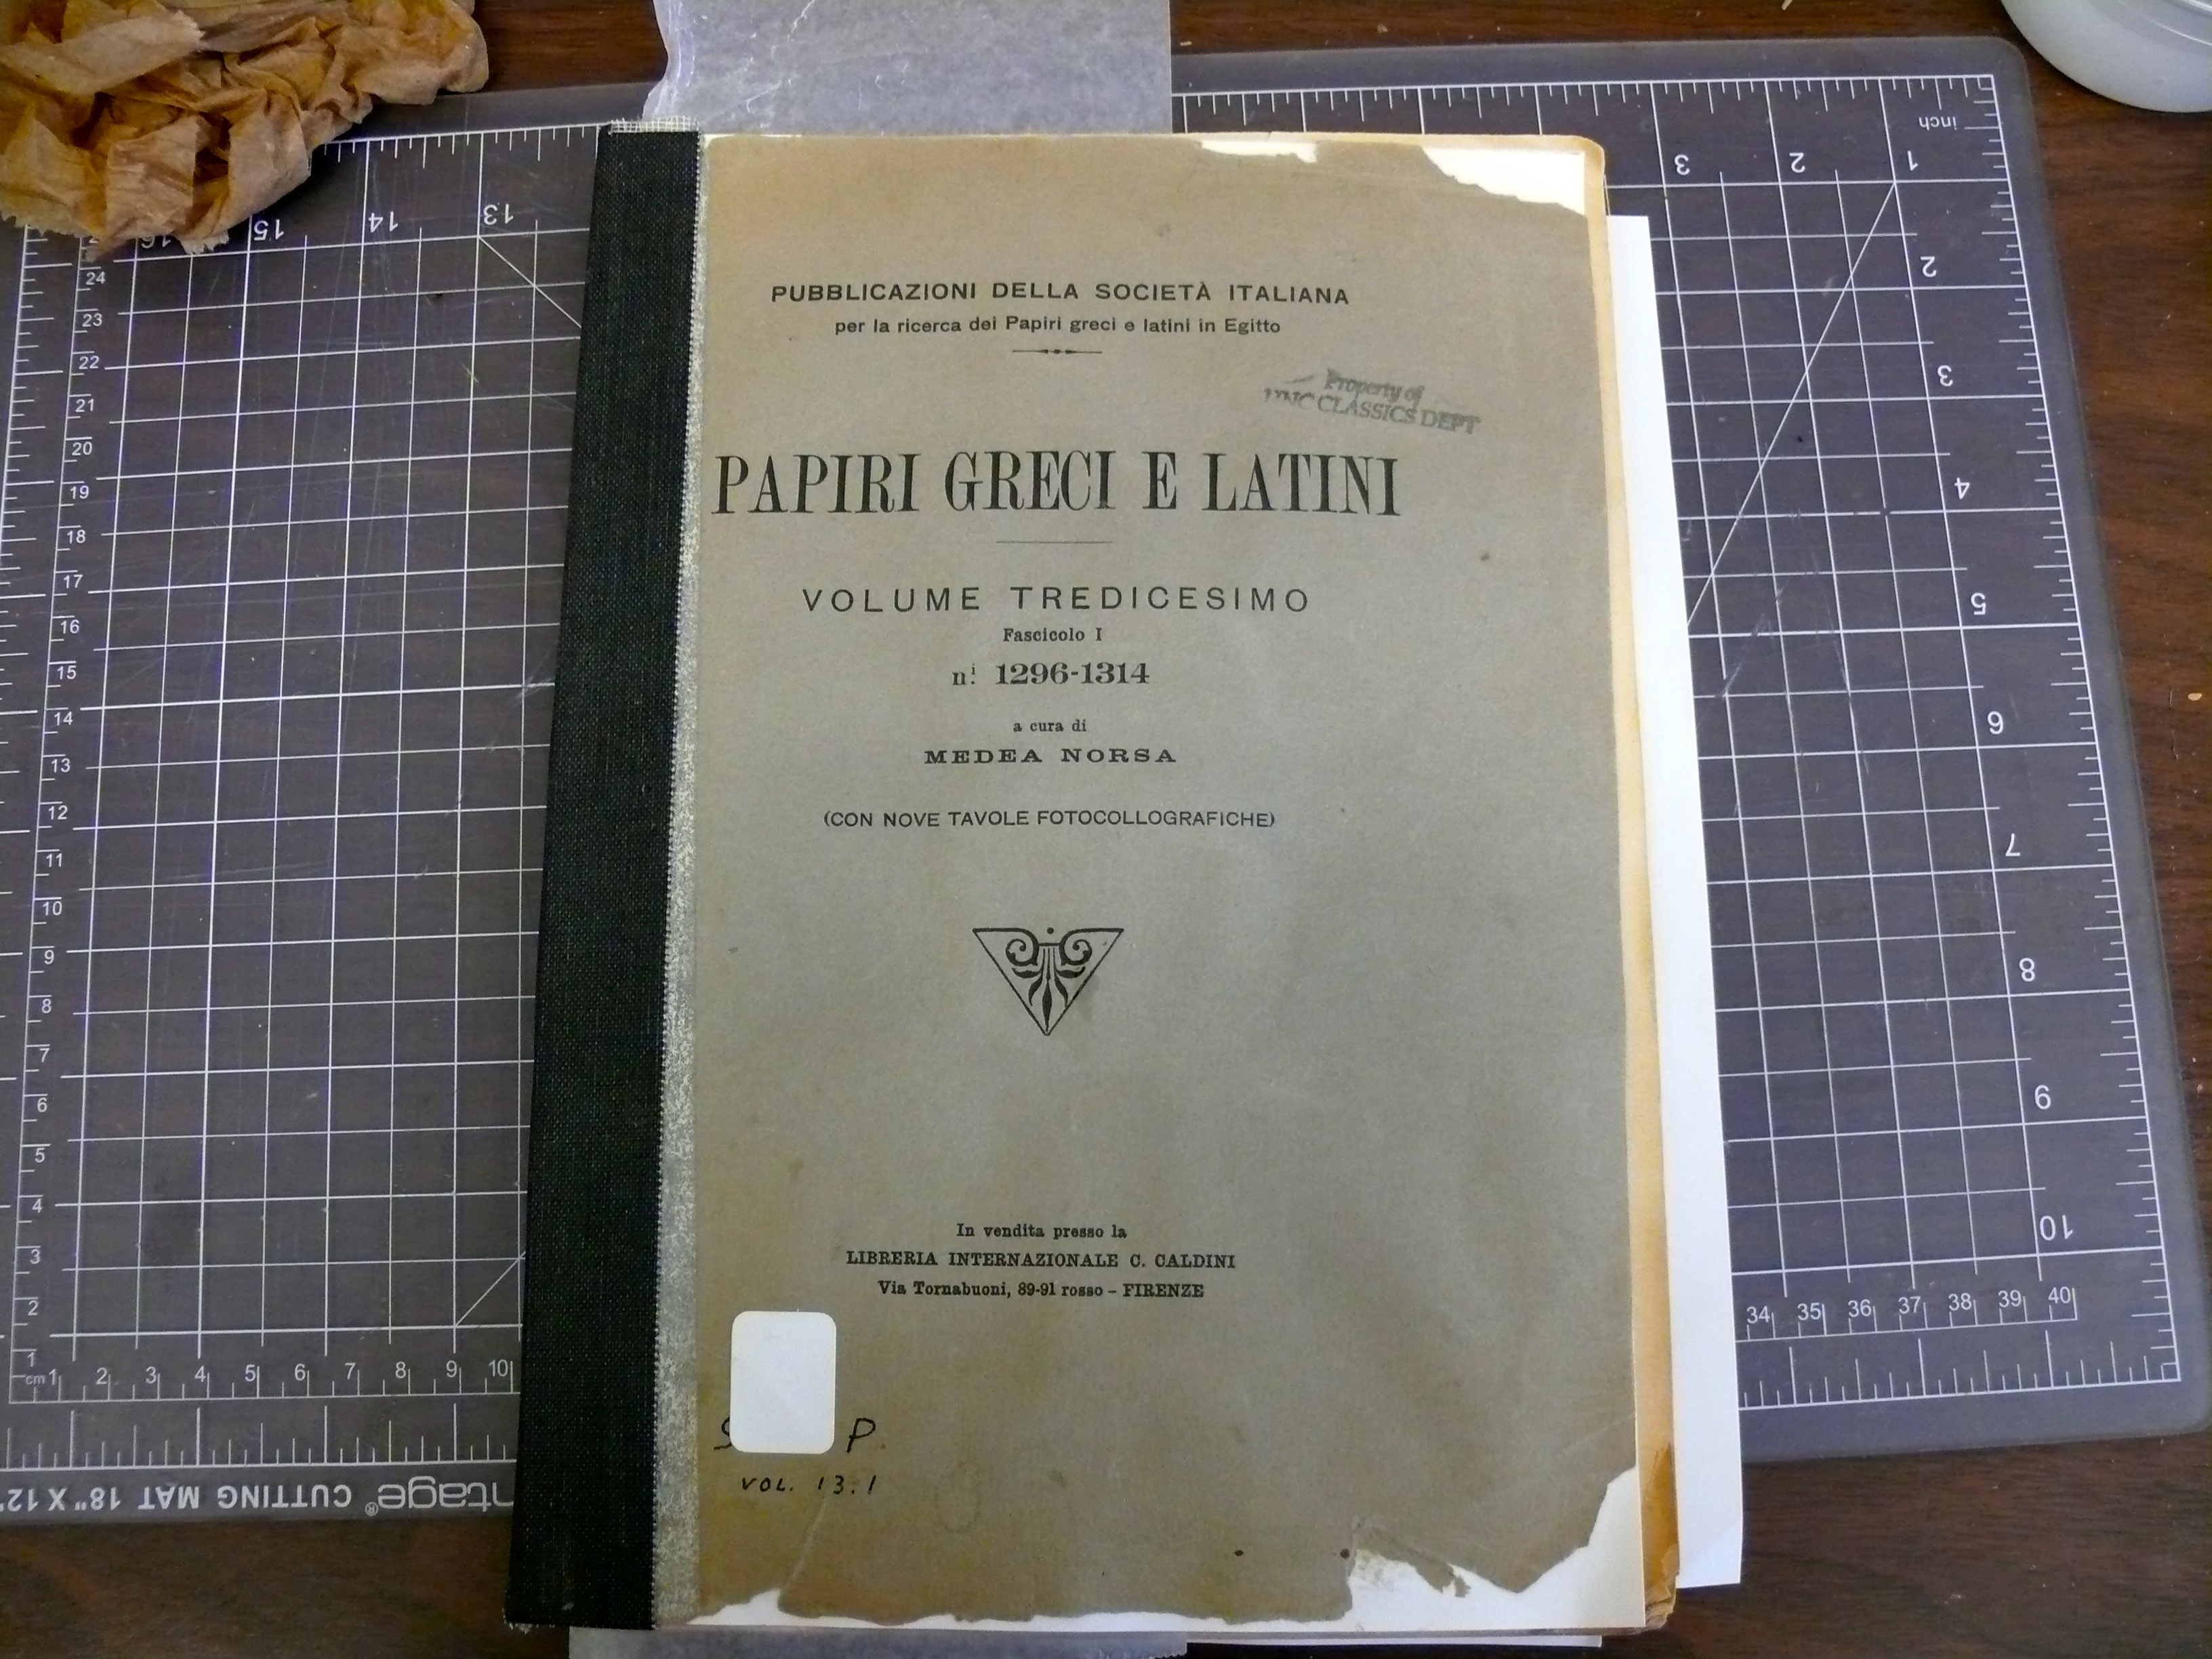
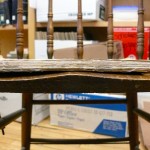
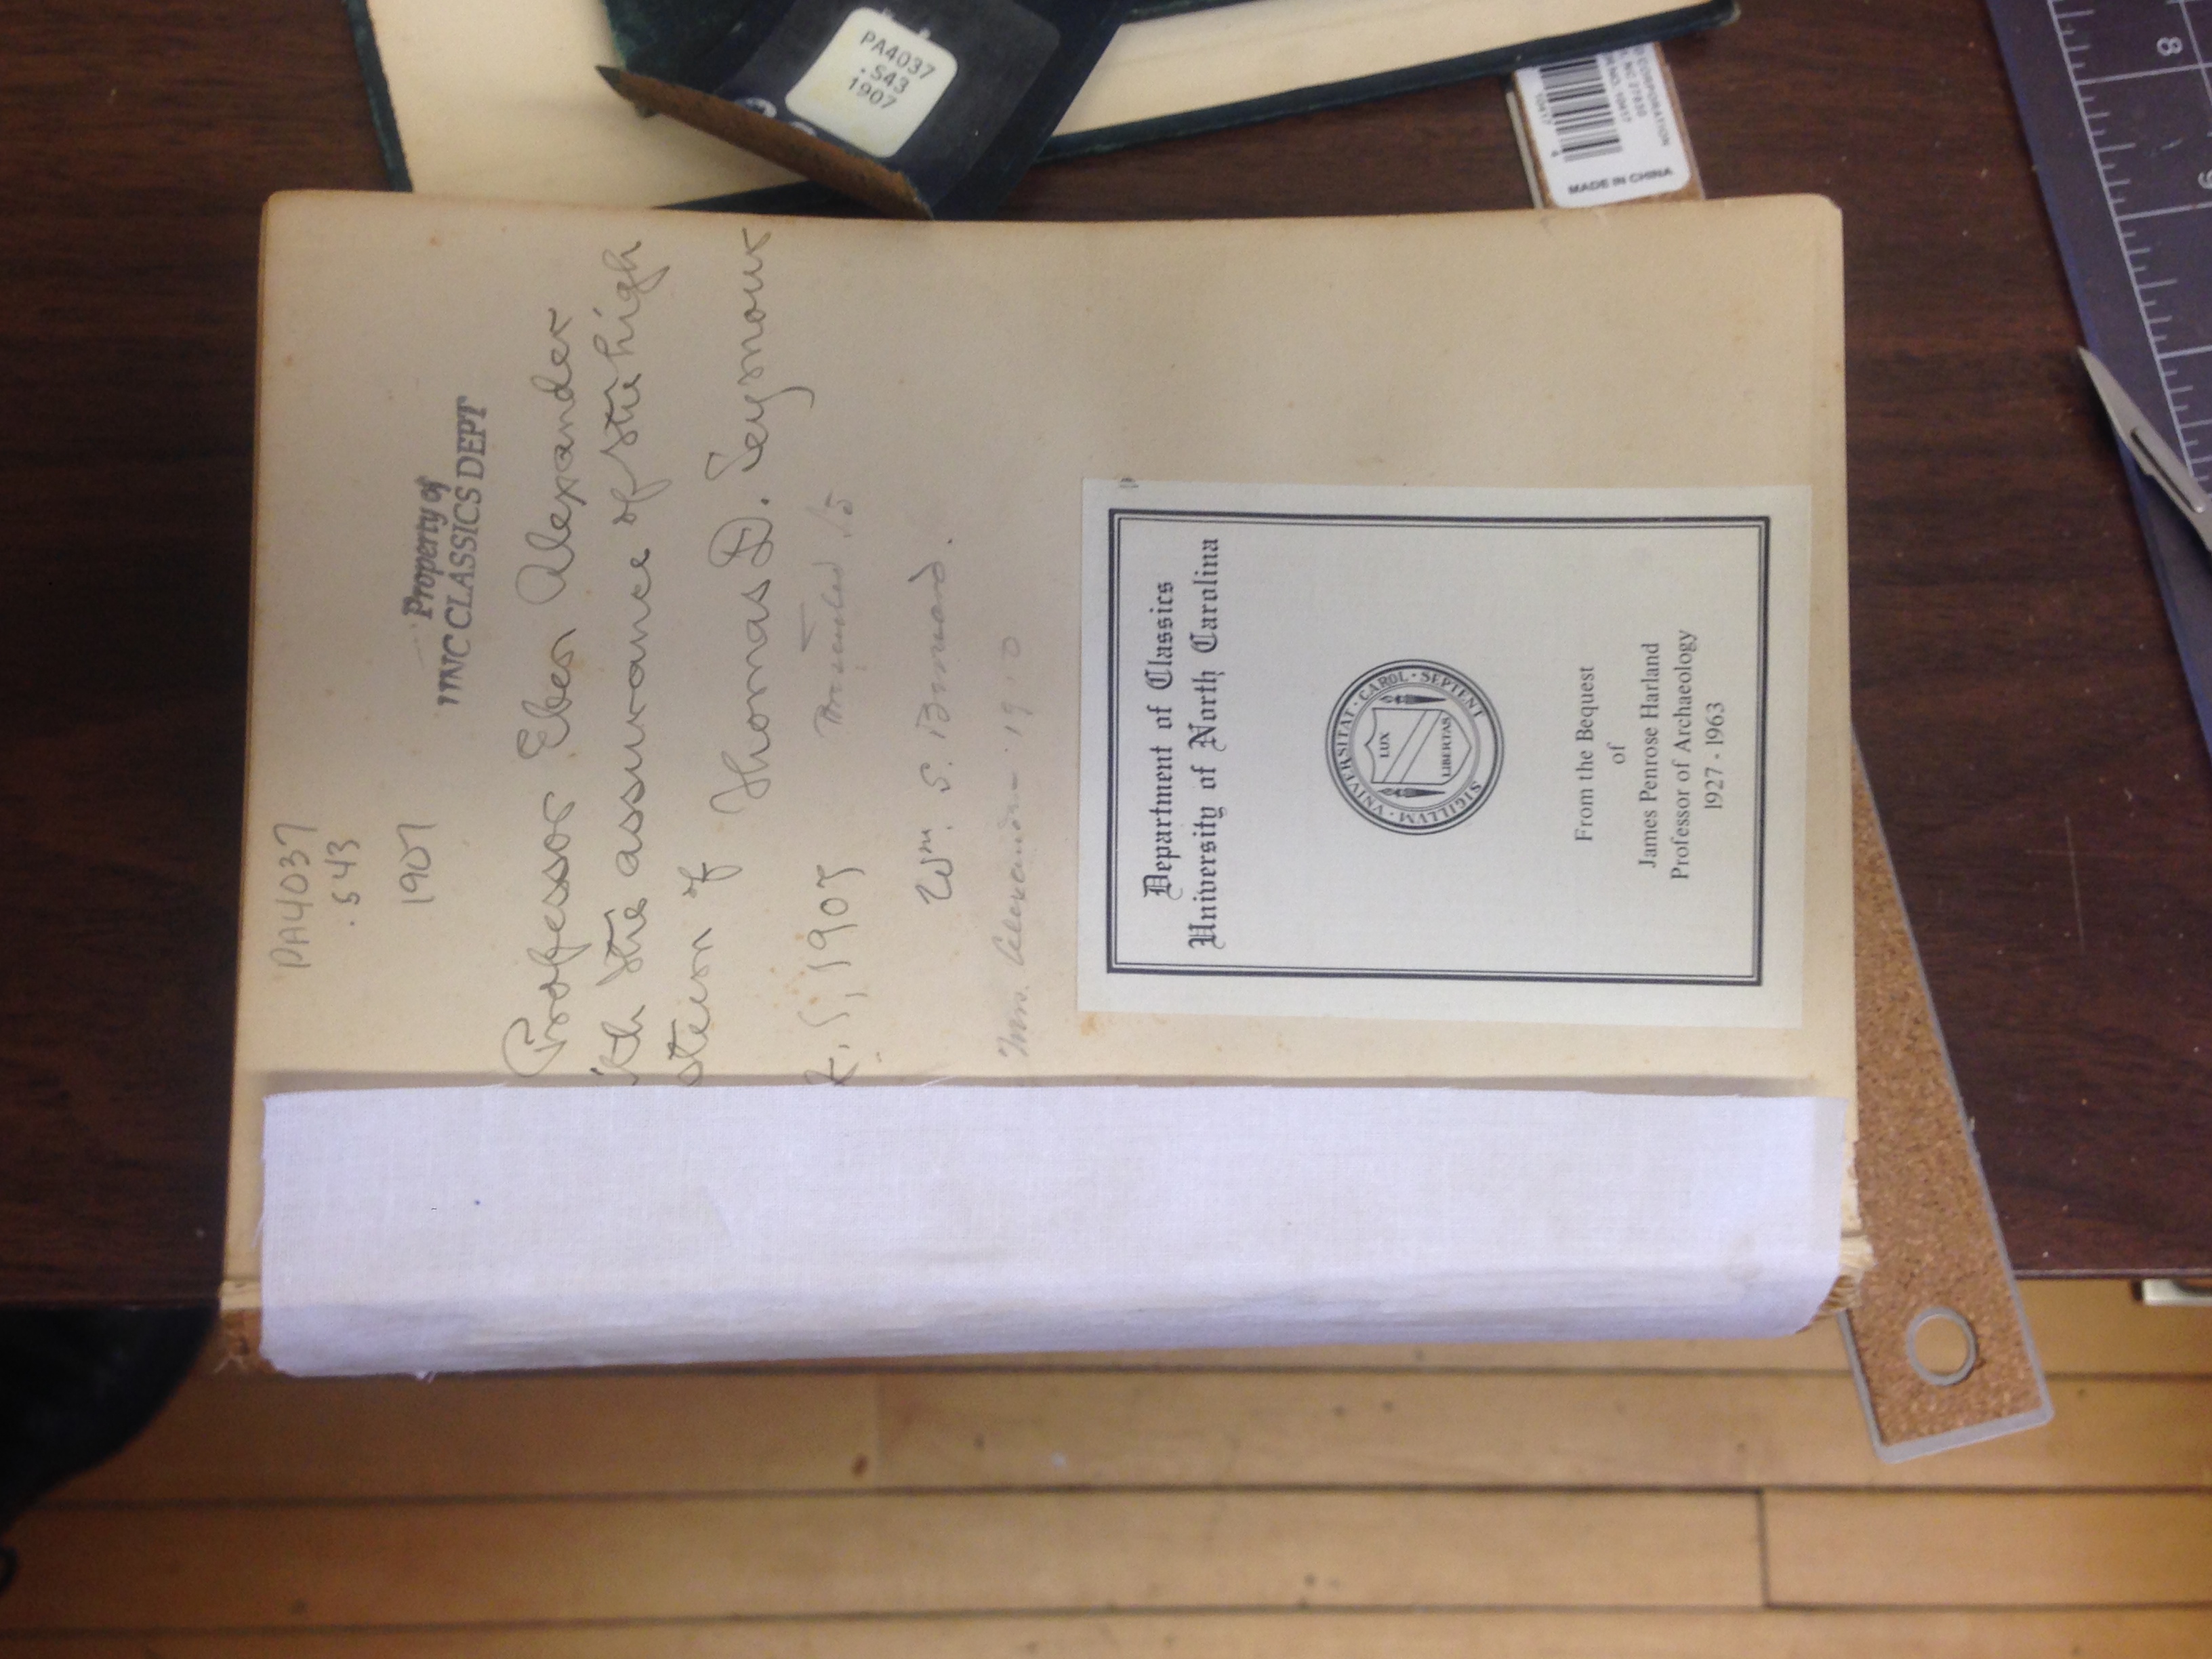
Paperback book with both covers reattached.